
 Save
Save
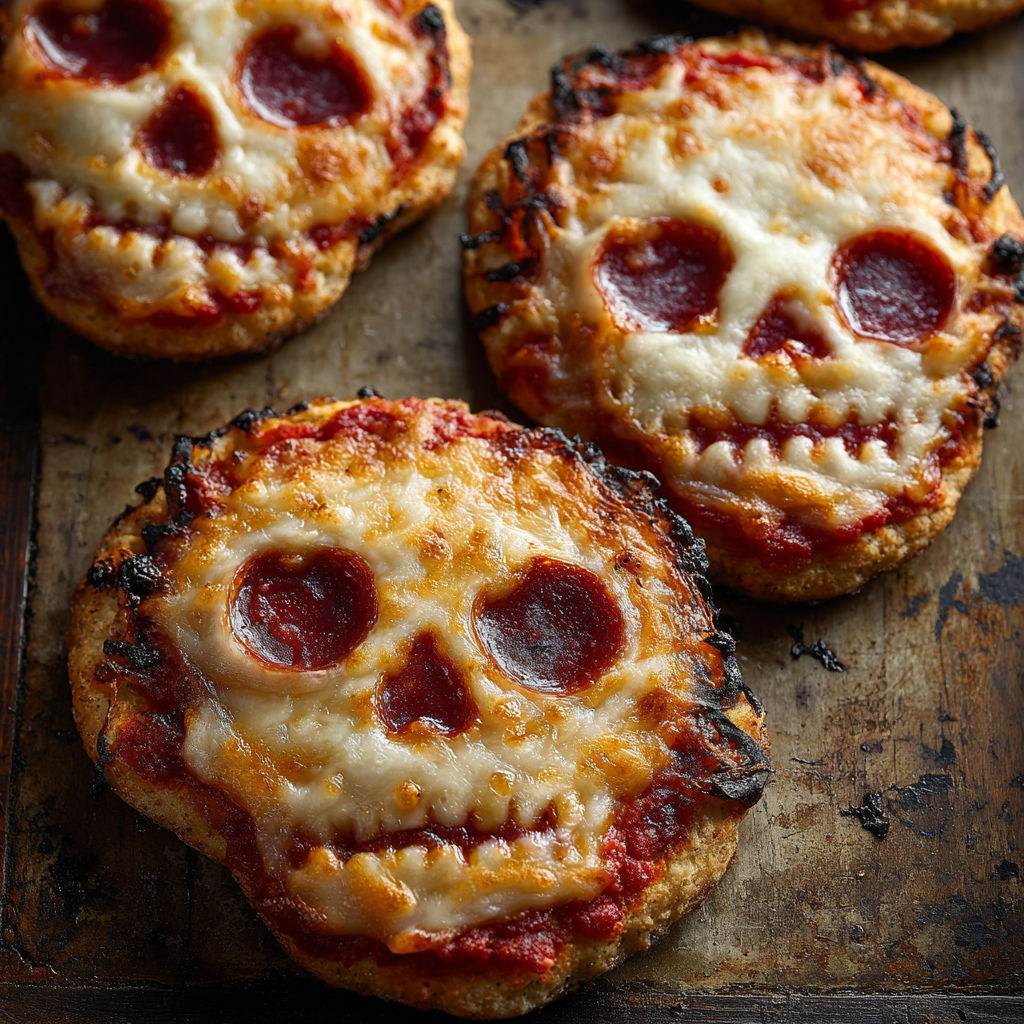
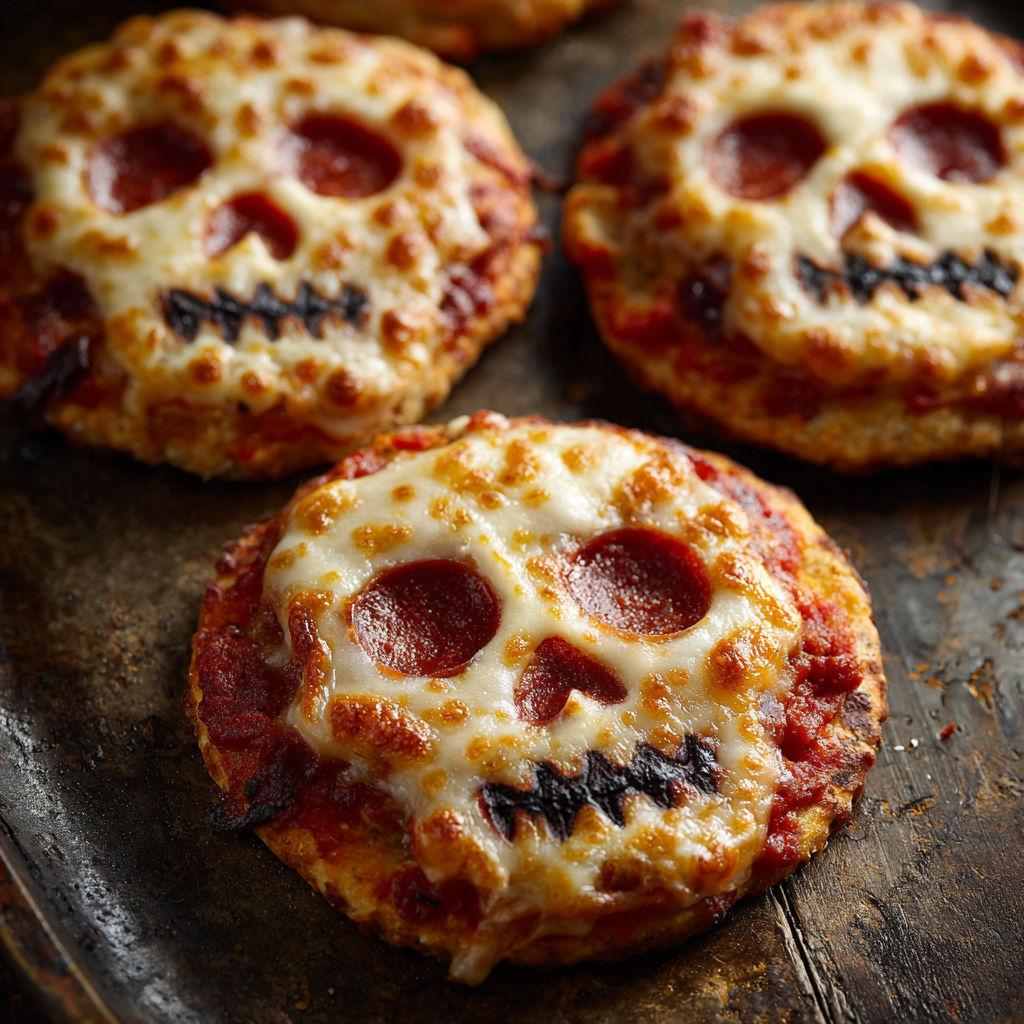
Biting into these spooky Halloween Pizza Skulls always sparks excitement at parties big and small. Each bite is packed with gooey cheese and bold pizza flavors tucked inside the cutest skull shapes—making them irresistible for both kids and grown-ups. Plan for a batch of these and watch them vanish faster than a haunted ghost.
The first time I made these pizza skulls was for a neighborhood Halloween block party and not a crumb was left. Everyone kept coming back for more and my daughter loves shaping the dough and picking her favorite toppings.
Ingredients
- All purpose flour: Helps create a sturdy but tender crust that holds its shape well. Try to use fresh flour for best texture
- Baking powder: Your secret to a soft rise without yeast so double check it is fresh for a reliable puff
- Salt: Brings balance and draws out flavors in both the crust and filling
- Garlic powder: Gives a flavorful boost and makes every bite extra savory. Go for a good brand to avoid artificial taste
- Italian seasoning: Adds those cozy classic pizza undertones. Pick one with oregano basil and a little thyme
- Water: Is key to activating the dough try to use room temperature water and add slowly until it just comes together
- Shredded mozzarella cheese: Gives that stretch and melt you crave. Whole milk mozzarella melts best so avoid pre-shredded if possible
- Pizza sauce: Packs the punch of tomato and spices and a rich thick sauce is ideal to prevent soggy skulls
- Sliced pepperoni or any favorite topping: For personal flair. Choose thin slices so the skulls seal neatly
- Egg: For an egg wash gives serious golden color and helps your skulls shine
- Olive oil: Keeps the dough moist and adds a lovely crust sheen. Good extra virgin works best for brushing
Instructions
- Mix the Dry Ingredients:
- Combine your flour baking powder salt garlic powder and Italian seasoning in a big bowl. Stir thoroughly to make sure each spoonful is well mixed—this helps the dough bake evenly and no bite is bland or oversalted.
- Make and Knead the Dough:
- Slowly drizzle in your water while stirring until you have a rough shaggy mass. Dust your hands and a work surface with flour then knead the dough for about five minutes. You are looking for a smooth ball that pulls away from your hands and feels elastic when pressed.
- Roll and Cut the Shapes:
- Dust your counter and roll out the dough to about a half-centimeter for best skull structure. Use your skull cutter to punch out matching tops and bottoms. Work quickly but gently so the dough stays tender.
- Fill the Skulls:
- For each bottom shape drop a spoonful of pizza sauce in the middle staying just inside the edges. Top with a mound of mozzarella and a few pepperoni slices or any chosen topping. Leave some border so you can seal them tight.
- Seal and Decorate:
- Lay a blank dough skull on top of each filled one and use your fingers to press all around the edges. If you like crimping use a fork to go around and give an extra spooky texture while also making sure none of the cheesy filling leaks out.
- Egg Wash the Tops:
- Brush the finished shapes with beaten egg. This magic step helps your skulls bake up with a gorgeous golden sheen and keeps them from drying out.
- Bake:
- Place each skull onto your lined tray with a bit of space between. Slide into a preheated 220 degree oven and bake for twelve to fifteen minutes. You want them puffed crisp at the edges and deeply golden on top.
- Rest and Serve:
- Let the skulls cool for about five minutes after baking so the cheese inside does not scorch eager tongues. Serve warm for best oozy results.
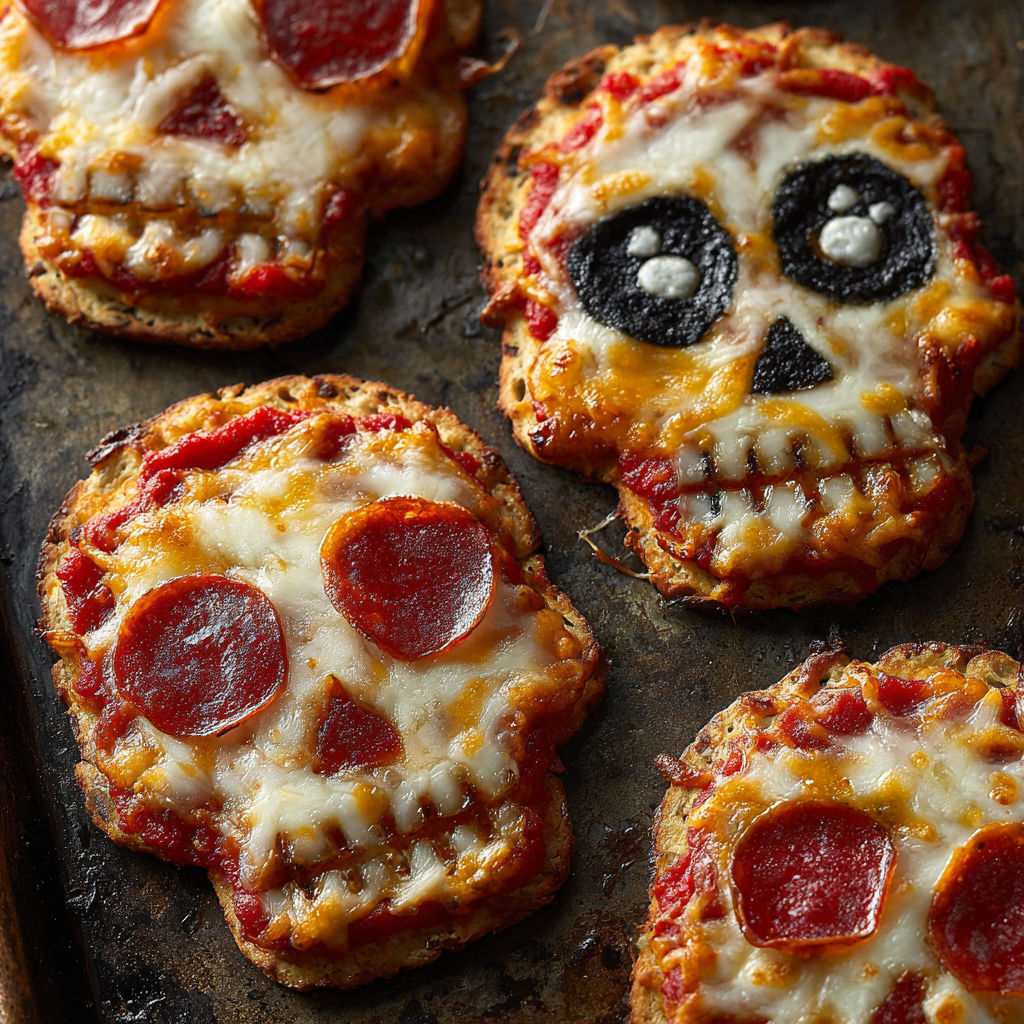
Mozzarella cheese is absolutely the best part for me. I grew up loving cheese pulls on pizza and when these skulls come out of the oven still steaming nothing beats that gooey stretch. Making these with my daughter is now our Halloween tradition and her favorite job is brushing the egg wash before baking.
Storage Tips
Allow any extra pizza skulls to cool completely before storing. Place them in an airtight container lined with kitchen paper and keep in the fridge for up to three days. Reheat in the oven for a crisp edge or microwave for a quick snack but oven gives a better bite.
Ingredient Substitutions
Swap mozzarella for cheddar or provolone for different flavor twists. Use vegan cheese and skip the egg wash for a dairy-free version. Choose your favorite marinara or even barbecue sauce for a bold change. Vegetarian friends will love mushrooms or black olives in place of pepperoni.
Serving Suggestions
Arrange on a festive Halloween platter with extra sauce for dipping. Pack into school lunchboxes alongside crunchy carrots for a balanced treat. Tuck a few into a picnic basket for fall outings since they travel well.
Cultural Touch
Halloween foods are all about transforming classics into fun shapes and playful flavors. Pizza is always a crowdpleaser but shaping them into mini edible skulls makes your spread unforgettable. These are inspired by making family pizza night memorable for spooky season.
Seasonal Adaptations
Choose Halloween-colored veggies like orange bell pepper or black olives for festive filling. For winter holidays cut out stars or trees and swap out toppings to match the season. Add a touch of chili flakes or rosemary for a grown-up twist at adult gatherings.
Success Stories
Last October my nephew took a whole tray of these to share with his soccer team and the coach asked for the recipe right away. That was a proud moment and now we plan to double the batch every year for kids and adults alike.
Freezer Meal Conversion
Once baked and cooled completely you can freeze these pizza skulls in a single layer until solid then pack them in freezer bags. When ready to enjoy just bake straight from the freezer at 180 degrees until hot and crisp.
Halloween pizza skulls are sure to become your new spooky season favorite. Every bite is gooey cheesy and unforgettable—just what Halloween gatherings need.
Common Recipe Questions
- → How do you get the skull shape?
Use a skull-shaped cookie cutter to form the dough, creating tops and bottoms to sandwich the filling.
- → Can I use other fillings?
Yes, swap pepperoni for mushrooms, sausage, or vegetables to customize your treat.
- → How do you keep the edges sealed?
After placing the filling, cover with a dough top and crimp the edges with a fork to prevent leaks.
- → What gives the golden finish?
Brush beaten egg over each skull before baking to achieve a shiny, golden crust.
- → Can these be made ahead?
Bake in advance and reheat in the oven for a few minutes before serving for best results.