
 Save
Save
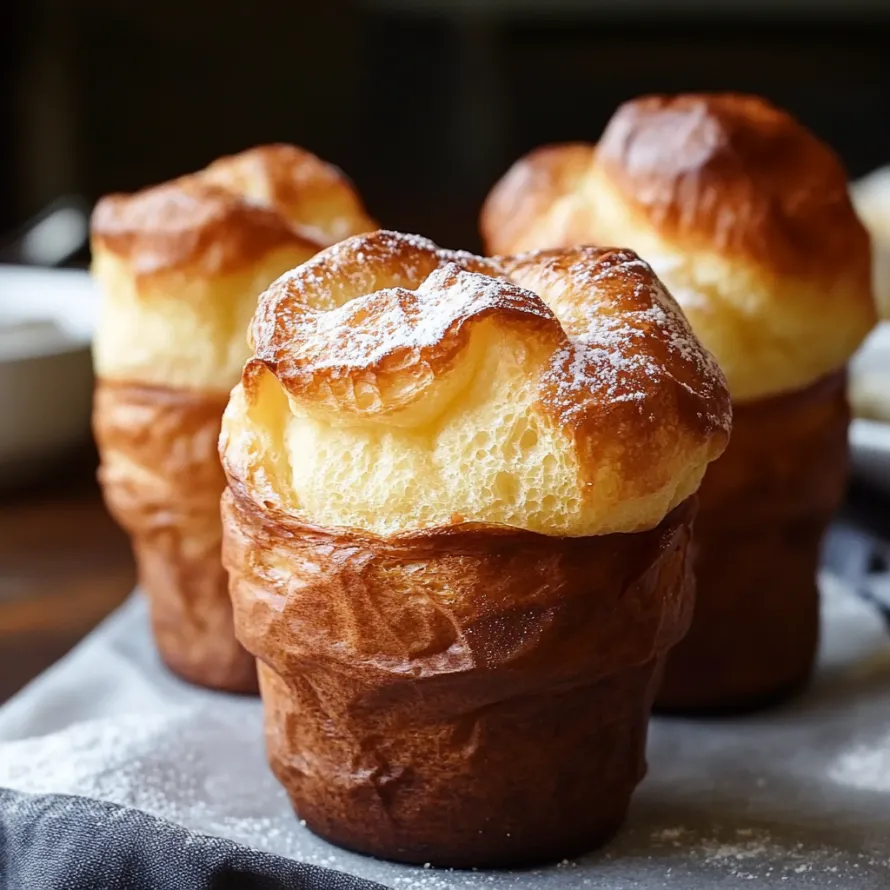
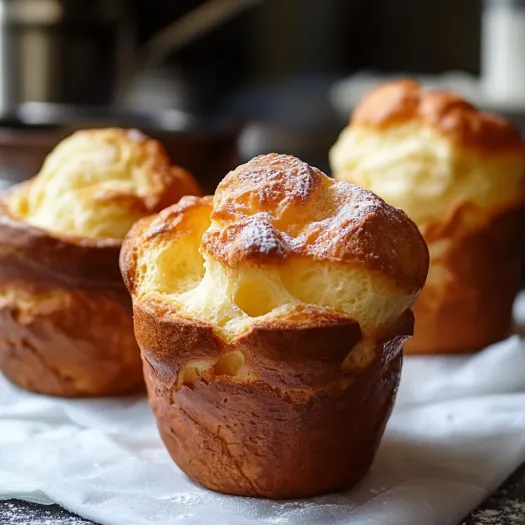
I've spent years tweaking this popover technique to get the tallest, fluffiest treats with that perfect crispy shell and soft middle. What you'll pull from your oven will be nothing short of amazing - I guarantee these will rise beautifully every time you make them.
The first time I saw popovers work their magic was at my grandma's holiday table. Her old recipe card had tiny scribbles about warming eggs and keeping the oven door shut while baking - those little tricks really made them special.
What You'll Need
- Eggs: They must be at room temp for the biggest lift
- Milk: Whole gives the best taste, but any kind can work
- Salt: Brings out flavor and cuts through richness
- All purpose flour: Gives just enough structure without making them heavy
- Melted butter: Adds flavor and helps create that gorgeous brown crust
Making Perfect Popovers
- Getting Eggs Ready:
- Soak unopened eggs in warm tap water for 10 minutes. This warmth helps your batter get huge in the oven. Cold eggs straight from the fridge will seriously limit how tall your popovers can get.
- Setting Up:
- Put your oven rack in a low position to make room for the tall popovers. Heat to 450°F to create that initial burst of steam that makes them pop up. Make sure to grease your pan thoroughly, including the top edges, since the batter will climb and might stick.
- Making Your Batter:
- Beat eggs, milk and salt until they're completely mixed with no egg white streaks showing. You want it looking uniform and a bit foamy, showing you've worked in some air - that's key for success.
- Adding Flour:
- Put in flour and whisk hard until the mix gets foamy with most lumps gone. Don't mix too much or you'll develop gluten, but make sure it's well combined. A few small lumps won't hurt, but big ones will mess up the texture.
- Finishing With Butter:
- Stir the melted butter into your batter quickly. The butter should feel warm but not hot enough to cook your eggs. This last step adds richness and helps create that beautiful golden outside.
- Baking Time:
- Pour your mix into the greased cups, filling each about 3/4 full. Put them in the hot oven right away. The high starting temp makes steam that causes the dramatic lift. Lowering the heat partway through lets them set without burning.
I found the warm egg trick after many failed attempts with flat popovers. Now my family knows not to mess with my egg-warming routine before our Sunday brunches - it's become an essential part of our tradition and you can definitely see the difference.
Choosing Your Baking Pan
If you love these treats, buying a real popover pan is worth it. The deep, straight-walled cups let them rise higher and air flow around each one better. You can use a muffin tin if that's all you have, but they won't rise quite as dramatically. Metal works better than silicone or glass because it conducts heat better, giving you the crispiest outside.
Different Flavor Options
These basic popovers work great with many flavor add-ins. For a sweet twist, mix in 2 tablespoons sugar and serve them with jam, butter and powdered sugar. For savory ones, try folding in 1/4 cup grated parmesan and 1 tablespoon fresh herbs just before baking. My family loves them with 1 teaspoon fresh lemon zest and some poppy seeds sprinkled in.
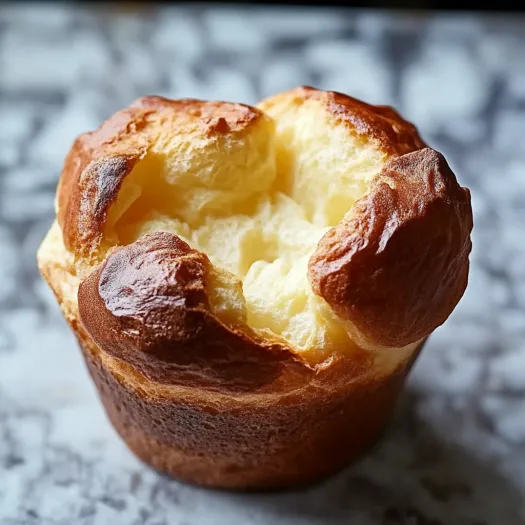
Why They Rise So Tall
Knowing what makes popovers puff up helps you get great results every time. The amazing height comes from steam that forms as the liquid heats. Eggs have lots of protein that creates a structure trapping this steam, letting the popover expand. Starting with high heat creates that steam, while lowering the temp later lets them set without burning. This is why warm ingredients and a hot oven aren't optional if you want truly impressive popovers.
Your friends will definitely ask for more of these popovers - they'll be the star of your next meal!
Common Recipe Questions
- → Why warm the eggs first?
Warming the eggs improves the batter's texture by creating a better blend. This helps the batter hold more air, leading to higher, fluffier popovers with that classic hollow interior.
- → Can I bake them in a muffin tin?
Yes, you can! A muffin tin works fine, though they might not rise as high. Make sure to grease the muffin cups well and fill them about 3/4 of the way. Baking time may vary slightly.
- → Why do they sometimes sink?
Sinking popovers can happen if they're taken out too soon, if the oven door is opened during baking, or when the batter lacks enough air bubbles. The two-temperature baking method is key to preventing this by creating a sturdy crust before finishing at a lower heat.
- → Can I prepare the batter early?
It’s best to bake the batter right after mixing. If needed, refrigerate it for up to an hour, but let it warm back to room temperature and give it a quick whisk before baking.
- → What’s the difference from Yorkshire pudding?
Yorkshire pudding and popovers use a similar batter, but Yorkshire pudding is cooked with meat drippings, making it savory. Popovers are baked in butter, so they're more neutral in flavor.
- → Can I add extra flavors?
Of course! Toss in some cheese like cheddar, fresh herbs like parsley, or try sweet touches like cinnamon and sugar. Fold them in lightly after mixing so the batter stays airy.