
 Save
Save
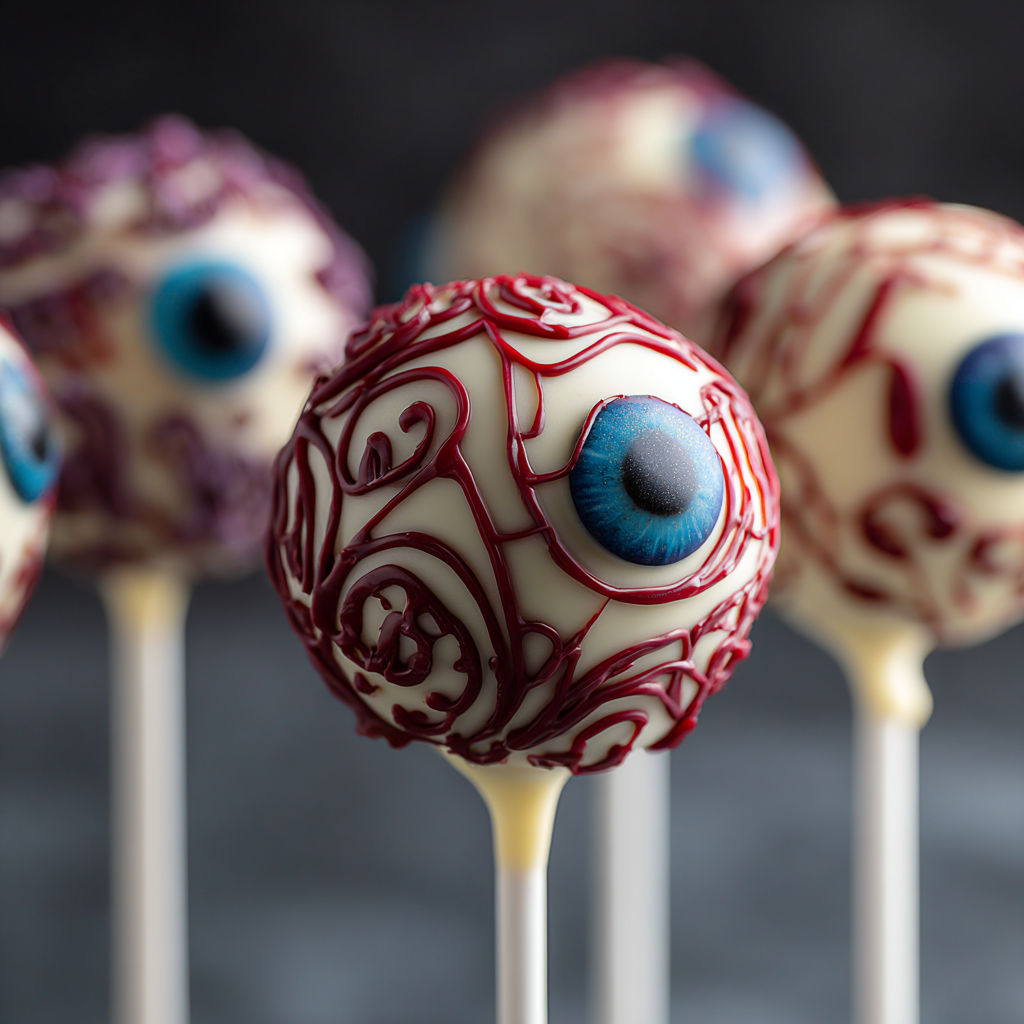
Eyeball cake pops are a playful showstopper perfect for Halloween parties or anytime you want a treat that wows little kids. The combination of silky white chocolate and soft vanilla cake creates that perfect blend of sweet and creamy and the process is honestly a blast. These have become my go-to for spooky gatherings and the decorating part always gets lots of laughs.
The first time I made these for a neighborhood Halloween party everyone ended up nibbling on cake trimmings and fighting to pipe the bloodshot veins. They went so fast there were none left for breakfast the next morning.
Ingredients
- Vanilla cake mix: as the base for the richest texture and it blends smoothly for molding
- Eggs, oil, and water: for baking the cake use fresh eggs and a neutral tasting oil for the best flavor
- Vanilla frosting: for that classic creamy binder homemade tastes even better but canned works fine
- White chocolate melts: to give a smooth glossy shell look for high quality melts made with cocoa butter not just vegetable oils so the finish sets up crisp
- Candy eyeballs: for the dramatic effect grab extra in case of breakage and look for ones with clear deep black pupils
- Red icing and blue icing: for realistic veins and the iris choose gel versions for intense colors
Instructions
- Bake the Cake:
- Prepare your cake mix as directed on the box for either an eight or nine inch pan. Use the toothpick test to check for doneness and let it cool completely before moving on. Cool cake crumbles give you the best texture.
- Crumble the Cake:
- Break up the cooled cake into a large bowl with your hands or two forks until completely crumbed. Keep working it until there are no big chunks left because that helps your pops stay smooth.
- Mix with Frosting:
- Scoop the vanilla frosting into the crumbs. Mix until the cake forms a thick dough and everything pulls together. It should feel like playdough and hold its shape when squeezed.
- Shape the Balls:
- Scoop out tablespoon sized portions and roll into smooth one inch balls. Place them on a parchment lined baking sheet. Pop the sheet in the freezer for about one hour so the pops firm up and are easier to dip.
- Melt the Chocolate:
- In a microwave safe bowl heat your white chocolate melts in thirty second bursts stirring in between until smooth and glossy. Tempering helps prevent streaks and gives the best shell.
- Dip and Skewer:
- Dip the very tip of a cake pop stick into the melted chocolate and then gently push it halfway into each cake ball. This helps anchor the stick so the cake pop does not slide off later.
- Coat Each Cake Pop:
- Dip each pop into the melted white chocolate spinning the stick to evenly coat the entire ball. Tap off any excess and place upright in a foam block or a mug to set. Let the coating fully harden before decorating.
- Decorate the Eyeballs:
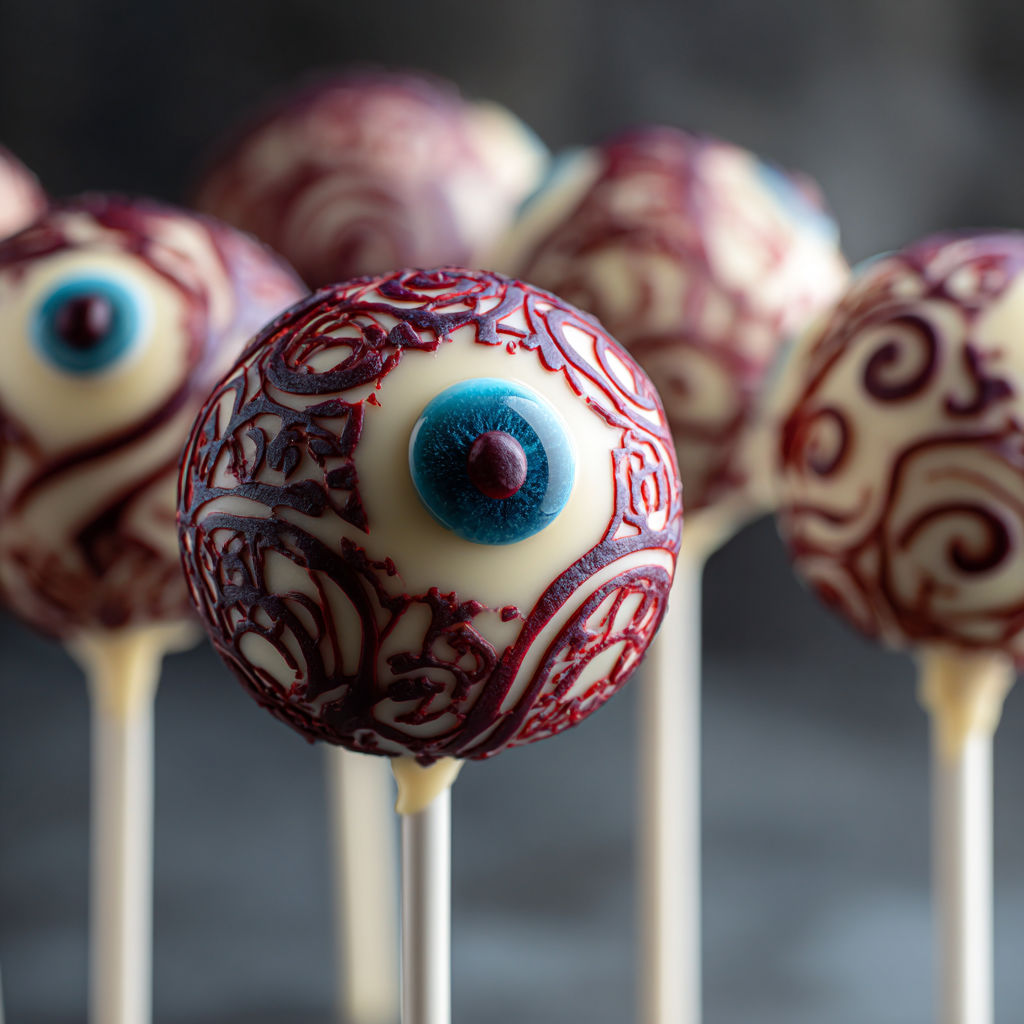
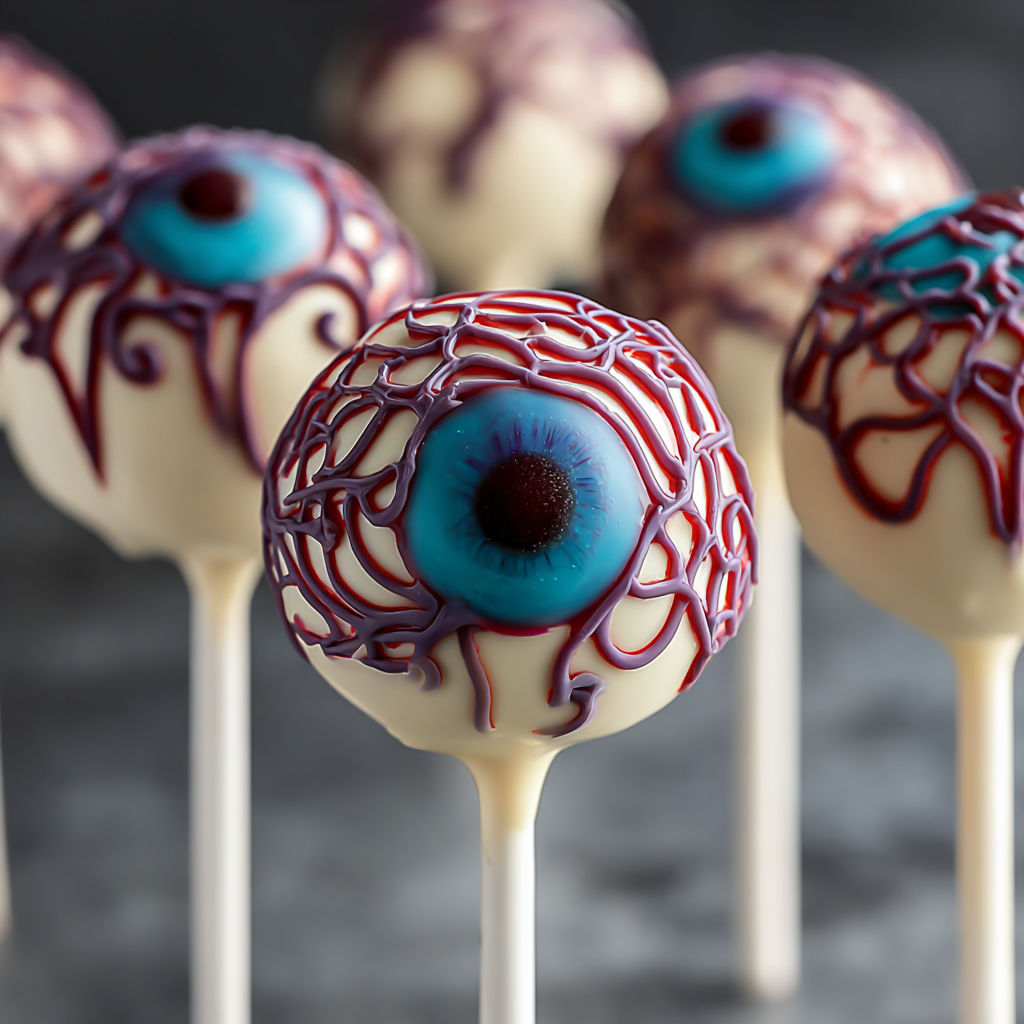
- Place a candy eyeball right in the center while the chocolate is still tacky. Use red icing to draw fine squiggly veins outward from the eyeball and add blue icing for the iris. If you like pipe a black dot for added drama. Let them dry completely.
Honestly the red squiggly veins are where I get creative. My younger cousin once tried to pipe a lightning bolt vein and it became a running joke at every family Halloween. The candy eyeballs never fail to make everyone giggle and they are my secret weapon for party treats.
Storage Tips
Let cake pops set until the coating is fully hard before wrapping. Store in an airtight container at room temperature for up to three days. For longer storage keep them refrigerated to maintain freshness but let them come to room temp before serving for the best taste.
Ingredient Substitutions
You can swap chocolate cake mix for a darker look or use cream cheese frosting instead of vanilla for tang. Try dark chocolate melts if white chocolate is not your thing but keep in mind the finished pops will look less like eyeballs.
Serving Suggestions
Push cake pops into a block of floral foam or arrange in a cauldron for a party centerpiece. Wrap individually in cellophane bags for spooky party favors.
Cultural and Historical Context
Cake pops gained popularity in the early 2000s from bakeries experimenting with portable treats. Transforming them into eyeballs for Halloween adds a dash of seasonal creativity with minimal extra effort.
Seasonal Adaptations
Use orange melts and candy pumpkin decorations for a fall harvest theme. Decorate with green veins and a yellow iris for a monster look. Add some edible glitter for a magical Halloween twist.
These eyeball cake pops are guaranteed to be the highlight of your Halloween spread. They are fun for all ages and will disappear fast.
Common Recipe Questions
- → How do I get the cake pop texture right?
Mix crumbled cake and frosting until the mixture is moist enough to hold its shape but not overly sticky for easy rolling.
- → Can I use homemade cake instead of box mix?
Yes, any vanilla cake works as long as it has a light crumb and pairs well with frosting for rolling into balls.
- → What type of chocolate works best for coating?
White chocolate melts or candy melts provide a smooth, firm coating that sets well and allows for easy decorating.
- → How do I keep cake pops from falling off the stick?
Dip the stick in melted chocolate before inserting into the cake ball. Chilling helps secure the stick in place.
- → How long do decorated cake pops stay fresh?
Store in an airtight container for up to 4 days at room temperature, or refrigerate for longer freshness.