
 Save
Save
Looking for a filling and protein-loaded way to start your day or have a quick, easy lunch? These salty chickpea waffles check all the boxes—they use just a few basic ingredients you probably already have and make a perfect base for tons of toppings. They’re crispy outside but soft in the middle, giving you that cozy feeling bite after bite. I keep coming back to them whenever I want something tasty but don’t want to fuss with weird flours or tricky methods.
My first go at these chickpea waffles was for a lazy Saturday brunch and everyone at home was blown away by how satisfying and savory they turned out. Now if I need a quick, wholesome dish but want to shake up the usual, this is the one I reach for.
Tasty Ingredients
- Sugar (optional): Add a touch to balance out all the salty notes, or skip if you want them fully savory.
- Kosher salt: Wakes up the chickpea flavor and keeps everything in check. Try a pinch, taste as you go—different brands taste stronger or weaker.
- Extra virgin olive oil: Adds that little bit of richness and helps get the outside super crunchy. Go for an oil with a spicy kick if you like a deeper flavor.
- Water: Gets the mixture just loose enough so it cooks up with a light texture. Filtered is best for a clean taste.
- Chickpea flour: The secret to these being seriously hearty and packed with plant protein. Make sure it smells warm and nutty for the freshest result.
Simple Step Guide
- Keep Waffles Warm and Store:
- Cooking for a group? Place your cooked waffles on a rack over a baking tray in a low oven (200 degrees) for up to 15 minutes so everyone eats them hot and crispy. For leftovers, cool completely and layer them with parchment or wax paper before freezing—up to two months works great. To bring back the crunch, reheat straight from the freezer in your toaster or toaster oven.
- Cook the Waffles:
- When your waffle iron is ready, brush the plates lightly with oil or cover with nonstick spray so nothing sticks. Pour just enough batter to fill the mold, close up, and cook until golden brown with crispy outer edges. Gently lift them out and keep going until you’ve used up your batter.
- Preheat the Waffle Iron:
- Dial your waffle iron to medium-high. Wait until it’s piping hot so the minute that batter hits, it’ll start to crisp off that classic golden crust.
- Prepare the Batter:
- In a big bowl, mix chickpea flour, water, oil, salt, and that optional sugar really well—no lumps! Let this stand at room temp for at least an hour or give it as long as nine to let the flavors really wake up and the batter thicken just a bit. Plan ahead and you’ll have it ready to cook whenever you need it.
What I really love is when my kids gather around to choose their own toppings—from tangy yogurt with herbs to an extra glug of olive oil. It gets everyone in on the fun and keeps things chill at the table. It turns mealtime into hangout time, which is the best part.
Storage Ideas
Chickpea waffles hold up better than you’d think. Let them cool, stack with parchment, and stash in a sealed container in the freezer. Pop them right in your toaster or oven to make them crispy again. You can leave them at room temp for a day or so, but just know they lose their crunch after a bit. Freezing a batch means you always have a protein-packed snack or fast breakfast at your fingertips.
Swaps and Options
Chickpea flour is what makes the flavor pop, but you can trade out part of it for some brown rice flour or quinoa flour if you want something a little different—just be sure at least half stays chickpea so you keep the structure. For a creamier taste, swap some of the water for plain yogurt (no flavor or sugar) or even coconut milk. Want them herby? A handful of chopped green onions or parsley stirred in is fabulous.
Fun Ways to Serve
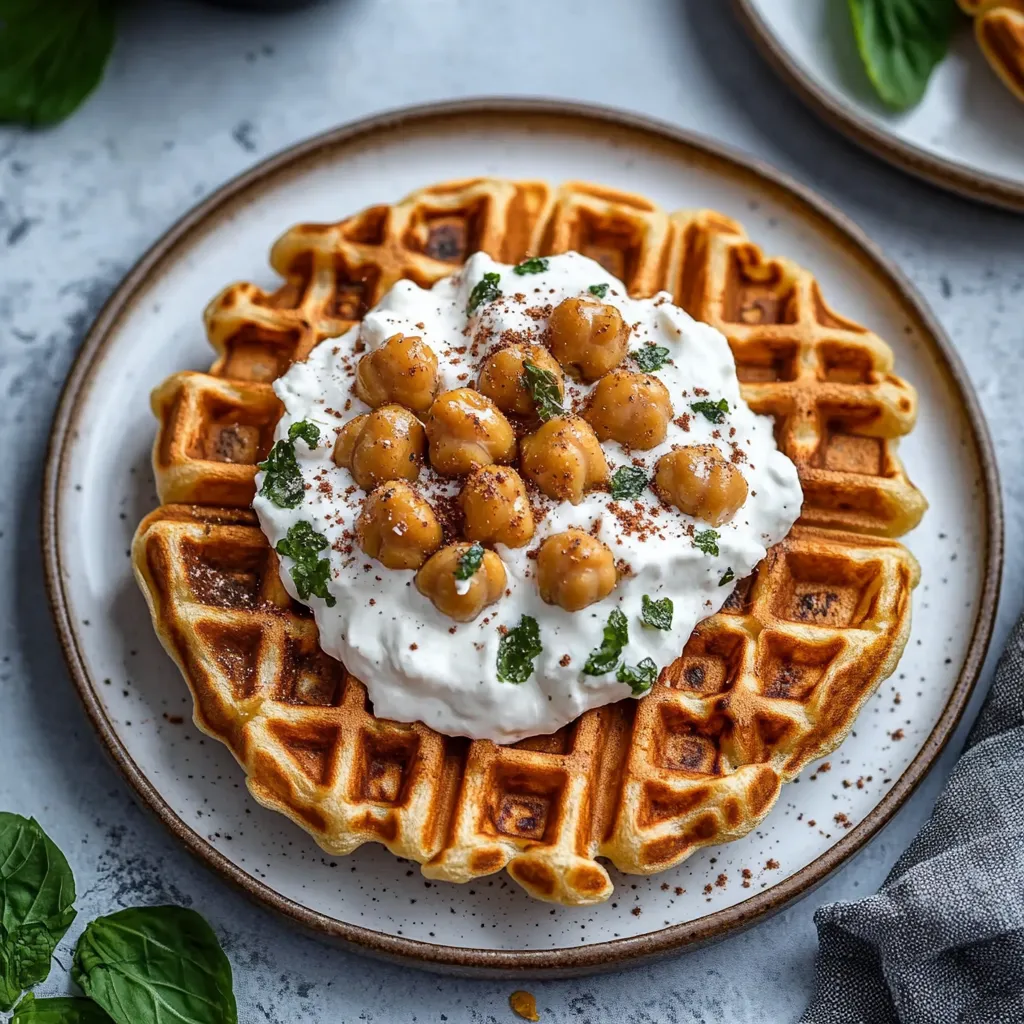
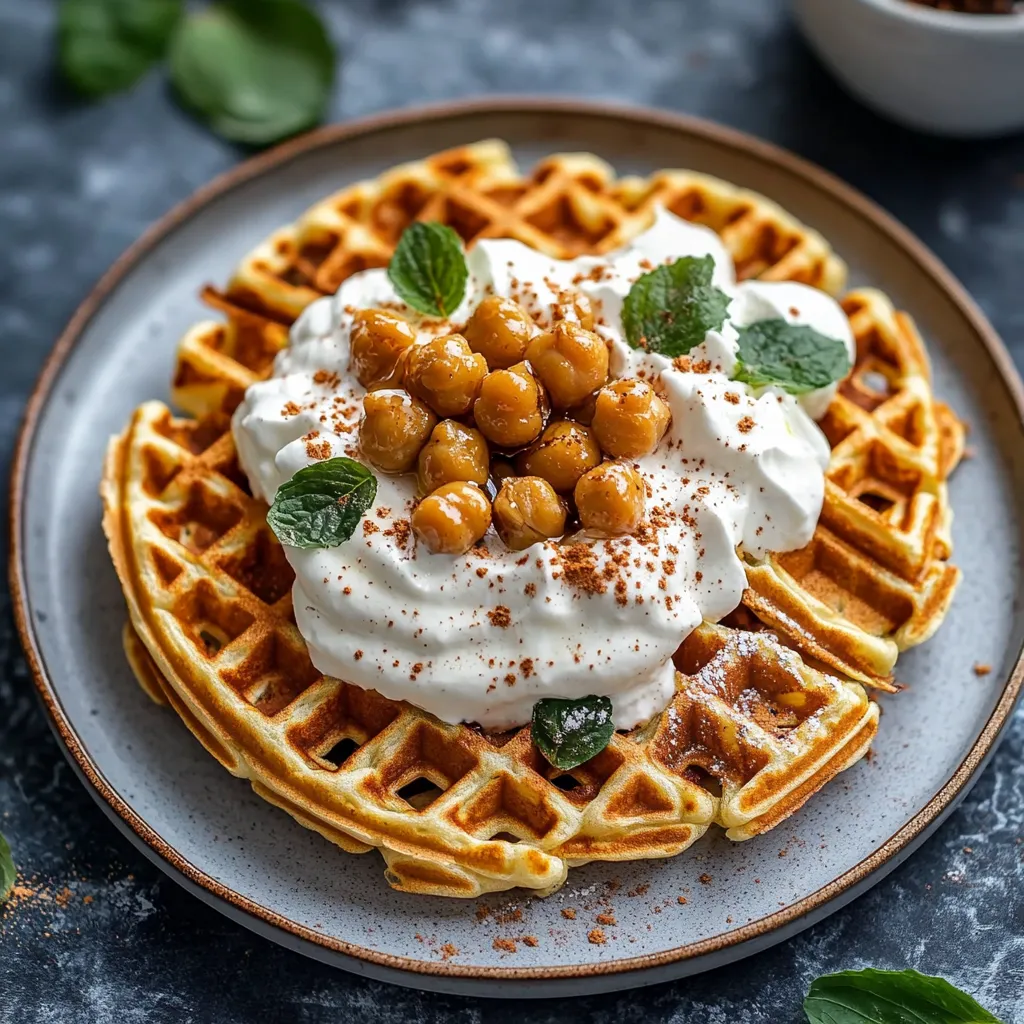
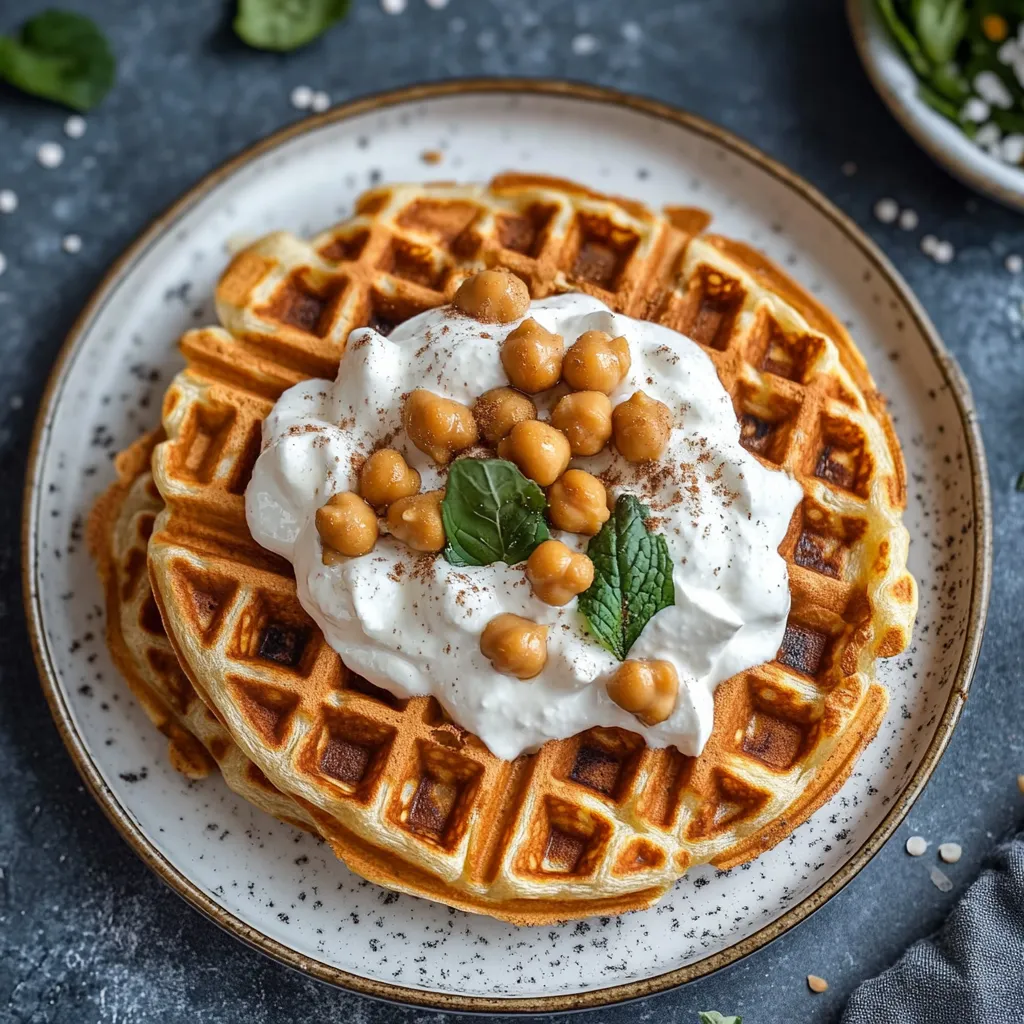
Spread a little Greek yogurt with fresh-cut herbs or spoon on some spicy tomato chutney—these waffles go with anything. Try them next to a crispy salad for lunch or throw sautéed greens and a fried egg on top for a brunch that’ll keep you going. I pack extras in lunch boxes with avocado or roast veggies for a grab-and-go bite.
Story and Traditions
Also called besan or gram flour, chickpea flour shows up in kitchens from India to Italy. While most people think of waffles as a breakfast thing in the US, these salty ones are a playful twist inspired by Mediterranean street foods like farinata and socca (those chickpea flatbreads). Every crunchy bite feels both new and comfortingly familiar to me.
Once you get the hang of these, you’ll want to make chickpea waffles all the time. They’re tasty and flexible enough for any meal, weekday or weekend. Honestly, they’re a crowd-pleaser—fast, satisfying, and just different enough to feel fresh every time.
Common Recipe Questions
- → Why use chickpea flour for waffles?
Chickpea flour packs in flavor and protein, so your waffles taste hearty and get a nice crunch—plus, there’s no gluten.
- → How long should the batter rest?
Letting it sit for an hour helps the mix get thicker and gives you crispier bites.
- → Can I prepare the batter ahead of time?
You sure can—mix it up and just leave out (not in the fridge) for up to nine hours. Makes last-minute cooking a breeze.
- → What is the best way to prevent sticking?
Brush olive oil on a hot waffle maker or use some nonstick spray before pouring in the batter so waffles pop right out crisp.
- → How should leftovers be stored and reheated?
Cool off, stack with parchment, and freeze for a couple months. To get the crunch back, just pop in a toaster oven.