
 Save
Save
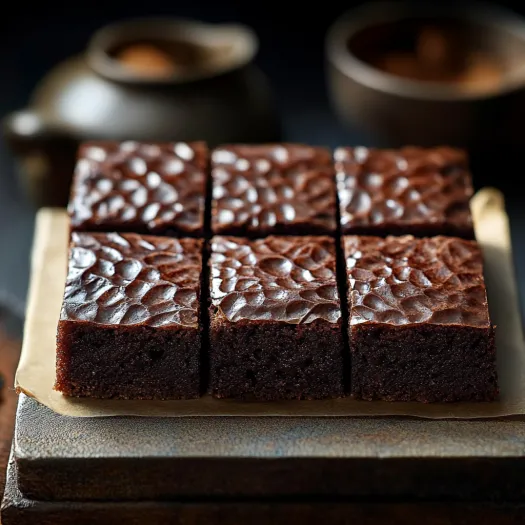
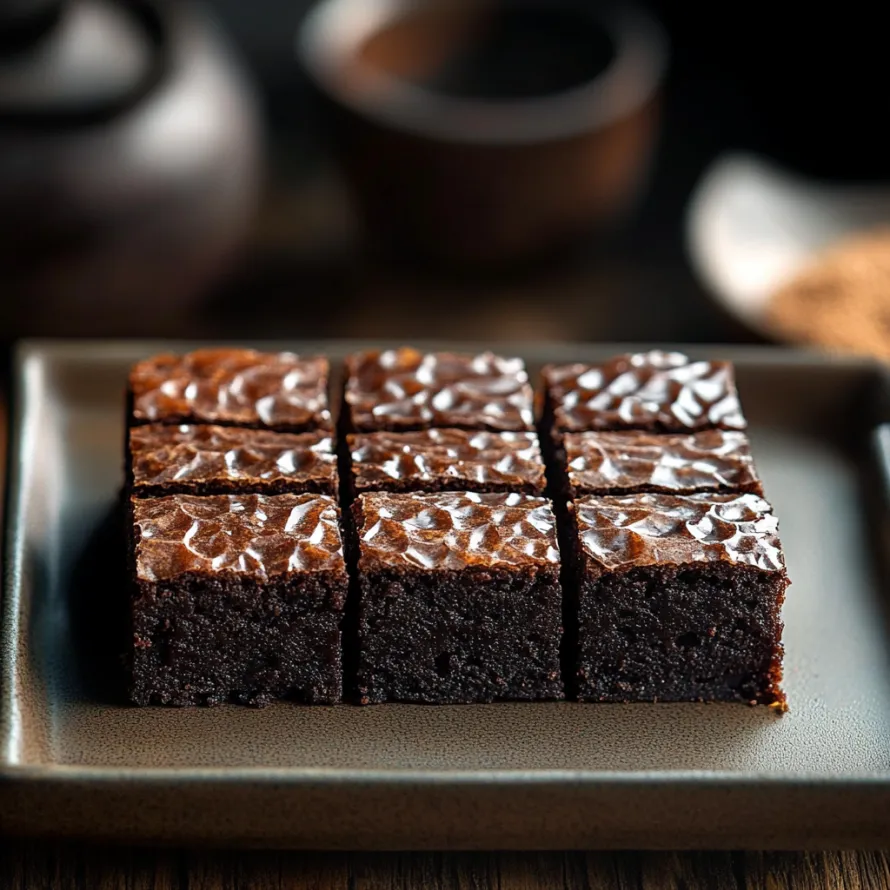
This chewy chocolate mochi square blends the gooey richness of chocolate with mochi's distinctive stretchy bite. I stumbled upon this creation while hunting for wheat-free options instead of classic brownies, and it's now my favorite sweet to wow friends who think they've sampled every possible brownie twist out there.
I first whipped these up during a stormy day baking marathon when I wanted something different to tackle my chocolate cravings. The surprising texture totally grabbed me, and now they're my go-to when I need a dessert that gets people talking.
Ingredients
- Mochiko flour: Creates that unique stretchy bite and can't be swapped if you want the real deal
- Unsweetened cocoa powder: Brings bold chocolate flavor without going overboard on sweetness
- Granulated white sugar: Works with the cocoa and helps form that crackly top
- Baking powder: Adds just a bit of rise without making them too fluffy
- Unsalted butter: Brings moisture and flavor - try fancy European kinds for extra luxury
- Large eggs: Hold everything together while helping create that fudgy center
- Whole milk: Gets the wetness just right - don't skimp with low-fat kinds
- Vanilla extract: Boosts the chocolate taste - stick with real stuff not fake
- Chopped dark chocolate pieces: Make little melty spots throughout - go for 70% dark for best flavor
Step-by-Step Instructions
- Get Your Pan Ready:
- Heat your oven to 350°F and put parchment in an 8x8 inch pan with extra hanging over the edges so you can lift it out later. The paper stops sticking and makes cleanup super easy.
- Combine All Dry Stuff:
- In a bowl, stir together the mochiko flour, cocoa, sugar and baking powder. Mix for about half a minute to break up clumps and spread the baking powder evenly. This stops any weird bitter spots from forming.
- Mix All Wet Stuff:
- In a bigger bowl, stir the melted butter, eggs, milk and vanilla until they're all smooth and the same color. Let the butter cool a bit first so it won't cook the eggs. You want it looking shiny and even.
- Put Everything Together:
- Pour the dry mix into the wet ingredients and stir for a minute or two until fully mixed. Don't worry that it looks runnier than normal brownie batter - that's just how it works. Keep stirring until you can't see any dry spots and it's all chocolatey.
- Bake It Just Right:
- Pour your mix into the pan and scatter chopped chocolate across the top. Bake for 60-70 minutes, watching carefully after an hour. They're done when the sides pull back a bit and a toothpick comes out mostly clean with a few wet crumbs. Let them cool for at least 2 hours before cutting.
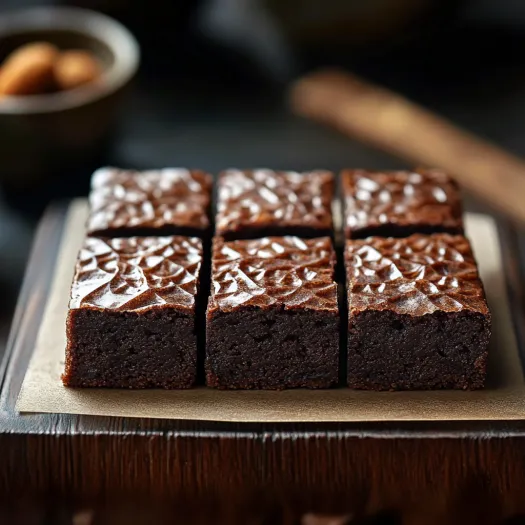
What I love most about these treats is how the super chocolatey middle contrasts with the slightly crunchy top. The first time I brought them to a dinner, my friends spent ages trying to figure out what made them so unusual and tasty before I told them the secret was mochi flour.
The Wonder of Mochiko
Mochiko is sweet rice flour sometimes called glutinous rice flour even though it's got no gluten in it. It gives these treats their amazing chewy feel that actually gets better overnight. The starches in mochiko build a special structure that makes these totally different from regular wheat brownies. Try to find Japanese brand mochiko for the most authentic results, but any sweet rice flour will do the job.
Storage Instructions
These mochi squares actually get tastier with time. Keep them in a sealed container on your counter for up to 3 days, or in the fridge for a week. Putting them in the fridge makes them even chewier, more like traditional mochi. You can also freeze them for up to 3 months - just wrap each piece in plastic and put them in a freezer bag. Let them sit out for about an hour before eating.
Serving Suggestions
These mochi treats taste great by themselves, but they're amazing with some vanilla ice cream or whipped cream to balance out how rich they are. For a fancy touch, sprinkle some powdered sugar on top right before serving, or add a little caramel sauce. They go perfectly with afternoon tea or coffee, and their unusual texture always gets people talking.
You've got to try these stretchy mochi brownies if you love desserts - they mix textures and flavors in a way you won't forget.
Common Recipe Questions
- → What is mochiko flour?
Mochiko flour comes from short-grain Japanese rice and is often called sweet rice flour or glutinous rice flour. Don't worry, it doesn't have gluten in it. The name comes from how sticky and chewy it gets after cooking. This ingredient creates the bouncy, chewy feel that makes these squares so special.
- → Can I substitute regular flour for mochiko flour?
Sadly, you can't swap in all-purpose flour for mochiko in this recipe. The bouncy, chewy texture only happens because of the special qualities in glutinous rice. You'll find mochiko flour at Asian markets or sometimes in the world foods section at bigger grocery stores.
- → Why do these brownies need to bake so long?
These squares need 60-70 minutes because mochiko flour makes a very wet batter that takes time to firm up properly. The longer bake ensures the middle sets while creating that signature chewy bite. They won't dry out like normal brownies would with this much time in the oven.
- → How should I store mochi brownies?
Keep your mochi squares in a sealed container at room temperature and they'll stay good for 3 days. You can also pop them in the fridge for up to a week, but they'll get firmer when cold. Just warm chilled squares in the microwave for 10-15 seconds to bring back their soft, chewy magic.
- → What's the texture difference between these and regular brownies?
Regular brownies are rich and fudgy but tend to crumble. These mochi squares have a bouncy, stretchy bite with less crumbling. They've got a nice elasticity thanks to the mochiko flour while still tasting deeply chocolatey. They feel a bit like mochi desserts but with all the rich flavor you want from chocolate treats.
- → Can these brownies be frozen?
You bet these squares freeze well. Cut them up, wrap each piece in plastic, and tuck them in a freezer bag. They'll stay good frozen for up to 3 months. Let them thaw on the counter or zap frozen pieces for 20-30 seconds in the microwave when you need a quick sweet fix.