
 Save
Save
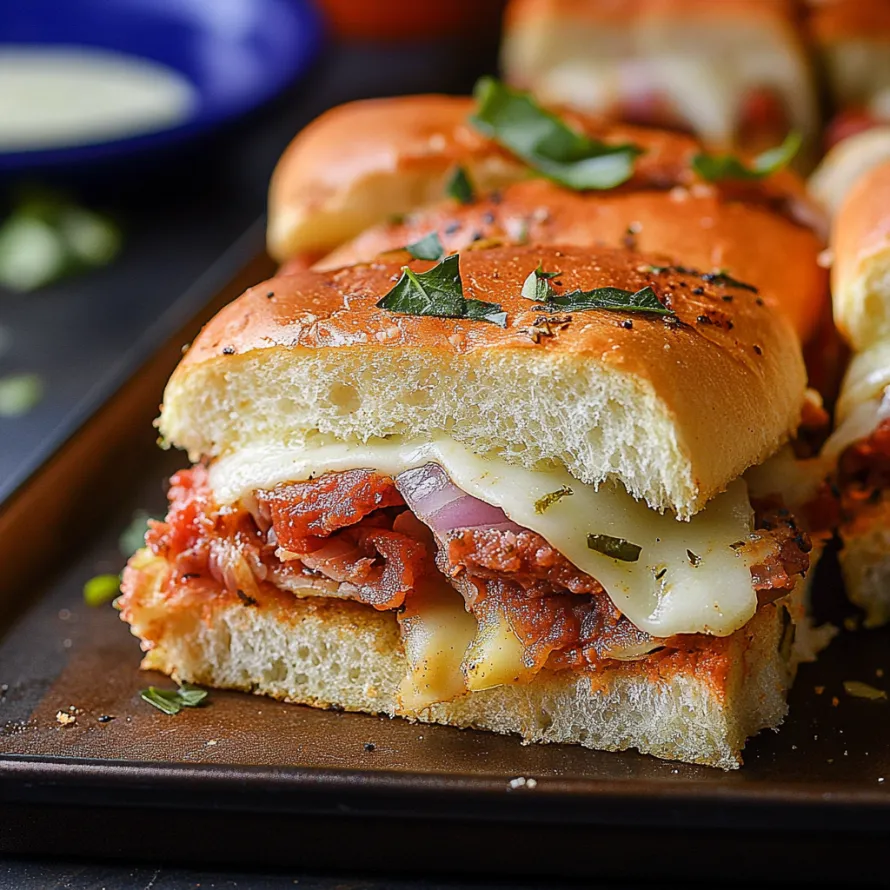
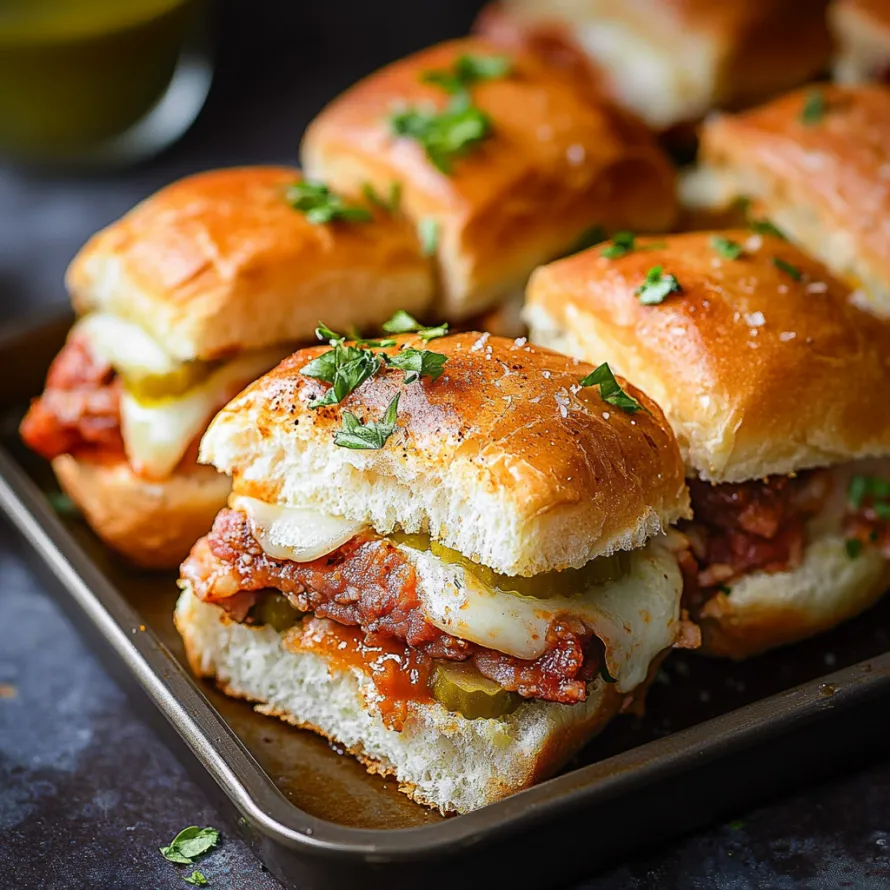
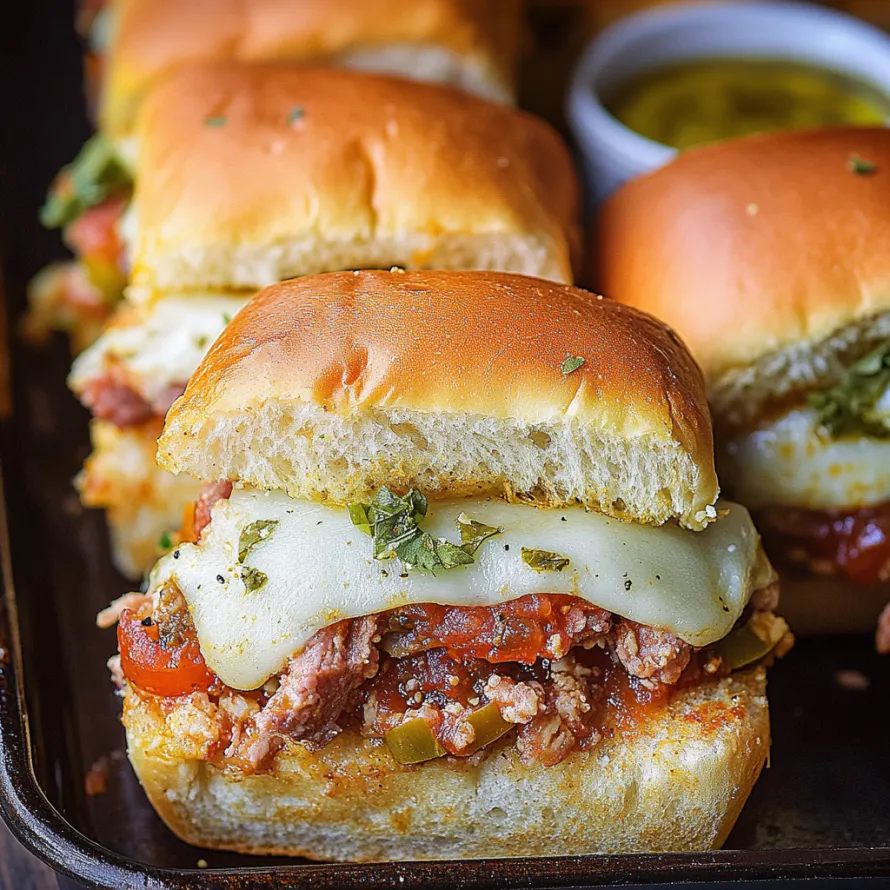
This spicy Italian slider sandwich turns ordinary deli cuts into an irresistible party snack that guests always gobble up quickly. Mixing three different meats with smooth provolone and zesty peppers creates that unmistakable Italian sub taste in bite-sized, crowd-pleasing form.
I whipped these up for a block party when I was running behind schedule, and now they've become my go-to dish that everyone asks me to bring whenever we hang out.
Ingredients
- Kings Hawaiian rolls: Chosen for their touch of sweetness that works amazingly with the savory stuff inside
- Thinly sliced ham: Creates a mellow flavor foundation that lets other ingredients stand out
- Salami: Delivers that unmistakable deli taste with just the right mix of saltiness and spices
- Pepperoni: Adds that fiery kick that sets these sliders apart
- Provolone cheese: Gets all gooey when heated and packs that real Italian sandwich flavor
- Pepperoncini: Gives a zingy freshness that cuts through the heavy elements
- Hot cherry peppers: Throw in vibrant color and enough heat to wake up your palate
- Butter, garlic, and Italian seasoning: Team up for a topping you can't say no to
- Fresh garlic: Way better than the jarred stuff for getting that powerful taste
Step-by-Step Instructions
- Get Your Oven Hot:
- Turn it up to 350 degrees Fahrenheit. This temperature's just right to warm everything through, melt the cheese nicely, and crisp up the tops without burning them.
- Fix The Bread:
- Slice those Hawaiian rolls across the middle while keeping them all connected. Put the bottom piece on your baking sheet. Keeping them together makes everything way faster than doing separate sandwiches.
- Stack Your Fillings:
- Cover all the bread with ham first as your bottom layer. Then add salami, followed by pepperoni to build up those flavor levels. Top it all with provolone, making sure it stretches across everything to hold it all together when it melts.
- Throw On The Peppers:
- Scatter cherry peppers and pepperoncini all over the cheese. These tangy bits balance out all that rich meat and cheese with some zing and heat.
- Mix Up Your Topping:
- Stir melted butter with Italian seasoning and freshly smashed garlic until it's all blended. This fragrant mix will soak into the bread and make every bite taste amazing.
- Brush And Wrap:
- Slather that butter mix all over your sandwich stack, getting it into every corner. Cover the whole tray with foil to keep moisture in and help the cheese get all melty.
- Cook Until Done:
- Bake for about 30 minutes until you see golden brown tops and completely melted cheese. The foil stops the tops from getting too dark too soon.
- Cut And Enjoy:
- Let them cool just a moment then cut between the rolls where they naturally separate. Serve them while they're still warm with some marinara sauce on the side if you want.
The pepperoncini might look like a small touch but they bring that real Italian sandwich shop flavor that turns these sliders from basic to incredible. My folks always fight over the pieces with extra peppers so I now throw in more than I'm supposed to.
Make Ahead Options
These sliders work great when prepped early. Put everything together except the butter topping the night before and stick it in the fridge. About half an hour before you want to eat, let them come to room temp, add the butter mix and bake them. They actually taste better when the flavors have had time to mix and mingle.
Perfect Pairings
These hot Italian sub sliders go great with a basic green salad drizzled with Italian dressing to cut through the richness. For bigger parties they match up nicely with cold pasta salad, warm baked beans or some roasted veggies. You don't have to serve marinara dipping sauce but it's really good – it adds that bright tomato flavor that rounds out the whole Italian taste experience.
Customization Ideas
You can switch up this basic slider formula lots of ways. Want something milder? Skip the hot cherry peppers and use banana peppers instead. Got vegetarian friends? Make them a version with grilled veggies, roasted red peppers and several kinds of cheese. You can also add thin-sliced red onion, fresh basil or a splash of Italian dressing for more flavor.
These Italian sub sliders turn any get-together into a success. Nobody can resist them!
Common Recipe Questions
- → Can I assemble these sandwiches early?
Definitely! You can prepare them up to a day before baking. Put everything together, but save the butter glaze for right before they go in the oven. Keep the rolls covered in the fridge, add the garlic butter topping, and bake when it's time to serve.
- → What rolls can I use instead of Hawaiian?
Any soft dinner roll or slider bun will work. You can go with brioche rolls, potato rolls, or basic slider buns. Just choose rolls that stay attached in one sheet so slicing them in half is easy.
- → Can I skip the meat or make these vegetarian?
For sure! Switch out the meats with roasted veggies like eggplant, zucchini, or peppers. You could also try plant-based meat replacements. Keep the cheese or swap it out for vegan-friendly options. The garlic butter topping works no matter the filling.
- → Are these sandwiches spicy?
They've got a mild kick from the pepperoncini and cherry peppers. Want less heat? Skip or cut back on the cherry peppers and stick with the mild pepperoncini. For more spice, toss in hot salami or add some chili flakes in the butter topping.
- → What sides taste good with these sliders?
Try dipping them in marinara sauce for extra flavor. Other options? A cool pasta salad, potato chips, crunchy pickles, or a green salad with Italian dressing. Want something heartier? Pair them with tomato soup or a warm minestrone.
- → Can I freeze the leftovers?
Yes, they freeze great! If freezing before baking, skip the butter topping, wrap them tightly, and freeze for up to a month. Thaw overnight in the fridge, add the garlic butter, and bake. If already baked, pop them in an airtight container and freeze for up to two months. Reheat at 325°F until they're warm.