 Save
Save
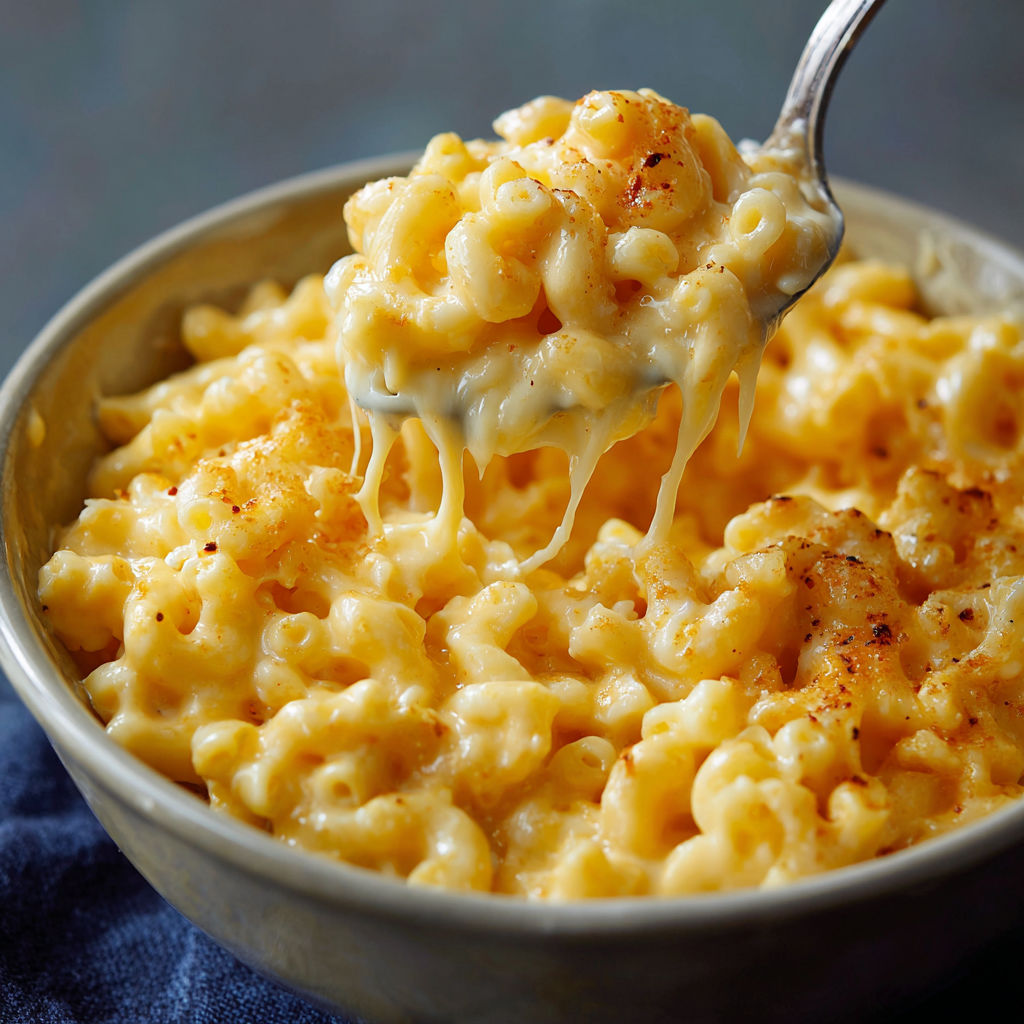
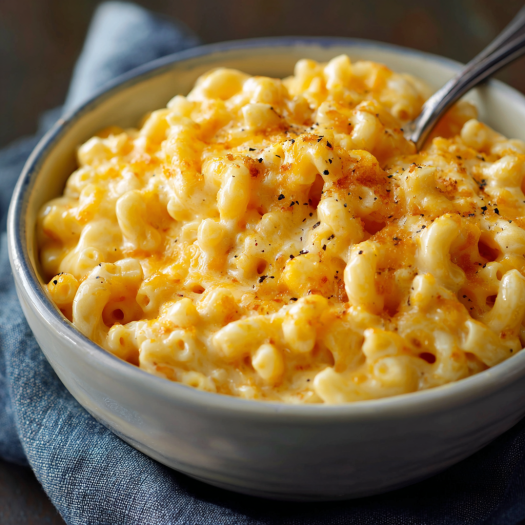
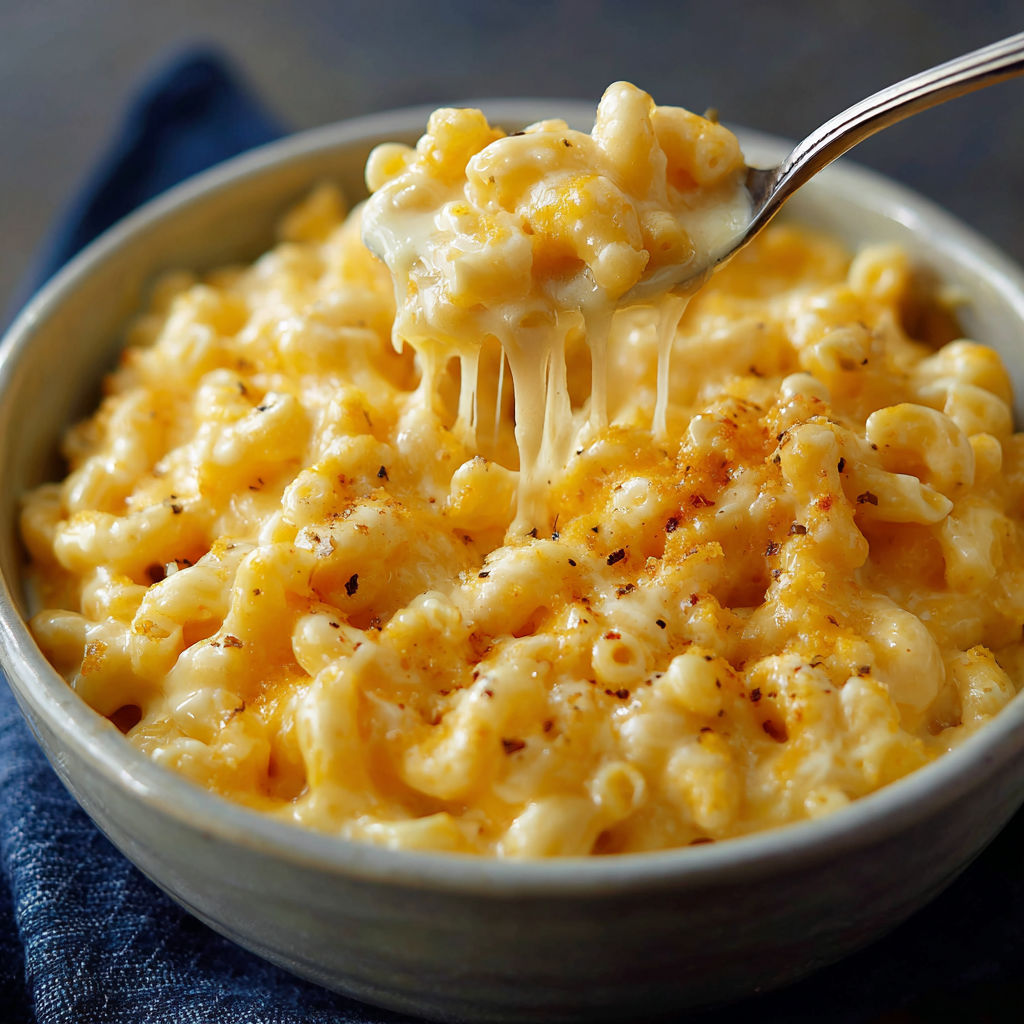
When cravings hit for creamy comfort food and time is tight, this stovetop mac and cheese is the answer. It is velvety rich and comes together faster than takeout. Great for quick weeknight dinners or lazy weekend lunches, it lets real cheddar shine. If you are looking for a dish that tastes like childhood nostalgia but fits into your grown-up schedule, this is it.
I whipped this up after a long day at work once and was shocked how quickly my mood turned around with just one cheesy bowl. It is now the dish I make for friends who need a little happiness on a plate.
Ingredients
- Elbow macaroni: The classic shape for mac and cheese. It holds onto the sauce perfectly. For best results choose pasta with a rough surface so the cheese clings well.
- Sharp cheddar cheese: The heart of the flavor. Use freshly grated cheese from a block to melt smoothly. Avoid pre-shredded bags for the creamiest results.
- Whole milk: Delivers richness and helps the cheese melt evenly. Look for milk that is fresh and cold for the best sauce.
- Butter: Adds a silky texture and a hint of richness. Choose unsalted if you want to control the saltiness of the final dish.
- Salt: Brings out all the best flavors in the cheese. Opt for sea salt or kosher for a clean taste.
- Black pepper: A gentle heat that balances the richness. Use freshly ground pepper for more depth.
- Mustard powder: Optional but brightens up the cheese sauce and helps sharpen the flavors. English or Dijon-style powder both work well.
Instructions
- Cook the Pasta:
- In a big pot fill with water and a good pinch of salt. Bring to a rolling boil. Add the elbow macaroni and cook for about seven or eight minutes until just al dente. Stir now and then so nothing sticks. Drain in a colander and give a quick shake but do not rinse. This keeps some starch to help the sauce cling.
- Make the Cheese Sauce Base:
- Place a medium saucepan over medium heat. Add the butter and let it melt fully until you see a bit of foam swirling around. Watch so it does not brown.
- Mix in Milk and Seasonings:
- Slowly pour in the whole milk and stir until combined. Sprinkle in the salt, black pepper and mustard powder if using. Keep stirring so the milk stays smooth and does not scald on the bottom. Heat this for two to three minutes so it is steaming but not boiling.
- Melt the Cheese:
- Add the shredded cheddar a small handful at a time. Stir gently after each addition letting it melt completely before adding more. This step makes the sauce thick and silky. Patience here pays off so you avoid lumps.
- Combine Pasta and Sauce:
- Tip in the drained macaroni and mix thoroughly so every noodle is coated with cheese. Keep it on low heat for one or two minutes so the flavors come together and the sauce clings fully. Taste once and adjust salt or pepper if needed.
- Serve Hot and Enjoy:
- Spoon the mac and cheese straight into bowls while it is hot and creamy. If you like, sprinkle extra cheddar or a dusting of pepper right on top.

Every time I open a fresh block I remember my grandma grating cheese by hand for our Sunday dinners. The aroma alone takes me right back to those cozy afternoons.
Storage Tips
Leftover mac and cheese will last up to three days in an airtight container in the fridge. Warm it gently on the stove with a splash of milk to bring back creaminess. If freezing, scoop portions into containers and thaw in the fridge before reheating for best texture.
Ingredient Substitutions
Swap the cheddar for Monterey jack or a combination of cheeses for new flavors. If you only have two percent milk it still works though whole milk gives a richer touch. For a dairy free version, use plant based butter, cheese and unsweetened non dairy milk but choose creamy varieties, not thin nut milks.
Serving Suggestions
Pair with roasted broccoli, sautéed greens or a crisp green salad for balance. For more protein, stir in cooked chicken or white beans. This is also the ultimate side for barbecue nights and potlucks.
Cultural Context
Macaroni and cheese has roots in European casseroles but became a comfort food classic in North America thanks to its simplicity and satisfying flavor. Today, it is loved for its ability to bring people together over a humble bowl of cheese covered noodles.
Seasonal Adaptations
Stir in steamed veggies like broccoli or peas in spring. Mix in roasted pumpkin or sweet potato puree for a fall version. Top with toasted breadcrumbs in winter for extra crunch.
Success Stories
A friend texted me after making this for her picky eater and said it was the first time he asked for seconds. I have even doubled the recipe for family gatherings and it disappears faster than anything else on the buffet table.
Freezer Meal Conversion
Scoop mac and cheese into freezer safe containers while still just slightly warm. Cool completely and cover tightly. To reheat, thaw overnight in the fridge and warm gently on the stove with a splash of extra milk. Stir often until it is creamy again.

No matter how often I make this, I am always amazed at the transformation from such humble basics to a bowl of pure comfort. Whether it is for a solo lunch or a family feast, this mac and cheese never lets me down.
Common Recipe Questions
- → What type of cheese is best for stovetop mac and cheese?
Shredded cheddar cheese offers a perfect balance of meltability and flavor, creating a smooth, creamy sauce ideal for this dish.
- → Can I use a different pasta shape?
Yes, while elbow macaroni is traditional, shapes like shells or rotini also work well to hold the creamy cheese sauce.
- → How do I prevent the cheese sauce from becoming grainy?
Use low to medium heat and stir cheese in gradually, allowing it to melt smoothly without overheating or curdling.
- → Is mustard powder necessary?
Mustard powder is optional, but it enhances the flavor depth of the cheese sauce without overpowering other ingredients.
- → How should leftovers be stored and reheated?
Store in an airtight container in the refrigerator, and reheat gently on the stovetop or microwave, adding a splash of milk if needed.
