
 Save
Save
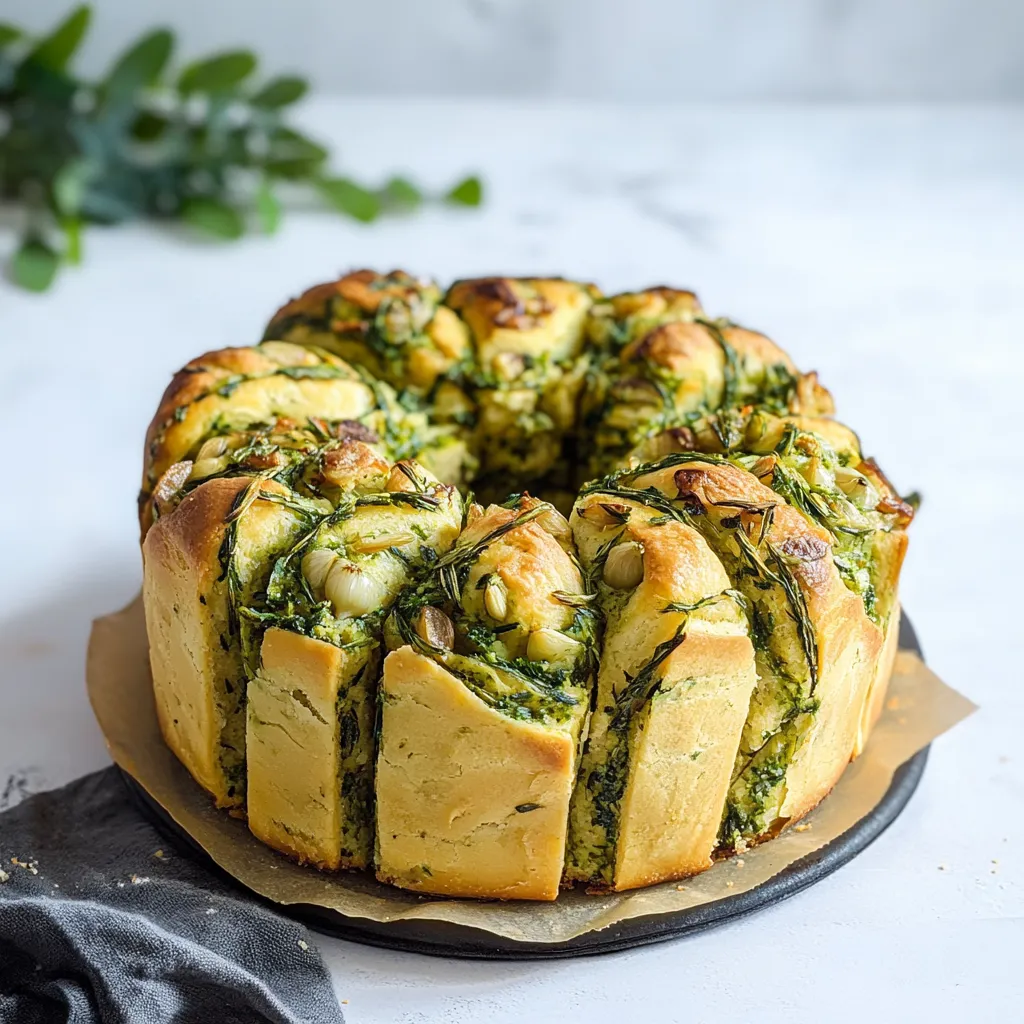
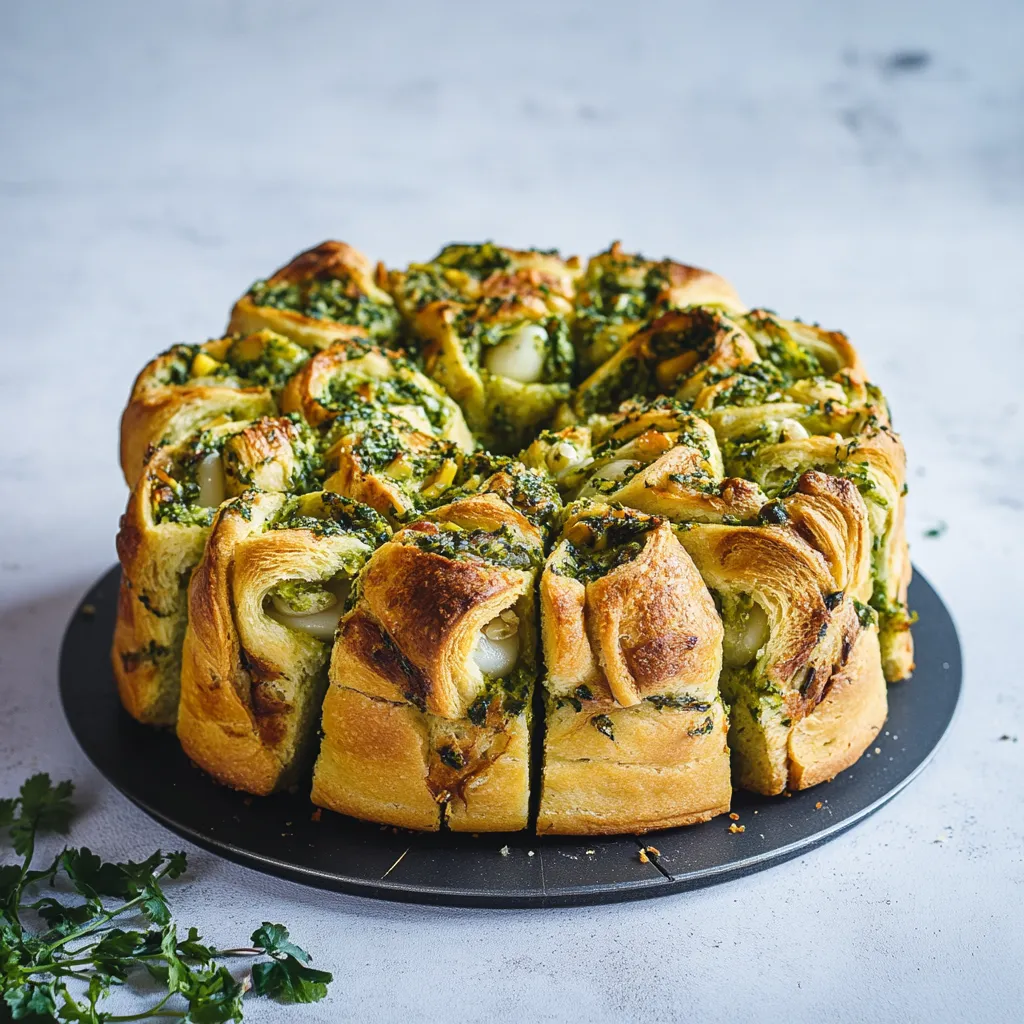
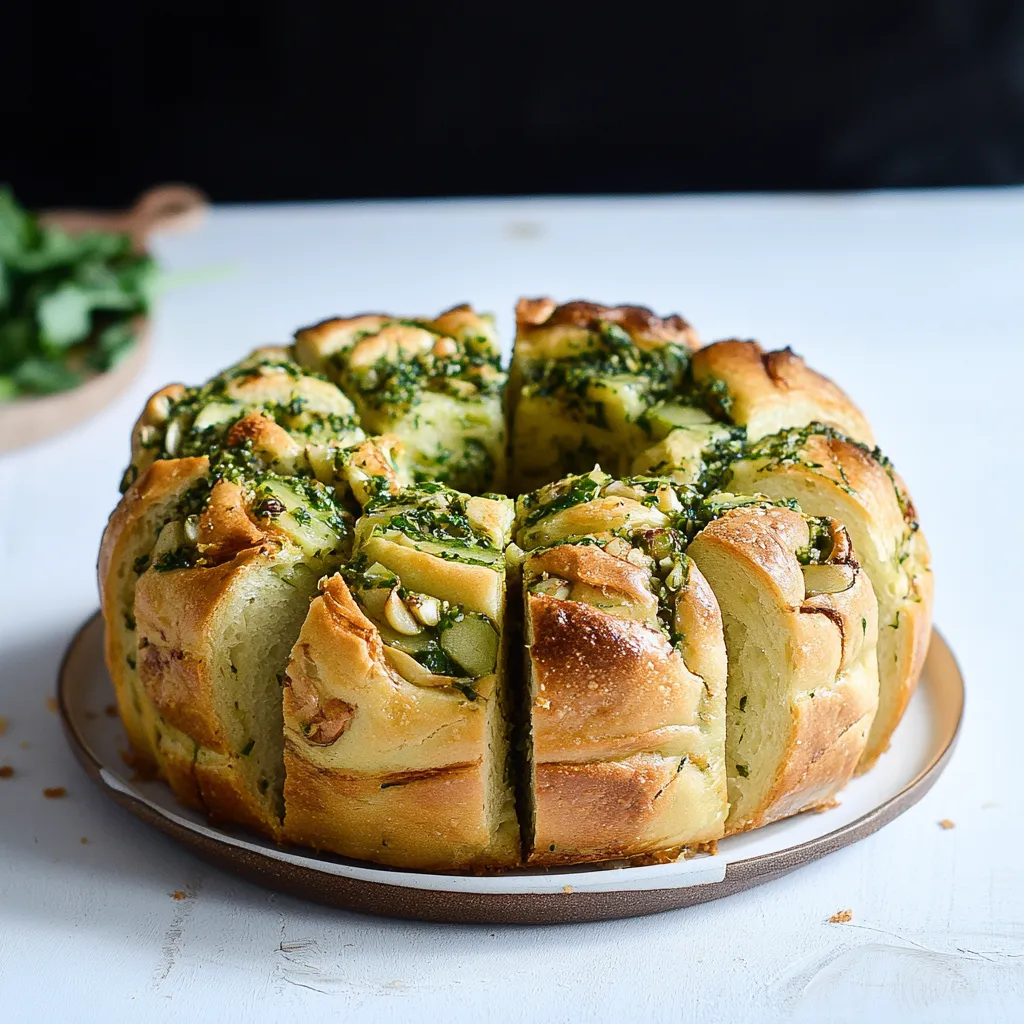
This plant-based pull-apart loaf with wild garlic turns basic ingredients into a head-turner that vanishes fast. Soft, pillowy bread layers loaded with homemade herby garlic butter make your whole house smell crazy good and everyone keeps coming back for more.
I whipped this up one early spring when wild garlic was everywhere in the forest. The first time I put it out at a family get-together, my brother—who never touches anything vegan—ate three big helpings before even asking what was in it.
Tasty Ingredients
- Wild Garlic Butter: 200 g vegan butter (just soft enough to smear easily, not totally melted)
- 40 g wild garlic: Brings an awesome pop of green and mellow garlic punch
- 1/4 tsp salt: Gives everything the right amount of balance
- Dough: 750 g wheat flour so your loaf turns out soft but sturdy
- 42 g fresh yeast: One whole cube so your bread always rises right
- 1 tsp sugar: Feeds the yeast to get it working
- 2 tsp salt: Adds taste and helps control the yeast
- 400 ml lukewarm water: Just warm enough (about body temp) to wake up the yeast
- 5 tbsp olive oil: Makes the bread tender and gives it a rich bite
Simple How-To
- Get Your Wild Garlic Butter Ready:
- Wash and dry those wild garlic leaves well. Give them a rough chop so they blend up easier. Toss the leaves, softened vegan butter, and a dash of salt into a food processor or blend with a stick blender. Pulse it all up until you've got a bright green, slightly chunky spread.
- Start the Yeast:
- Pour water (not too hot) and sugar into a cup. Break up the cube of yeast, drop it in, and stir until it's dissolved. Set aside somewhere cozy for 5-10 minutes—if you see bubbles and foam, it's good to go.
- Make the Dough:
- In a big bowl, mix salt and flour together. Add in your bubbly yeast water and olive oil. Knead it by hand or with a machine hook for about 5-8 minutes. You're aiming for a dough that's stretchy and just slightly sticky but pulls away from your bowl.
- Let It Rise:
- Shape the dough into a ball, stick it back in the bowl, and cover it with a damp tea towel. Leave somewhere warm and draft-free for an hour or so—it's ready once it's doubled in size. While that happens, make your wild garlic butter if you haven’t done it yet or let it soften out of the fridge.
- Shape Everything Up:
- After rising, lay out the dough on a floured spot. Press or roll it into a big rectangle (about 35 cm by 25 cm). Slather three-quarters of your garlic butter evenly over it, all the way to the edges. Split the rectangle lengthwise, then cut each half into strips about 5-6 cm wide.
Wild garlic is special for me because it’s always my sign that warmer days are coming. The first time I came across it, I actually smelled it on my walk before I even noticed the shiny leaves. Now every spring I only pick enough for a loaf or two, just taking care not to over-harvest and leave some for next year.
Oven Time and Finish
Crank your oven up to 180°C. Pop a spare baking sheet on the bottom rack to catch any drippy butter from your pan. Bake the bread for about 40-45 minutes until the top is golden and deeply crispy. Flick the bottom and if it sounds hollow, you nailed it.
Prep Ahead Tips
You can mix up the wild garlic butter ahead of time—keeps in the fridge for two weeks. For even more time, shape into a log, wrap in paper, and freeze up to three months. The dough itself can chill overnight in your fridge for more flavor, just give it enough time at room temp to rise properly the next day.
Switch It Up by Season
No wild garlic? No problem. This dough works with all kinds of herbs. Use basil and dried tomatoes during summer, rosemary and olives in the fall, or swap in spinach plus nutritional yeast if that's what you've got. Same method, just change up the fillings with what's fresh.
This bread looks impressive but honestly, it’s pretty easy and seriously tasty. It brings a burst of spring and lots of flavor to the table, every time.
Common Recipe Questions
- → Could I swap out fresh wild garlic for dried herbs?
Wild garlic gives the bold flavor and smell folks love in this bread. If you can't find it, blend together about 3-4 tablespoons chopped chives with 2-3 minced garlic cloves. Dried stuff isn't as punchy, though—worst case, mix in 1-2 tablespoons dried chives and a teaspoon of garlic powder if you have to.
- → How do I know it's baked through?
Once the crust is golden and crisp, usually after 40-45 minutes, that's your first clue. Give the top a tap; if it sounds hollow, it's done. Got a thermometer? Shoot for 190°F, or 88°C inside. The last 5 minutes, after you brush with more butter, adds loads of flavor and color too.
- → Can I prep this bread in advance?
Go for it! Make the dough and wild garlic butter a day before—let the dough snooze in the fridge overnight, which actually levels up the taste. Pull it out, let it warm up, then shape and bake as usual. Or, assemble the whole thing, keep it chilled (unbaked) up to 12 hours, warm up for half an hour, then bake.
- → What's the right size cake tin?
Best bet is a 21cm (about 8-inch) round cake pan with a removable bottom. Got a bigger one? The bread will be flatter and bake faster. A smaller one gives you a taller loaf that’ll need more oven time.
- → What goes well with wild garlic bread?
This bread is awesome with soup (especially something tomatoey or veggie-packed) and fresh salads. It's perfect for dipping into pasta sauces, or scoop it through some hummus or baba ganoush when folks come over. Or just grab a piece on its own for a snack.
- → Can extra wild garlic butter go in the freezer?
Definitely! Roll it up in plastic, or make small cubes using an ice tray, then freeze. It'll be good for about 3 months. Handy for flavoring veggies, pasta, or quick garlic bread later on.