
 Save
Save
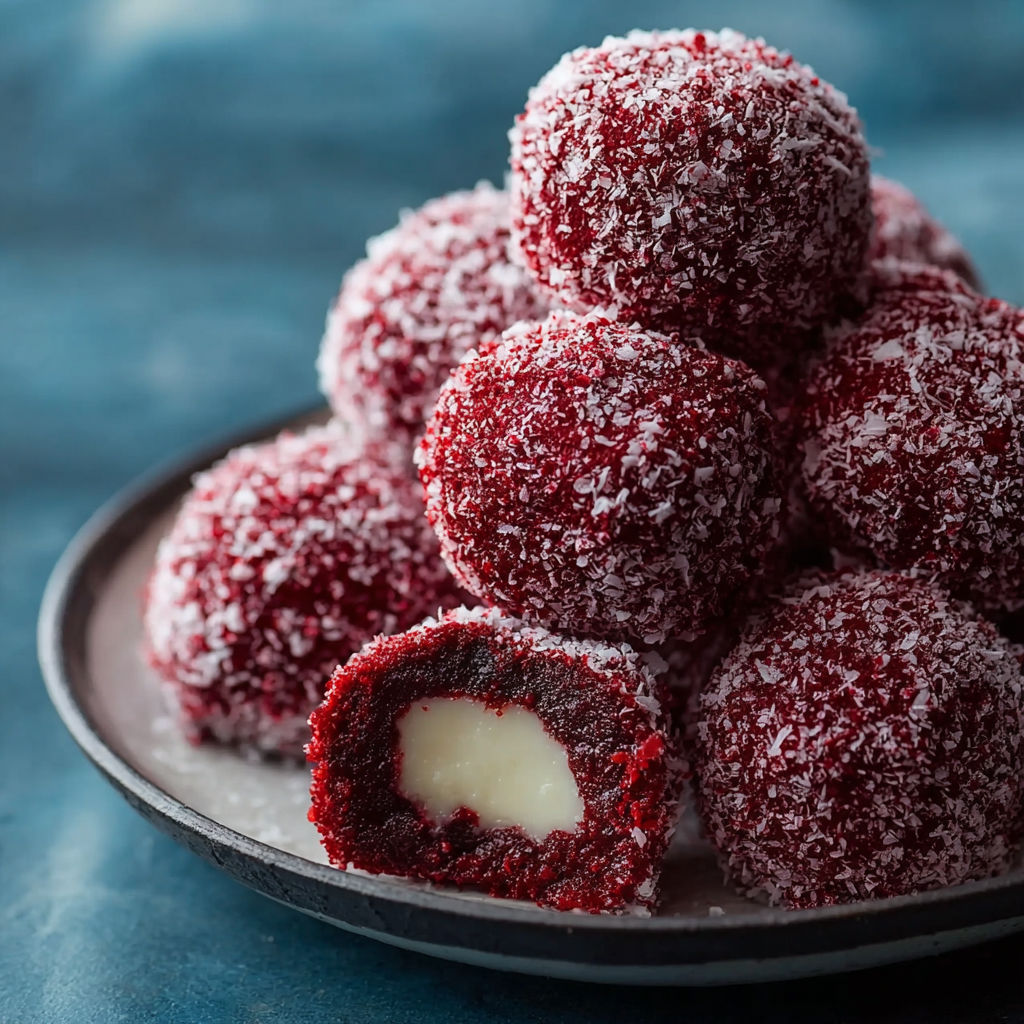
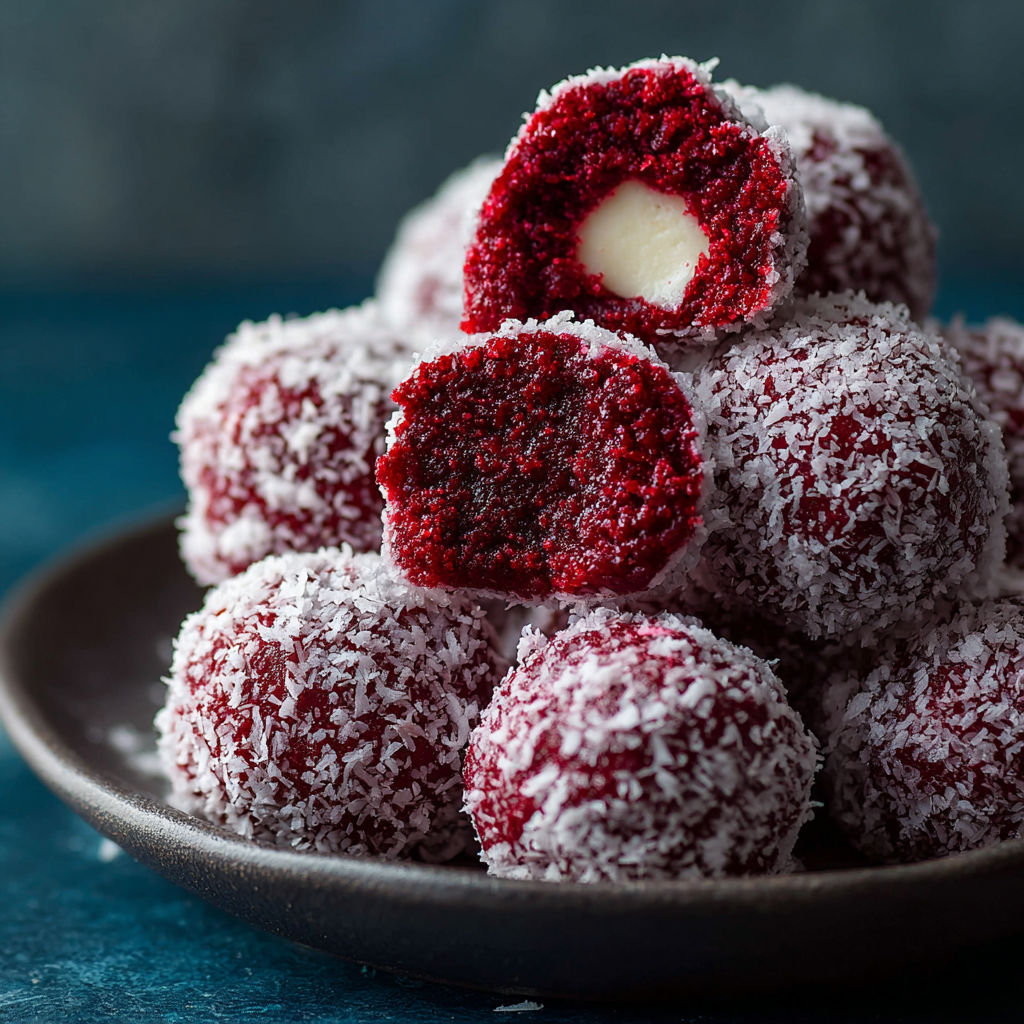
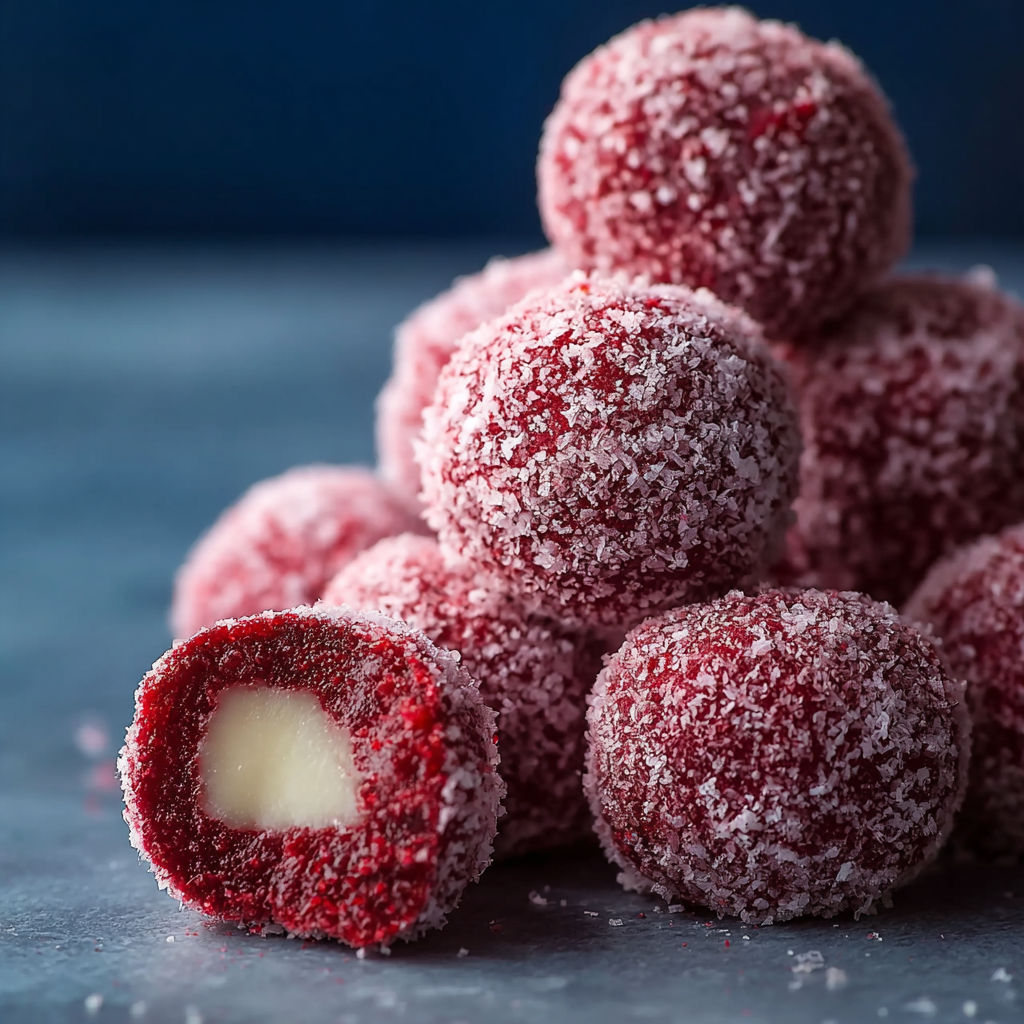
When a holiday cookie platter calls for something as dazzling as the season itself these Red Velvet Snowballs always deliver. Beyond their festive color each bite brings together soft cocoa goodness and delicate sweetness with a cloud of powdered sugar. Turn an ordinary afternoon into a celebration or make them a tradition for special winter gatherings
The first time I baked these my kitchen smelled like cocoa and winter mornings It was impossible to eat just one so now I double the batch whenever family visits
Ingredients
- All purpose flour: gives these cookies their structure Stick with a trusted brand for consistent results
- Cocoa powder: deepens the chocolate note Dutch process works best for that classic red velvet flavor
- Baking powder: helps create a tender crumb Always use fresh for a better rise
- Salt: sharpens every flavor and balances sweetness Fine sea salt blends in nicely
- Unsalted butter: softened for creamy mixing Quality butter brings out the richness here
- Granulated sugar: keeps things just sweet enough Organic sugar will deepen taste if you prefer
- Large egg: holds the dough together and adds tenderness
- Vanilla extract: rounds out the richness Pure vanilla gives the fullest flavor
- Red food coloring: creates that bold signature look Gel food coloring works well for intensity
- Powdered sugar: forms the signature snowy coating Sift well to avoid lumps during rolling
Instructions
- Preheat and Prep
- Heat your oven to 350 F and line a baking sheet with parchment paper for easy clean up and even baking
- Mix the Dry Ingredients
- In a mixing bowl whisk together flour cocoa powder baking powder and salt until your cocoa is evenly distributed and there are no streaks
- Cream Butter and Sugar
- In another bowl beat the softened butter with granulated sugar on medium until the mixture is light and fluffy a sign air has been incorporated for a lighter cookie
- Add Egg Vanilla and Color
- Crack in the egg pour in vanilla extract add the red food coloring then beat only until the mixture is uniform to avoid overmixing
- Combine Dry and Wet
- Add dry ingredients gradually into the butter mixture gently mixing to avoid compacting the dough and keeping it tender
- Shape the Cookies
- Scoop tablespoon sized pieces of dough and roll between your palms into balls for that classic snowball shape
- Bake
- Space the dough balls on your sheet and bake for ten to twelve minutes The cookies should be set on the edges but still slightly soft in the middle
- Coat with Powdered Sugar
- After a brief cooling period when cookies are still warm but not too hot roll them in a generous bowl of powdered sugar The warmth helps the sugar cling creating a snowy finish
- Cool and Enjoy
- Let cookies cool completely on a rack This is when their deep color and powdery coating really shine
There is something magical about that first bite the powdered sugar dusting melts quickly on your tongue My daughter calls them holiday snow cookies and we laugh over cocoa every time we make them together
Storage tips
Keep your Red Velvet Snowballs at room temperature in a tightly closed tin or container Layer parchment or wax paper if stacking so their powdery finish stays neat Expect them to remain soft for up to five days If you want them to last beyond that pop them into the freezer and enjoy as needed
Ingredient substitutions
You can swap the butter for plant based alternatives if you need a dairy free version Gluten free flour blends work well too as long as you choose one intended for baking For a different twist try natural beet powder in place of food coloring though the color will be a bit more rustic
Serving suggestions
Pile these cookies high on a platter with greenery for a festive dessert board or offer alongside whipped cream topped hot chocolate They look stunning tucked into gift boxes with ribbon and tissue making them an unforgettable homemade treat
Cultural and historical context
The allure of red velvet comes from the early 20th century when dyed cakes caught Americas eye Red velvet flavor is known for its hint of cocoa and vibrant hue making it a popular choice for celebrations This recipe honors that tradition with a simple cookie that feels both vintage and fresh
Seasonal Adaptations
Swap red food coloring for green if you want to celebrate springtime Add white chocolate chips for a holiday surprise inside Use pastel sanding sugar for a colorful coating instead of powdered sugar
Success Stories
Neighbors have knocked on my door just to ask after the recipe Students in my holiday cookie classes choose these for their centerpiece treat Bring them to your next cookie swap and watch them disappear
Freezer Meal Conversion
You can freeze unbaked dough balls to bake fresh later Lay them out on a baking sheet until firm then transfer to a freezer bag When ready to bake add a minute or two to the oven time and coat with powdered sugar right after baking
Make these for any winter festivity or whenever you crave a playful sweet treat. Their chocolatey snowball look makes every day more special.
Common Recipe Questions
- → What gives these cookies their red color?
Red food coloring creates the vibrant hue, balanced with cocoa powder for that classic red velvet look.
- → Can I use natural cocoa powder instead?
Yes, natural cocoa can be used, lending a rich chocolate flavor that pairs well with the red velvet theme.
- → How do I ensure a soft texture?
Be careful not to overbake—remove the cookies when they're just set and still slightly soft in the center.
- → Why roll snowballs in powdered sugar while warm?
Coating them warm helps the sugar adhere better, forming a delicate snowy layer on each cookie.
- → Can these be made ahead of time?
Yes, red velvet snowballs stay fresh for several days in an airtight container and can be made ahead for events.