
 Save
Save
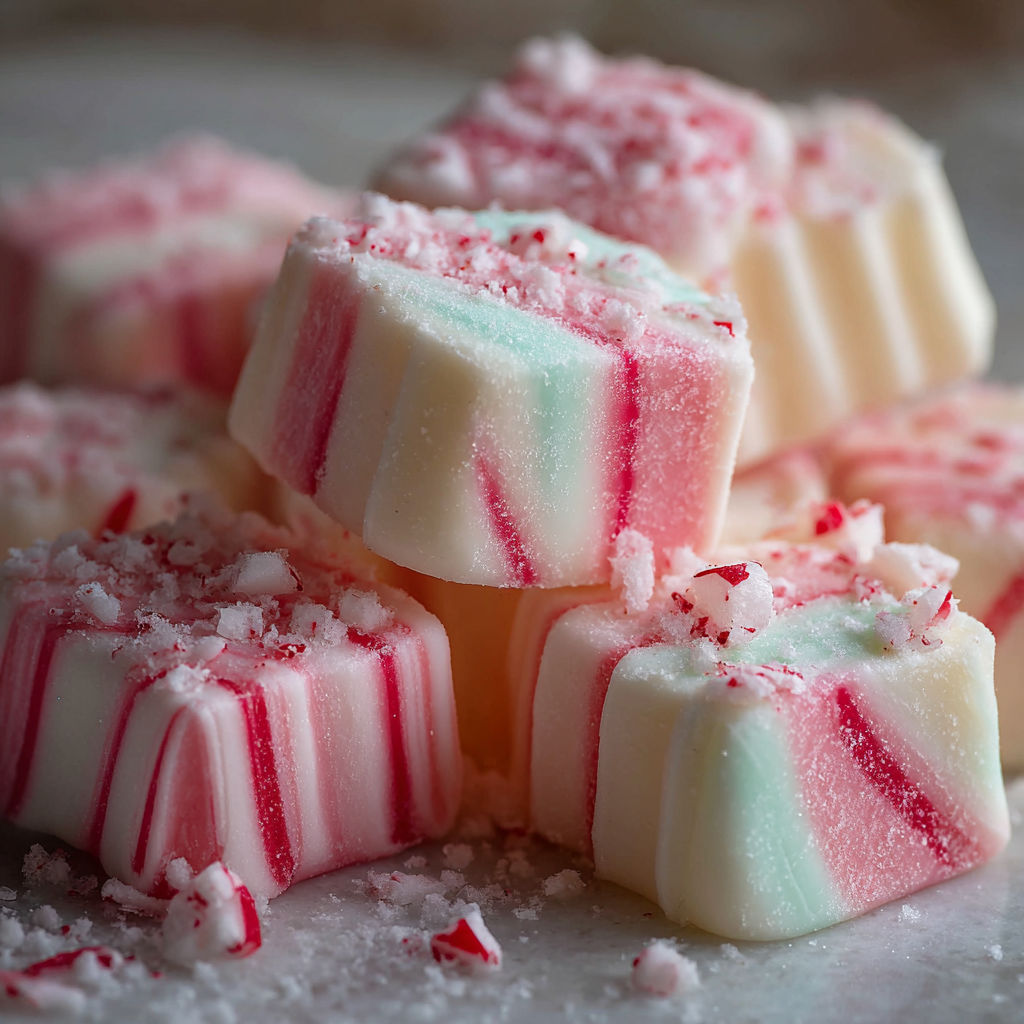
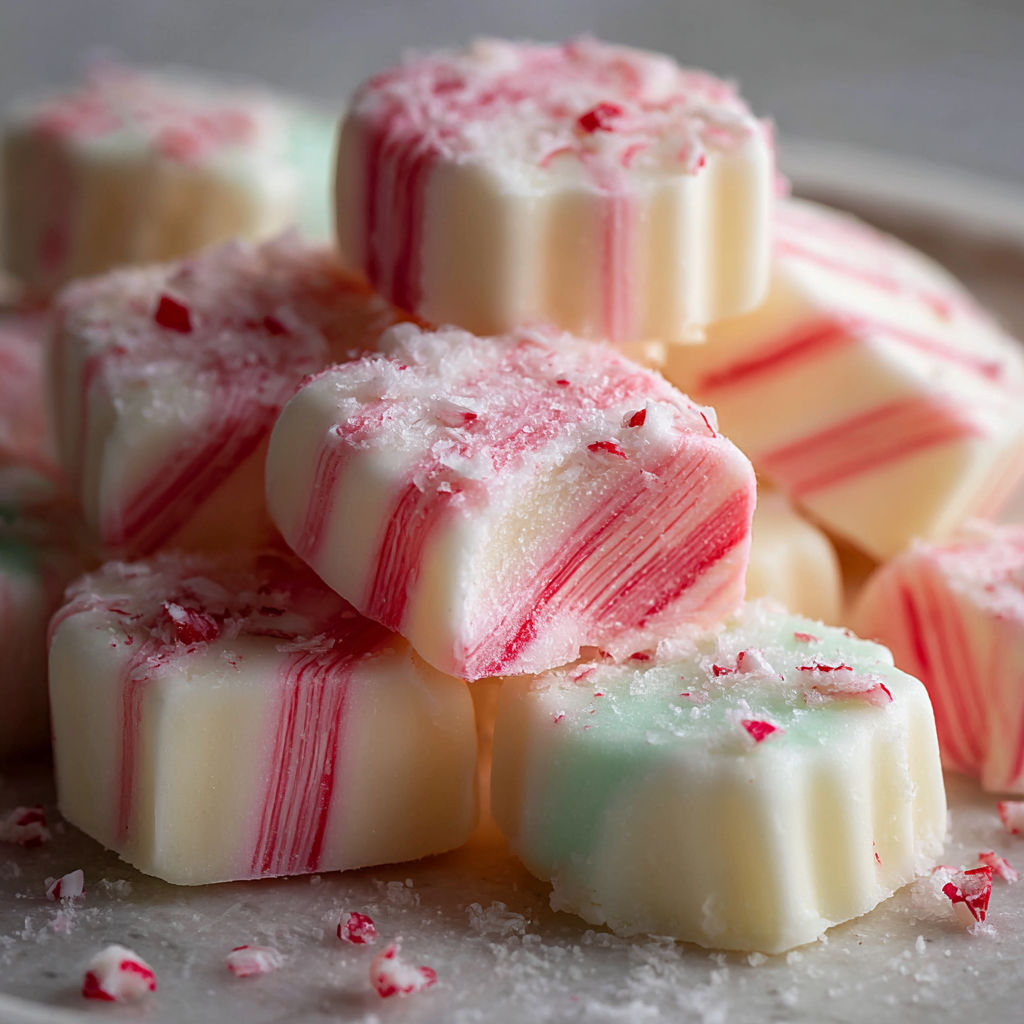
Soft melt-in-your-mouth butter mints are the treat I reach for after holiday dinners or family gatherings when I want just a touch of sweetness. My grandma always had a bowl of these pastel beauties on her sideboard and now they are a homemade staple in my house. You will make a big batch with just a few ingredients and they keep beautifully for gifts or snacking all season.
I remember the first time I made these for a baby shower and watched everyone’s face light up when they realized they were homemade. Since then they are a requirement at every party.
Ingredients
- Unsalted butter: brings creamy texture and richness Use European butter for extra flavor if you find it
- Powdered sugar: gives the perfect smooth sweetness Make sure to sift it so the mints are not gritty
- Heavy cream or milk: softens the dough giving a meltaway texture Grab the freshest cream for best result
- Peppermint extract: gives the classic cool taste Pick pure extract for a true minty punch
- Pinch of salt: balances the sweetness and deepens the flavor Fleur de sel can add a lovely burst
- Gel food coloring: for color use just a drop for pastel shades Choose gel since liquid will make the dough sticky
Instructions
- Cream the Butter:
- In a large mixing bowl beat the softened unsalted butter on medium speed until velvety smooth and nearly fluffy. Thoroughly creaming breaks down any chunks making sure the texture is silky when you eat the mints.
- Mix Flavor and Cream:
- Add the peppermint extract the salt and your tablespoon of heavy cream Stir to combine so the cream hydrates everything evenly and the mint is blended throughout. Taste for desired mint strength.
- Add Powdered Sugar:
- Slowly work in the powdered sugar about one cup at a time beating after each addition. The dough will look crumbly at first then come together into a playdough-like ball.
- Blend in Color:
- If you wish to color your mints divide the dough into sections Add a small dot of gel coloring to each section Knead with gloved hands until each piece is evenly tinted Achieve soft pastel tones with just the tiniest bit of coloring.
- Shape the Dough:
- Dust your work surface generously with powdered sugar Roll each dough portion into slender ropes about half an inch thick. The sugar keeps things from sticking.
- Cut into Mints:
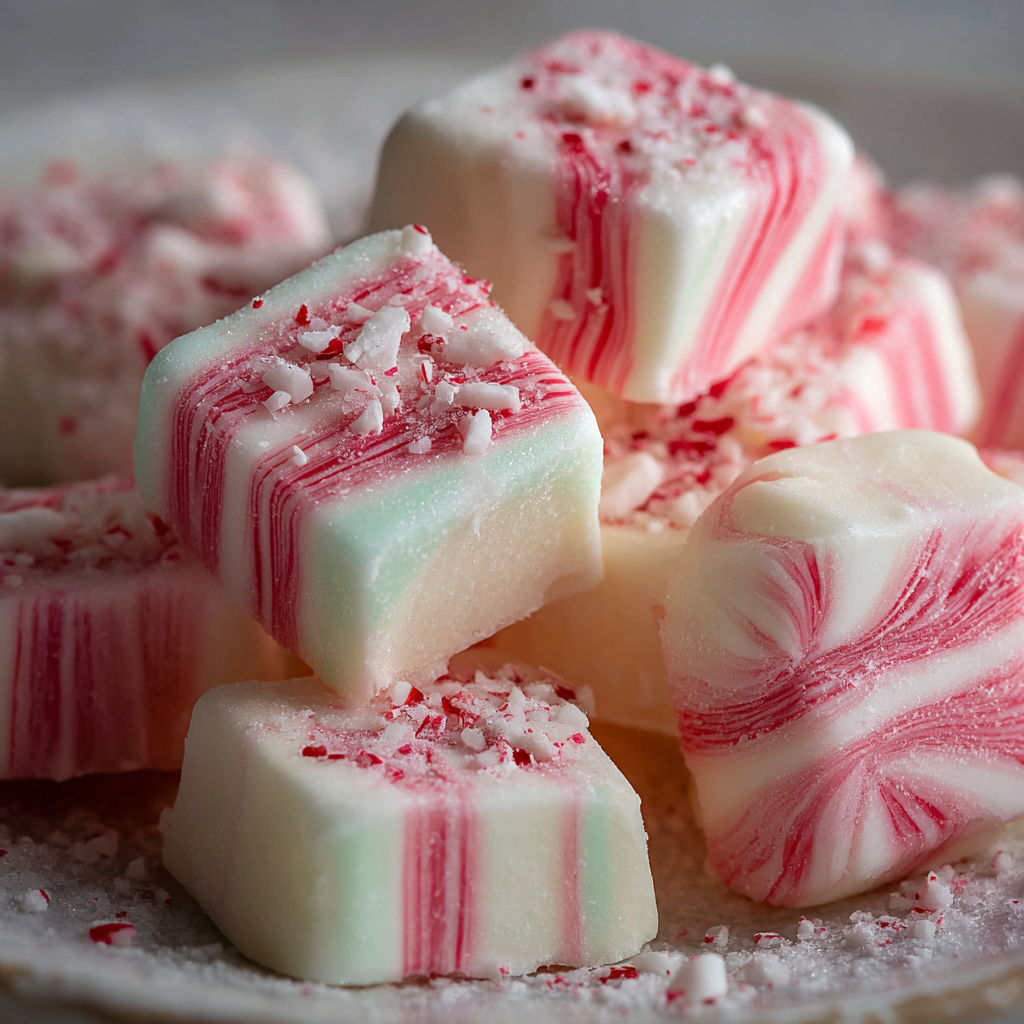
- Using a bench scraper or sharp knife slice each rope into tiny pillows or squares about the size of a chickpea These small pieces will dry evenly and have the classic bite.
- Dry the Mints:
- Space out the mints in a single layer on a parchment lined tray Leave them at room temperature uncovered for at least eight hours or overnight. This step lets them form their delicate crisp shell but stay luscious inside.
I have fond memories of my little ones lining up the mint ropes beside me trying to create the perfect even sizes for their own batches.
Storage Tips
Store butter mints in an airtight container at cool room temperature and they will keep their texture for about a week. If you want to stash them longer freeze in a zip bag for up to two months and thaw at room temp to enjoy.
Ingredient Substitutions
For a dairy-free version try plant-based butter and coconut cream The flavor will be slightly different but the mints still turn out rich and delicious. You can swap mint extract for lemon or almond extract for a twist.
Serving Suggestions
Pile these up in small bowls on a dessert table Wrap them in pretty jars for gifts or slip a few into favor bags for weddings and showers. Their pastel color is perfect for spring brunches or Easter baskets.
Cultural and Historical Context
Butter mints were the favored candy at mid-century American weddings and teas. Back then someone in the community always made batches from scratch and every kid tried to sneak them before supper.
Seasonal Adaptations
Use red and green to create Christmas mints For spring try lavender and yellow pastel tones Orange and purple make a Halloween version kids love
Success Stories
The first time I put homemade butter mints in a jar for my neighbor she called to say it brought back her own grandmother’s kitchen. Another friend made these as wedding favors customized to match her flowers and guests raved for weeks.
Freezer Meal Conversion
To prepare in advance roll and cut the mints then freeze them on a tray Once frozen transfer to containers or bags and take out as many as you need for each event They thaw and dry back to perfect texture in no time
Butter mints require just a handful of basic ingredients and a bit of patience to dry to perfection. Each batch is a little gift for your table or someone you love.
Common Recipe Questions
- → Can I use salted butter instead of unsalted?
Yes, but reduce or omit the added pinch of salt to maintain balanced flavor.
- → How long do butter mints need to dry?
Mints should air-dry at room temperature for 8 hours or overnight to reach the ideal texture.
- → Is food coloring necessary?
No, food coloring is optional and purely for visual appeal. The mints taste the same without it.
- → What type of peppermint extract works best?
Pure peppermint extract provides the best, most natural flavor for classic butter mints.
- → How should I store homemade butter mints?
Keep mints in an airtight container at room temperature for up to two weeks to maintain freshness.
- → Can I use heavy cream or milk interchangeably?
Both work well, but heavy cream gives a slightly richer texture to the finished mints.