
 Save
Save
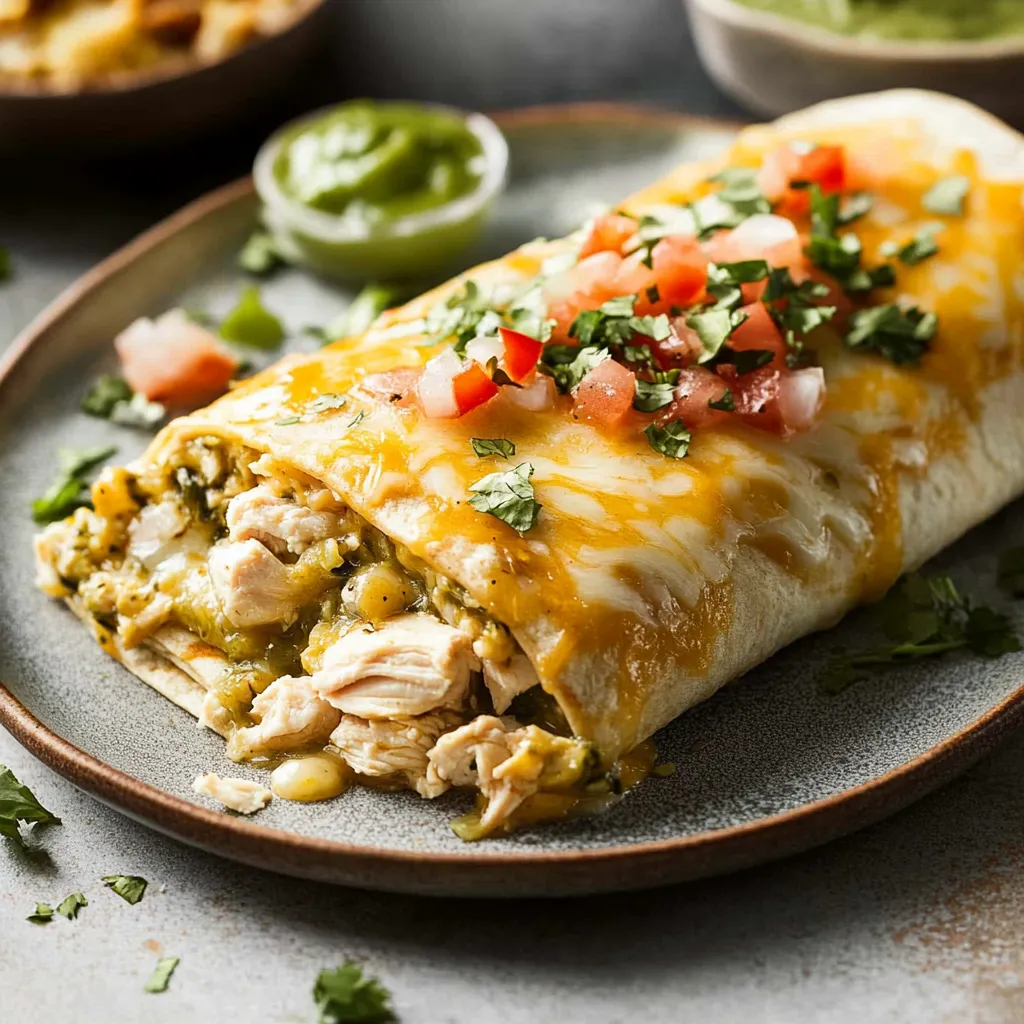
These covered green chile chicken wraps turn basic tortillas into a hearty, diner-worthy dish that pairs crunchy outsides with a smooth chile topping. The mix of juicy chicken, gooey cheese, and subtle green chiles makes a taste combo that hits the spot without too much kick.
I came up with this idea trying to copy my favorite meal from a nearby Mexican spot that shut down. After trying it out a few times, my folks now ask for these wraps even more than they liked the ones we used to drive miles to get.
What You'll Need
- Cooked chicken: Forms your main protein base—grab a store-bought roasted chicken for easiest prep and taste
- Salsa: Gives quick flavor punch and wetness—pick one with tomato bits for better bite
- Ground cumin: Adds that dirt-rich warmth found in true Mexican cooking
- Dried oregano: Throws in leafy tastes that work great with the chiles
- Cheddar cheese: Makes everything melt just right—strong kinds give more flavor than mild ones
- Green onions: Add crisp bits that balance out the thick sauce
- Flour tortillas: Work as your wrapper—big burrito size fits more stuff inside
- Butter: Starts the base for your silky sauce—go unsalted to watch the salt level
- All purpose flour: Makes sauce thick without bumps—shake it through a strainer first
- Garlic: Gives deep smell and taste—one real clove works better than the jar kind
- Chicken broth: Makes the tasty liquid part—low salt lets you season your way
- Green chiles: Give that key flavor without too much fire
- Sour cream: Makes everything rich and smooth—full fat kind won't break apart
How To Make Them
- Mix your stuffing:
- Stir chicken with salsa, spices, cheese and green onions until well combined. It should feel damp but not dripping wet so your tortillas stay dry before baking. Let it sit about 5 minutes so flavors can mix while getting tortillas ready.
- Roll your wraps:
- Put about half cup filling just off the middle on each tortilla. Fold sides in first then roll from the bottom up, tucking as you go to keep it closed. Put each wrap with the seam down on your baking tray. Tight rolling keeps stuff from leaking while cooking.
- Make them crunchy:
- Lightly brush each wrap with olive oil all over the top. This step gets you that golden crunch that goes so well with the creamy topping. Cook at 400°F for exactly 20 minutes until edges get brown and tortillas feel firm.
- Start the green chile topping:
- Melt butter fully in a pot before adding flour. Keep stirring to make a light tan mix, cooking for 3 whole minutes to get rid of raw flour taste. Add garlic when mix is ready and cook just until you smell it good but don't brown it or it gets bitter.
- Complete the chile topping:
- Slowly pour in chicken broth while stirring all the time to avoid lumps. Add spices and let it bubble gently until it gets thick enough to coat your spoon back. Take it off the heat completely before mixing in green chiles, cheese and sour cream so it won't curdle.
- Final touch and serve:
- Pour lots of sauce over baked wraps and sprinkle more cheese on top. Broil just until cheese bubbles and starts showing brown spots, watching carefully so it won't burn. Let sit for 2 minutes before serving so sauce can settle a bit.
The green chile topping really makes this dish special. I found out how amazing it was when trying New Mexican food during a visit to Santa Fe. The gentle heat and smooth texture hit just right, and even my daughter who can't handle spicy food loves it. We now always keep canned green chiles around just for this meal.
Prep Ahead Ideas
These wraps are great for busy families who need flexible meal plans. You can fix the chicken mix up to three days early and keep it covered in the fridge. For even easier meals, roll up the wraps completely, put them on a paper-lined sheet, and freeze until hard before moving to a freezer bag. When you want to cook them, just add 10-15 more minutes to cooking time if they're still frozen. The sauce tastes best made fresh right before eating, but will stay good in the fridge for up to two days if needed.
Ways To Switch It Up
This flexible dish works with many changes while keeping its main appeal. For a no-meat option, swap chicken with a mix of black beans and roasted veggies like zucchini, bell peppers, and corn. Heat fans can throw in chopped jalapeños to both the filling and sauce for more kick. For a morning version, use scrambled eggs and breakfast sausage instead of chicken but keep that awesome green chile sauce the same. You can also use whole wheat tortillas instead of plain ones for more nutrition.
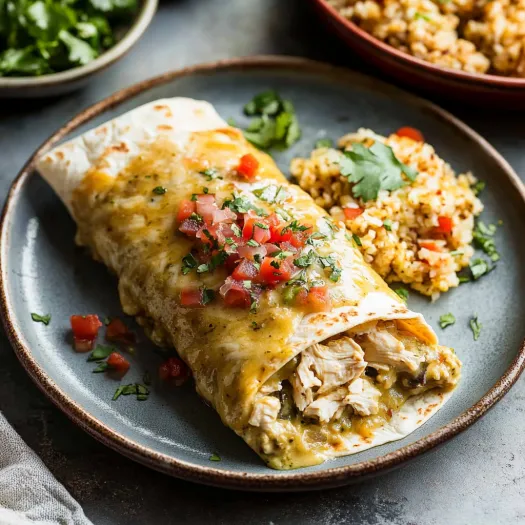
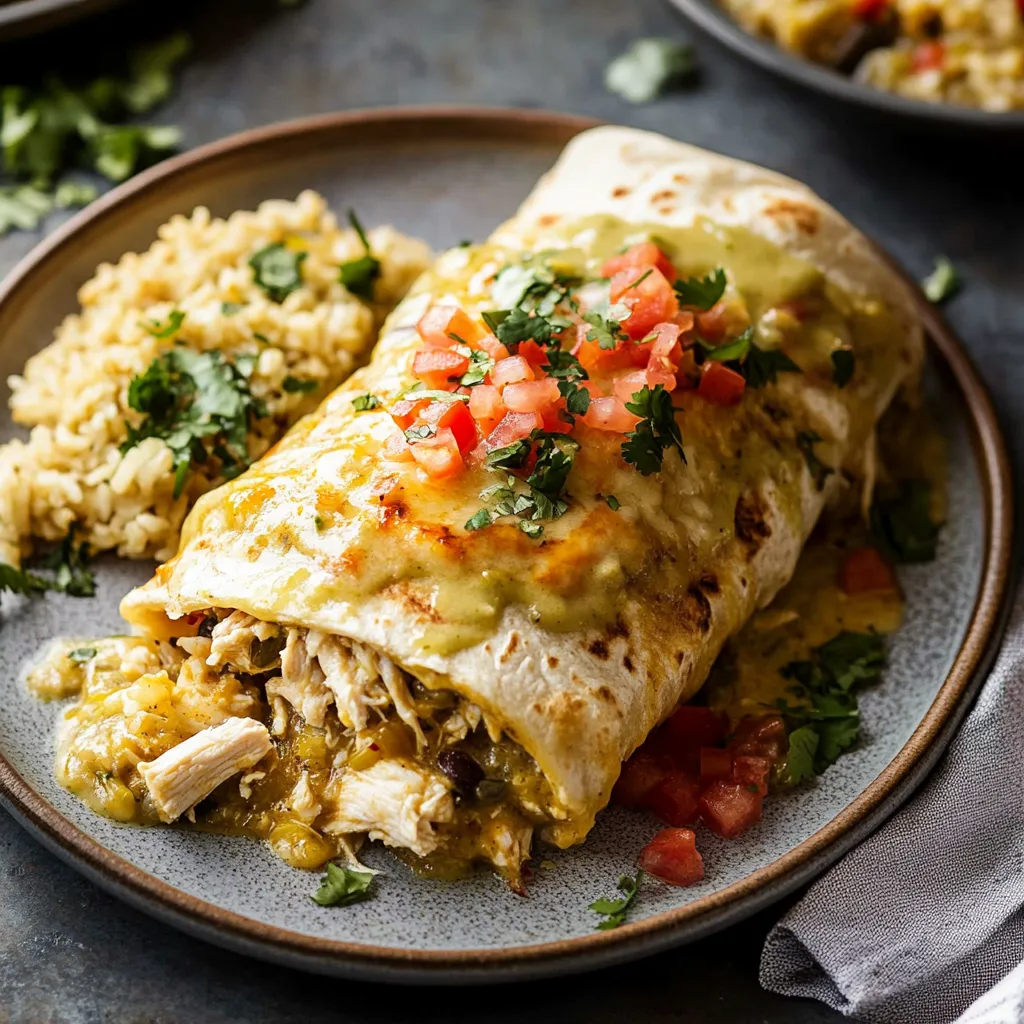
What To Serve With It
Though these wraps fill you up on their own, a few smart sides make it feel like a special meal. Mexican rice goes perfectly with its tomato-flavored taste. A basic salad with mixed greens, avocado, and lime dressing adds freshness against the rich wraps. For a real restaurant feel, serve with small dishes of extra sour cream, guacamole, and fresh salsa. A sprinkle of chopped cilantro and some lime wedges brighten it all up right before you eat.
With these covered green chile chicken wraps, you can enjoy fancy restaurant tastes in your own kitchen without much fuss.
Common Recipe Questions
- → Can I prep these burritos in advance?
Sure thing! You can make the filling and sauce up to two days early. Keep the unbaked burritos in the fridge, covered. Warm up the sauce gently before serving. Bake the burritos fresh and pour the heated sauce over them to finish.
- → What’s a good swap for green chiles?
No green chiles? No problem. Go for roasted poblanos for mild heat or jalapeños if you like it spicier. Adjust to your taste. Another option is pre-made green salsa for a quicker fix!
- → How spicy are these burritos?
If you use mild green chiles, they’re pretty tame and kid-friendly. The spiciness mainly depends on the salsa and green chiles you pick. For extra heat, toss in jalapeños or grab spicy green chiles.
- → Can I freeze them for later?
Absolutely! Assemble the burritos but skip baking them. Wrap them individually, then toss them in a freezer bag. They’ll keep for up to 3 months. When it’s time to serve, bake the frozen burritos at 400°F for about 30-35 minutes. Whip up fresh sauce to pour on top.
- → What sides pair well with these burritos?
Try Mexican rice, black beans, or a refreshing green salad with cilantro lime dressing. Guacamole with chips, corn salad, or lime wedges and sour cream on the side are also great picks!
- → Can I switch to corn tortillas here?
Flour tortillas work best since they hold everything together. But if you’d rather have corn tortillas, go for enchilada-style instead. Fry them lightly to soften, fill and roll them up, then layer in a dish with the sauce and cheese before baking.