
 Save
Save
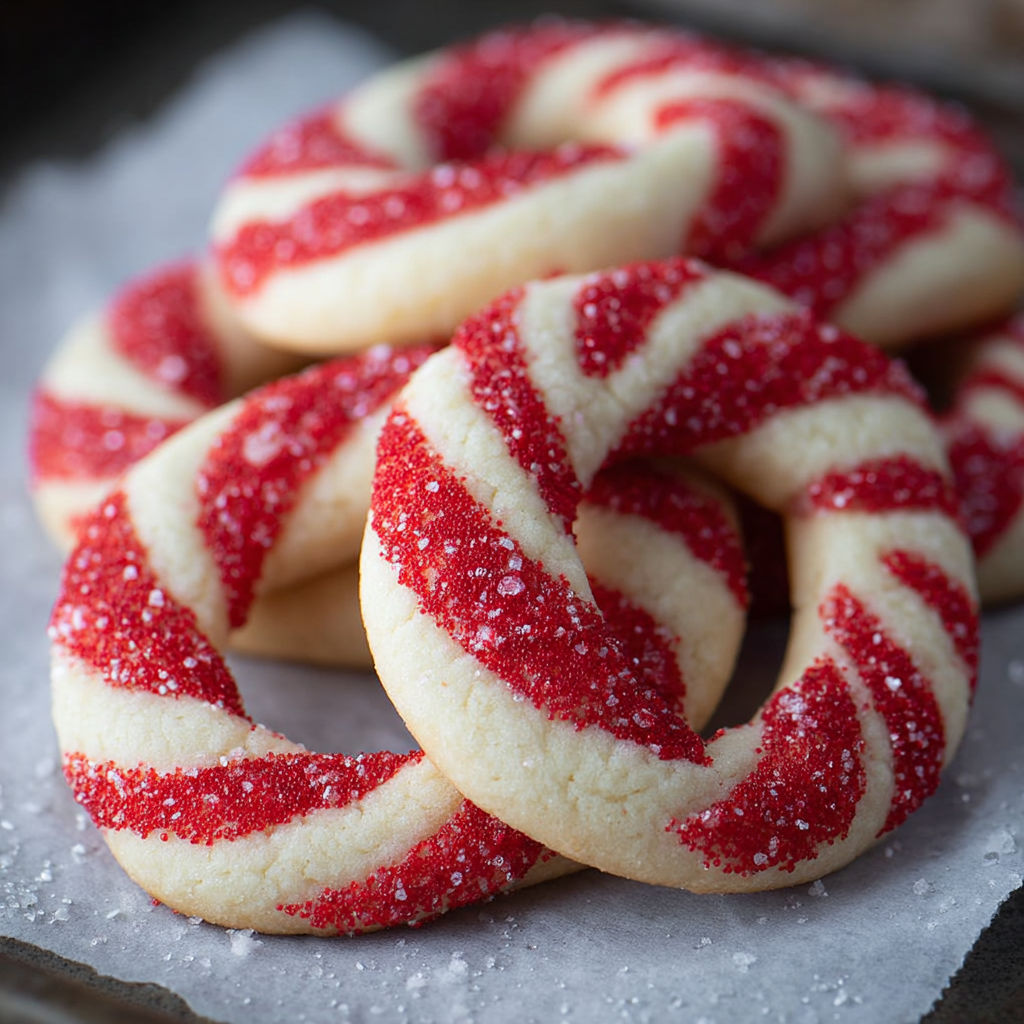
Candy cane cookies always remind me of cozy December afternoons when the house is filled with buttery minty aromas and every surface somehow ends up dusted with powdered sugar. This playful recipe not only brings holiday magic to your kitchen but also invites everyone to roll and twist dough into cheerful candy cane shapes—kids absolutely love helping with this part.
I remember the first time I made these with my niece. Her candy canes were crooked but perfect, and it kickstarted a sweet family tradition that no one wants to skip.
Ingredients
- Unsalted butter: for a rich base and total control over salt levels. Let it soften at room temp for easy mixing
- Powdered sugar: creates a delicate melt-in-your-mouth feeling. Sift it if you want that extra smoothness
- Large egg: acts as the binder. Always bring to room temp so your dough mixes evenly
- Vanilla extract: comforts with warm sweetness. Go for pure vanilla if possible
- Peppermint extract: provides that unmistakable holiday zing. Adjust amount for boldness or kids’ taste
- All-purpose flour: gives structure. Spoon and level for accuracy and feel free to swap with 1 to 1 gluten free blend
- Salt: enhances flavors. Fine sea salt blends invisibly and keeps sweetness in check
- Red food coloring: brings the signature look. Gel makes colors pop but beet powder works if you prefer natural dyes
Instructions
- Prepare the Baking Pans:
- Line two baking sheets with parchment paper for flawless release or use a light butter spray if you need to. Set oven to 375 degrees Fahrenheit so it fully preheats
- Cream Butter and Sugar:
- Beat softened butter with powdered sugar for three to four minutes until you see it turn pale and fluffy. This creates tiny air pockets for tender cookies so do not rush. Scrape down the bowl halfway to keep everything even
- Mix in Egg and Flavors:
- Add the egg cracked into a separate bowl to avoid any stray shell. Pour in vanilla and peppermint extracts. Blend on low until just combined to keep cookies soft
- Add Dry Ingredients:
- Sprinkle in the flour and salt a little at a time mixing slowly. Dough should be soft yet not sticky. If it is too dry add milk a teaspoon at a time. If sticky add a bit more flour
- Color Half the Dough:
- Split dough in two. Put on gloves and knead red gel coloring into one half drop by drop until the color is deep enough for your liking. This keeps your hands stain free and dough evenly colored
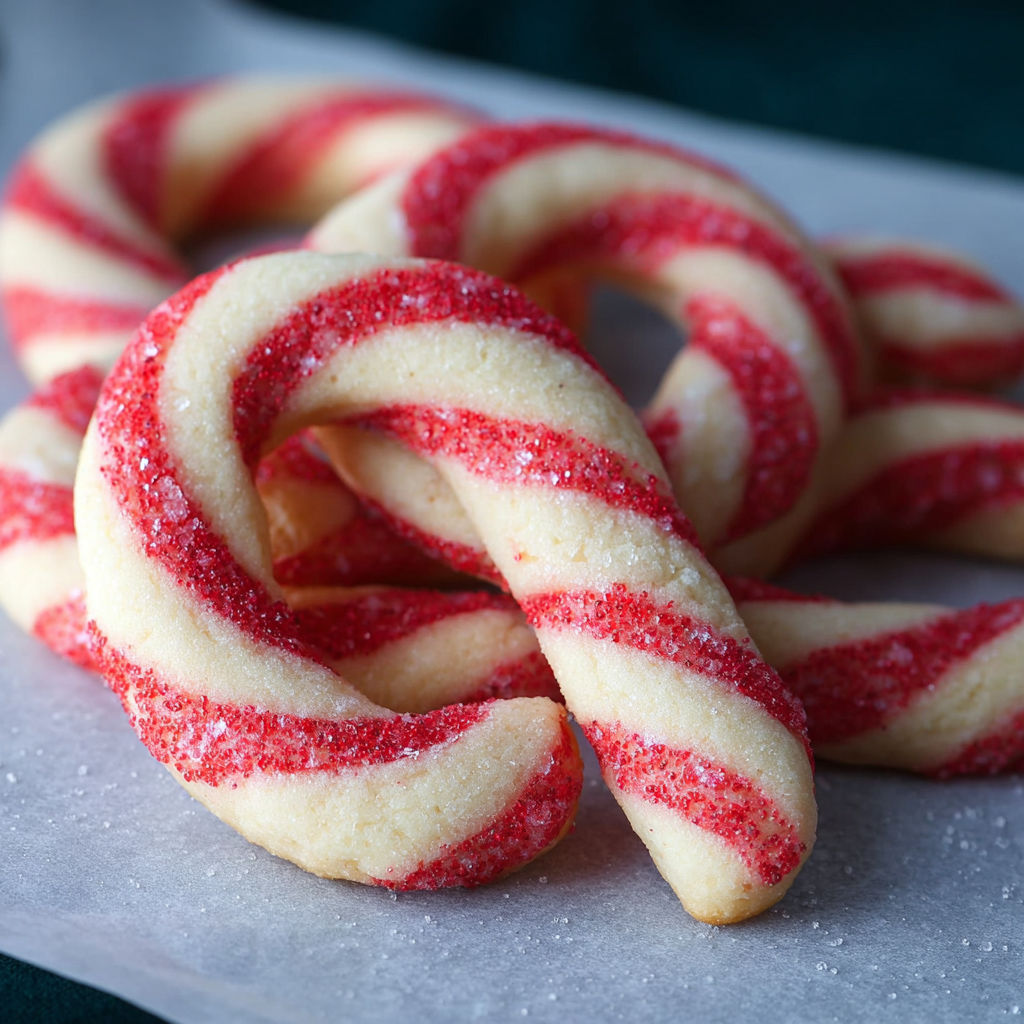
- Shape Candy Canes:
- Pinch off a teaspoon of each color. Roll into ropes about four inches long then twist together gently and curve to make canes. If dough warms up pop it in the fridge for ten minutes
- Bake and Cool:
- Arrange canes on prepared sheets leaving space between. Bake eight to ten minutes until bottoms are pale gold. Let cookies cool right on the sheet for five minutes before moving so they keep their shape
I always find myself sneaking extra vanilla in because it makes the whole house feel a notch more welcoming. One holiday we shaped a few canes into initials instead and it was a hit at the family table.
Storing Your Candy Cane Cookies
For best freshness store cookies in an airtight tin lined with wax paper. They keep well at room temperature up to a week. Layer with parchment so colors stay bright and do not stick together. You can freeze baked cookies for up to two months—just thaw at room temp.
Customizing the Recipe
Try swapping vanilla for almond extract if you want a nutty twist. Natural beet powder works for coloring if you avoid artificial dyes. Mix a little lemon zest in with your sugar for a citrus peppermint surprise.
Fun Ways to Serve
Hand out candy cane cookies alongside mugs of hot cocoa or spiced cider. Arrange on a festive plate for parties or tuck into holiday gift bags. Pair with peppermint ice cream for an extra minty dessert.
A Little History
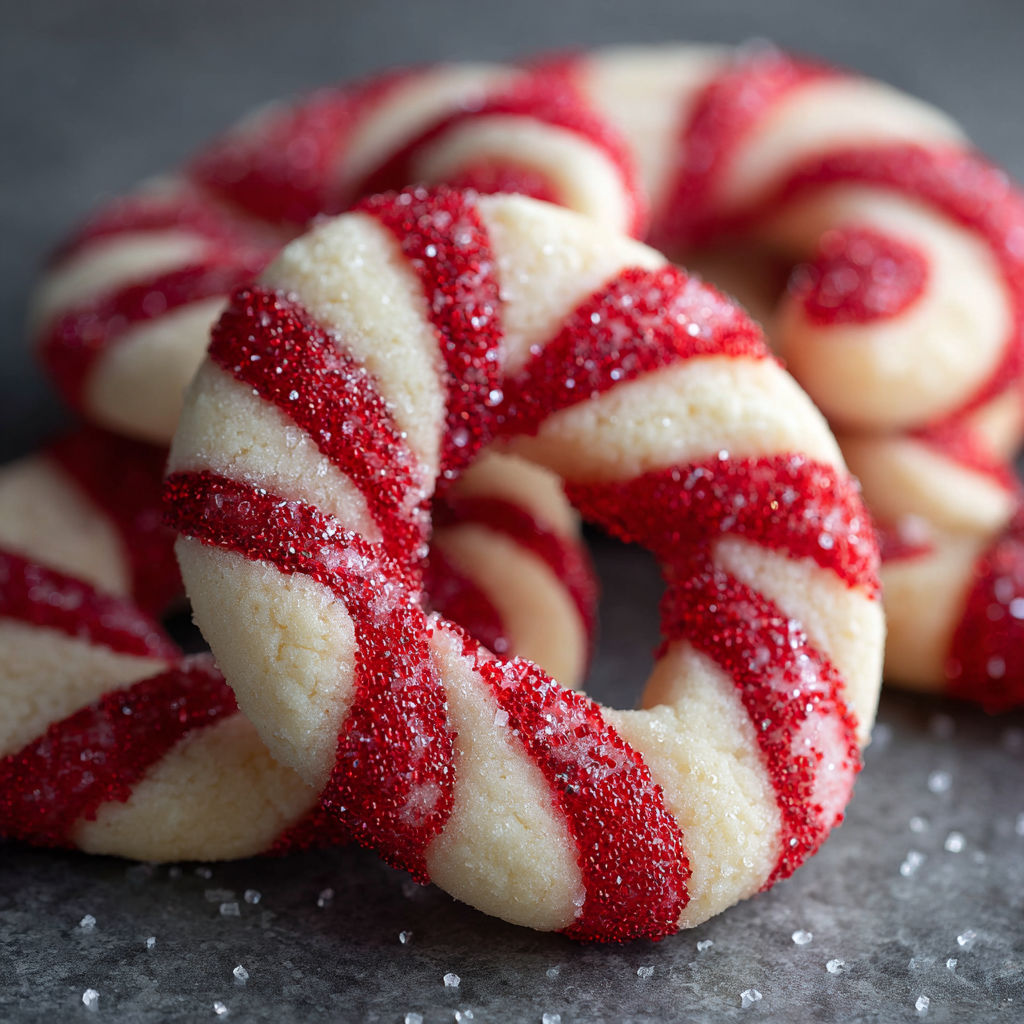
Candy cane cookies mimic the look of the striped candy that has been a symbol of winter holidays for centuries. They date back to at least mid twentieth century American home kitchens when playful cookie shapes became all the rage. The red and white stripes echo the classic peppermint stick enjoyed by many generations.
Adapting to the Season
Use pastel pink dye and lemon extract for a spring cookie. Shape dough into hearts for Valentine’s Day treats. Add a sprinkle of edible glitter for new year’s sparkle.
Helpful notes
Chill dough before shaping to prevent sticking. Roll ropes on a cool surface for best results. Always bake one test cookie to check oven times.
Success Story
One Christmas we made these for a bake sale fundraiser. The cookies disappeared in less than an hour. There was hardly a crumby trail left and a line of cheery faces stretching out the door.
Freezer Meal Conversion
Shape dough into canes and freeze them raw on a baking sheet. When firm, transfer to a zip bag and keep frozen for up to three months. You can bake straight from the freezer. Just add an extra minute or two to the baking time.
Nothing brings out smiles quite like a plateful of pepperminty candy cane cookies—the process is just as joyful as the final treat.
Common Recipe Questions
- → How do I get vibrant red color in the dough?
Use gel food coloring for deep color with less moisture. Mix gradually and wear gloves to avoid staining hands.
- → Can I make these cookies gluten-free?
Yes, replace all-purpose flour with a 1:1 gluten-free baking blend for similar texture and results.
- → What does powdered sugar add to these cookies?
Powdered sugar yields a softer, melt-in-your-mouth crumb compared to regular sugar, perfect for delicate cookies.
- → Is it necessary to use both extracts?
Vanilla adds warmth, while peppermint gives a signature kick. Customize by adding or reducing either to suit your taste.
- → How can I prevent the dough from sticking?
Chill the dough briefly before shaping. If sticky, dust hands lightly with flour or refrigerate for an extra ten minutes.