
 Save
Save
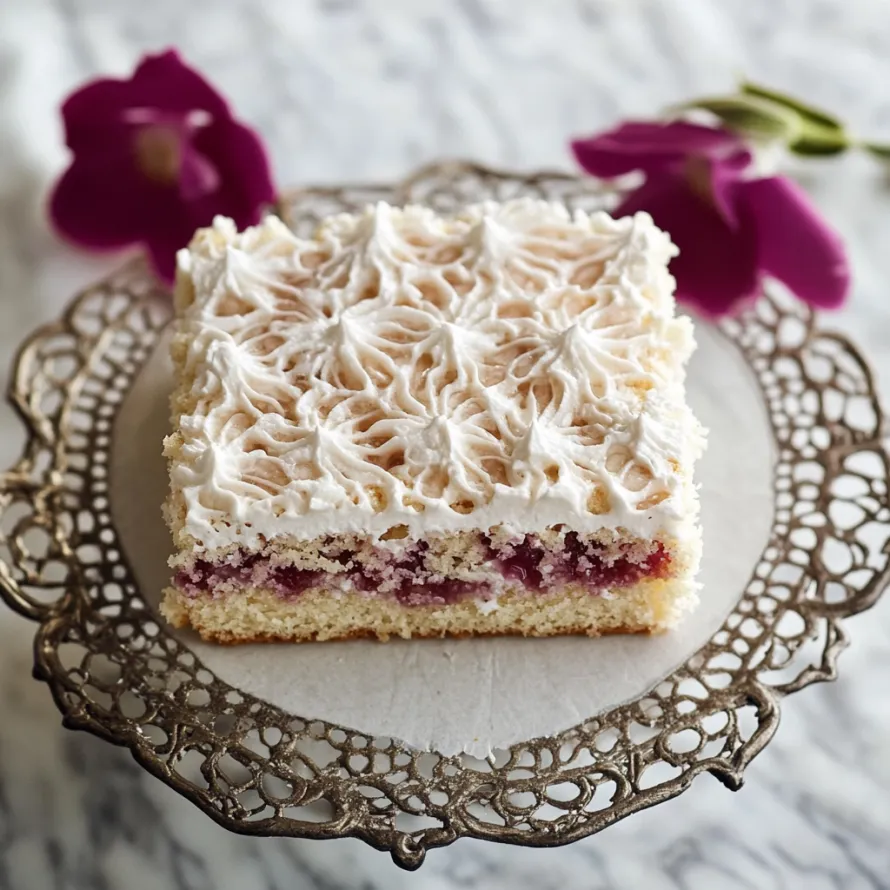
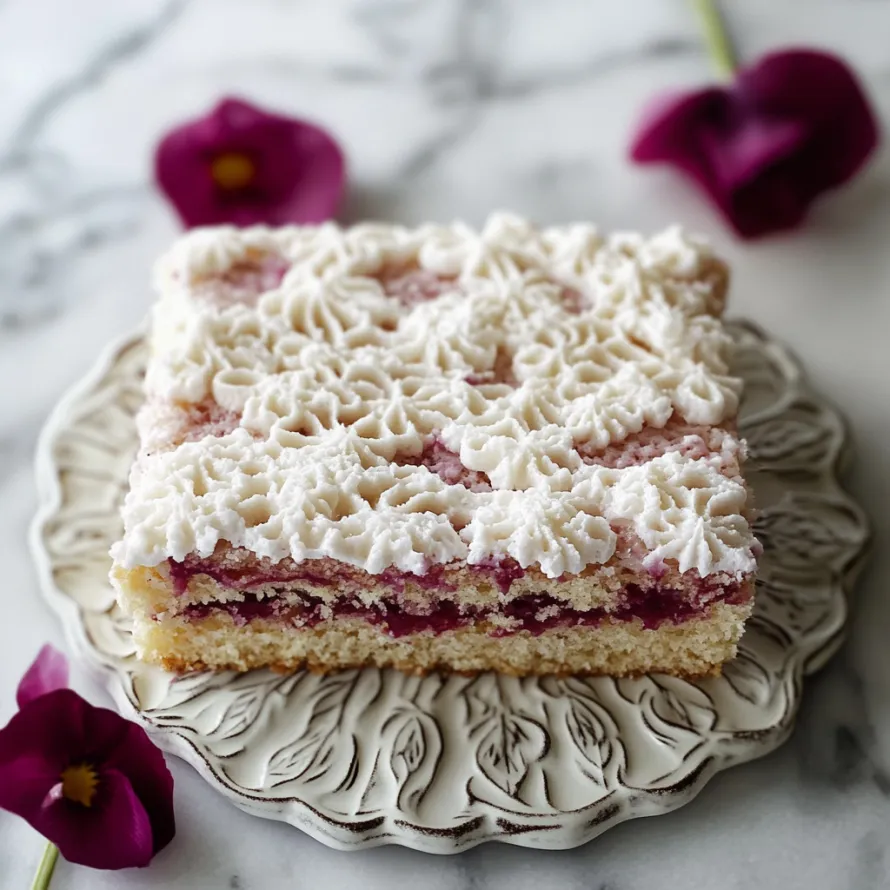
This divine Louise Cake features three stunning layers — a crisp shortbread bottom, tangy raspberry jam middle, and fluffy coconut meringue on top. Every bite of this treasured New Zealand sweet offers amazing texture contrasts that'll make your taste buds dance.
I stumbled upon this gem during a cold-weather baking competition and it's now my go-to crowd-pleaser at parties. Nobody can resist these magical layers when they try this traditional delight for the first time.
Ingredients
- Unsalted butter: Keep it at room temp for that smooth, velvety foundation with clean butter taste
- Caster sugar: The tiny crystals melt perfectly into both base and fluffy topping
- Egg yolks: They give the shortbread that luxurious mouthfeel while the whites turn into airy magic
- Raspberry jam: Adds that zingy fruit punch though you can swap in whatever jam you fancy
- Shredded coconut: Gives that island vibe and wonderful crunch to your meringue cap
- Vanilla extract: Lifts every other flavor without stealing the spotlight
Step-by-Step Instructions
- Prepare the pan:
- Get your oven warming to 350°F/180°C. Put parchment in a 9 inch square pan with extra hanging over the sides so you can lift everything out later. Don't skip this paper trick or you'll never get clean slices.
- Create the shortbread base:
- Beat your butter and sugar till it's super fluffy and pale, taking about 3 minutes. You want it nearly twice the size. Drop in those egg yolks and vanilla, mixing them right in. Then gently add dry stuff just until it comes together. Don't go crazy mixing or you'll end up with tough shortbread.
- Form the base layer:
- Scatter your shortbread mix across the pan bottom, then press down good and firm to make it all even. A measuring cup bottom works great for smoothing everything out. Don't forget those corners where extra dough likes to hide.
- Add the jam layer:
- Smooth your raspberry jam all over that shortbread. Cover it completely but don't dig into the base. This jam acts like a little shield that keeps your layers looking sharp after baking.
- Prepare the meringue:
- Warm up your egg whites and sugar in a bowl over simmering water, stirring all the time until sugar melts and it hits 160°F so it's safe to eat. Whip till you get stiff, shiny peaks that look like marshmallow fluff. Then fold in coconut super gently to keep all that air inside.
- Top and bake:
- Spread your coconut cloud evenly across the jam, making it smooth without any tall bits that might burn. Bake for 30 to 35 minutes until everything turns golden brown. Your meringue will puff up while baking then settle as it cools down.
That raspberry jam middle really makes this dessert sing. I get such a kick watching friends bite in and taste how the tart berry perfectly cuts through the sweet meringue. My grandma used to whip this up with her homemade blackberry jam which gave it an amazing rich flavor.
Storage Tips
Keep this beauty in an airtight container at room temp for up to three days to maintain its texture. The meringue will slowly soften but still taste fantastic. Don't put it in the fridge as the cold pulls moisture from the meringue and makes it tough instead of airy.
Jam Variations
Raspberry might be the classic choice, but feel free to play around with other preserves. Try blackberry for deeper flavor, apricot for gentle sweetness, or passion fruit for a tropical twist that goes great with the coconut. Just make sure your jam has some tang to balance out the sweetness in the other parts.
Serving Suggestions
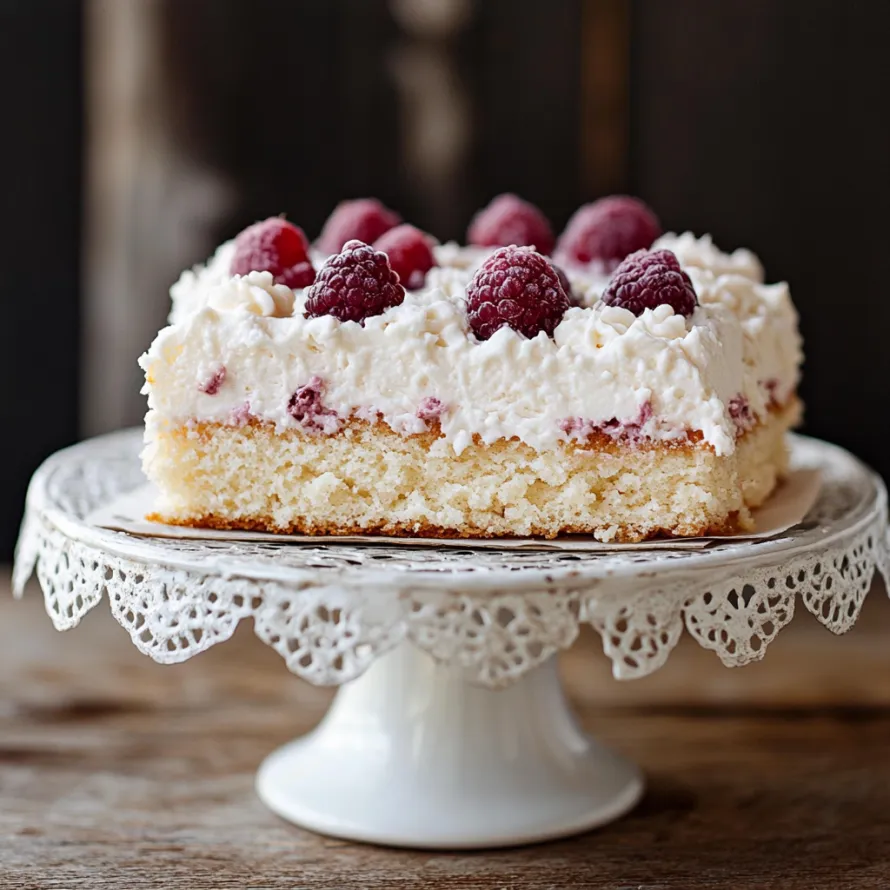
Folks typically enjoy Louise Cake with afternoon tea, but it can shine as a fancy dessert when served with fresh berries and a spoonful of soft whipped cream. For something different, try it slightly warm with a scoop of vanilla bean ice cream that melts into all those lovely layers.
Treat yourself to this wonderful New Zealand favorite that brings together incredible tastes and textures in perfect balance.
Common Recipe Questions
- → Can I use different types of jam in Louise Cake?
Absolutely! While raspberry jam is what folks typically use, you can swap in other fruit spreads like strawberry, blackberry, or apricot depending on what you love. Just make sure you pick a tasty, good-quality jam for the best results.
- → Why does my meringue topping crack after baking?
Cracks usually happen when the temperature changes too fast. To keep cracking down, let the cake cool slowly in the oven after turning it off. Leave the door open a bit before moving it out to cool completely. Don't worry though - a few small cracks are totally normal in this dessert.
- → Can Louise Cake be made in advance?
You bet! You can make Louise Cake a day or two ahead of time. Just keep it in an airtight container at room temperature to stay fresh. The meringue top might get a little less crisp over time but will still taste amazing.
- → What's the best way to slice Louise Cake neatly?
For nice clean cuts, grab a sharp knife, dip it in hot water and wipe it dry between slices. Make sure the cake is completely cool first. Using that parchment paper to lift the whole thing out of the pan makes cutting much easier too.
- → Is shredded coconut the same as desiccated coconut?
They're close but not quite the same. Shredded coconut comes in longer pieces while desiccated coconut is ground up finer. Both work for this recipe, though shredded gives more texture. If you go with desiccated, use a bit less since it packs down more.
- → What makes a proper Swiss meringue for Louise Cake?
A good Swiss meringue needs egg whites and sugar warmed to at least 160°F/70°C over steam before whipping. This melts all the sugar and safely cooks the egg whites. You'll end up with a shiny, sturdy meringue that won't collapse when you bake it.