
 Save
Save
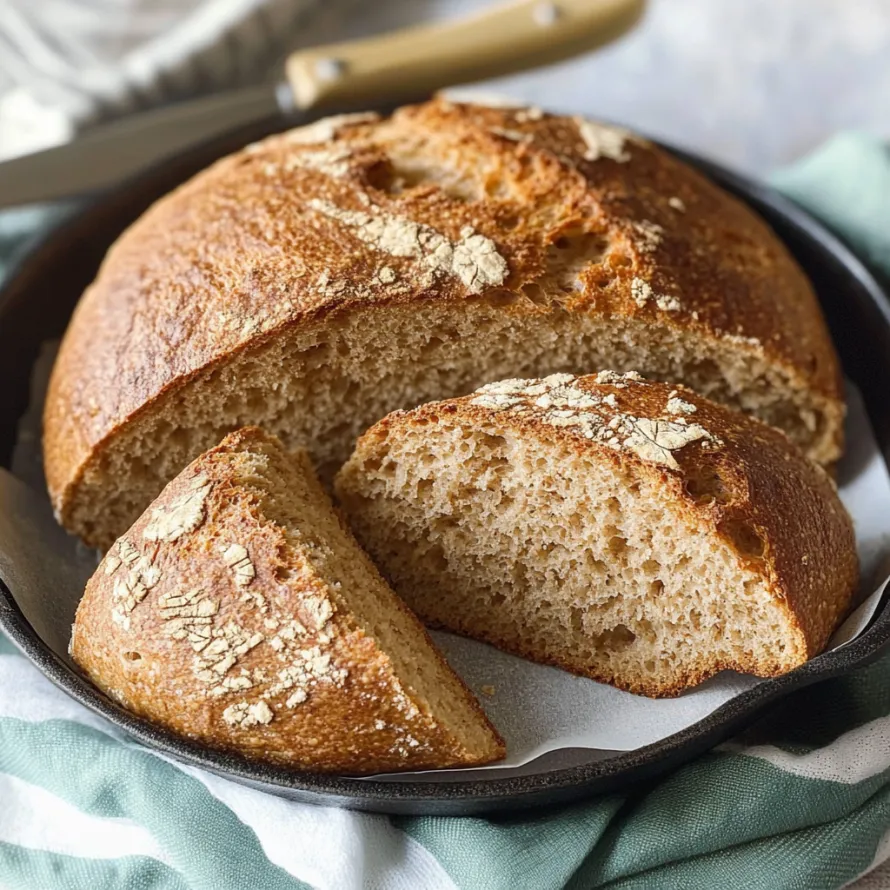
This easy whole wheat bread transforms just four basic ingredients into an amazing homemade loaf with barely any work. Leaving the dough overnight creates rich flavors while using a Dutch oven gives you that awesome crispy crust you'd normally need fancy equipment to get.
I stumbled on this bread technique during the worst days of COVID when grocery stores were empty. These days it's our weekly Sunday ritual—my kids get excited watching the dough grow overnight, and that wonderful smell filling our house has become the signal that our weekend is in full swing.
Ingredients
- Warm water: Around 100-115°F creates the ideal environment for yeast to work without damaging it
- Dry active yeast: Creates the rise you need - double-check it's fresh for the best results
- Whole wheat flour: Gives that earthy flavor and extra nutrition - pick a good quality one for better texture
- Kosher salt: Brings out flavors and helps manage fermentation - try to use the flaky kind
Step-by-Step Instructions
- Blend Everything:
- Throw the flour, yeast, and salt into a big bowl. Grab a wooden spoon and slowly pour in the warm water while stirring until it's all wet. Don't worry if it looks rough and a bit sticky. This only takes about 2 minutes and doesn't need much effort—just make sure all the flour gets mixed in.
- Let It Sit Overnight:
- Put plastic wrap or a clean towel over the bowl and set it somewhere away from drafts at room temp. Let it sit for at least 8 hours or through the night. This waiting period builds amazing flavors and naturally forms the gluten structure. You'll see it double up and get bubbly on top.
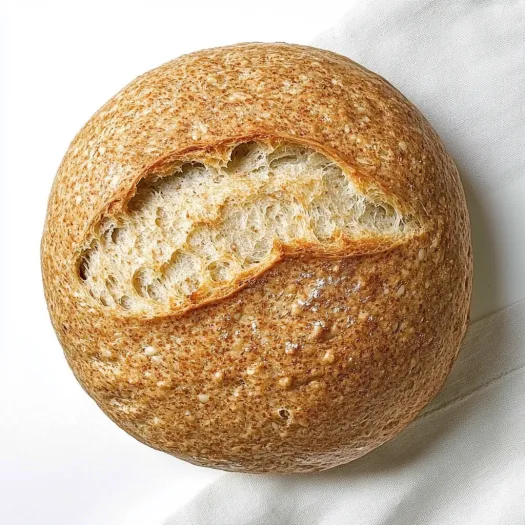
- Form Your Loaf:
- Dump the risen dough onto a surface with a bit of flour. With floury hands, carefully fold the edges toward the middle to make a round shape. Try not to push out the air bubbles that formed while it sat. The dough will feel lively and bouncy. Let your shaped dough rest while you get the oven ready.
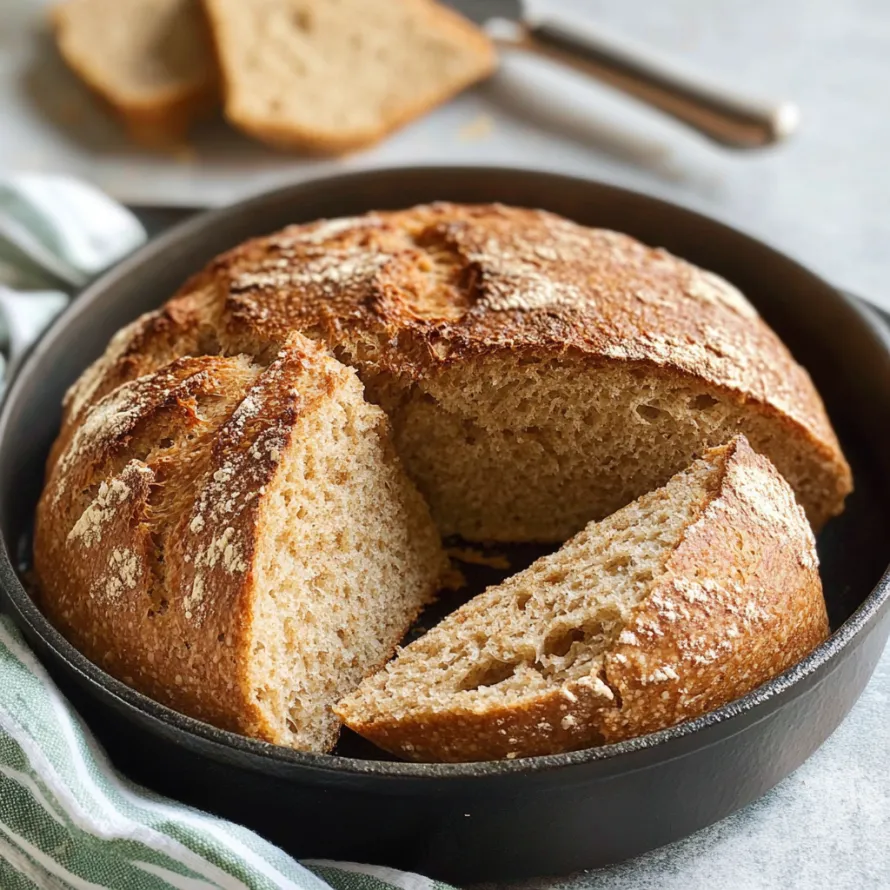
- Heat Your Pot:
- Put your Dutch oven and its lid into the cold oven. Crank it up to 450°F and let the pot get really hot for about 30 minutes. This creates the steam pocket that makes that amazing crunchy crust.
- Bake With Lid On:
- Using thick oven mitts, pull out the super-hot Dutch oven. Carefully drop your shaped dough into the hot pot. Put the lid back on and get it back in the oven right away. Bake for 30 minutes. During this time, the bread steams inside the closed pot, helping it rise fully.
- Finish With Lid Off:
- Take the lid off to let the steam escape. Keep baking for another 20 minutes until the outside turns a rich golden brown. When you tap the bottom, it should sound hollow. This final open-air baking creates that amazing crunchy exterior.
- Let It Rest:
- Take the bread out of the pot and set it on a cooling rack. Let it cool for at least 30-45 minutes before cutting into it. This cooling time is super important because the inside is still cooking and setting up. Cutting too early will make it gummy and dense.
The Dutch oven really makes all the difference in this bread. I got mine as a wedding present seven years back, and it completely changed my bread game. The trapped steam inside creates that professional bakery-style crust you can't really get in a normal oven. My grandma who made bread every day growing up couldn't believe this simple method worked better than her hours of kneading.
Fixing Common Problems
When your bread doesn't rise well, first look at your yeast's expiration date. Even slightly outdated yeast can really mess things up. The room temperature also plays a big part—dough develops slower in cold rooms, so during winter, you might need up to 12 hours for it to rise properly.
Customizing Your Loaf
This simple recipe works great with tons of add-ins. My family goes crazy when I mix in 1/3 cup of mixed seeds like sunflower, pumpkin, and flax at the beginning. Adding dried herbs such as rosemary and thyme (about 2 tablespoons) makes an incredible loaf that pairs perfectly with soup. For something sweeter, try adding 1/4 cup honey and a handful of dried cranberries to your initial mixture.
Serving Ideas
This bread shows that basic ingredients and simple methods can create amazing results. Work it into your family's weekend routine and enjoy every tasty bite.
Common Recipe Questions
- → Can all-purpose flour replace whole wheat?
Sure! Swap it for an airier result. Stick to the same amount (3-¾ cups or 460g), but you might use a little less water. For a combo loaf, mix equal parts all-purpose and whole wheat flour.
- → Why the overnight rise?
That long rest builds up flavors naturally by breaking down the complex starches. Plus, it helps gluten form on its own, adding airiness without kneading. It also makes the bread easier to digest.
- → Should I preheat my Dutch oven?
You bet! The hot pot traps steam when the dough goes in, making the crust extra crisp. It also ensures even heat distribution, letting the loaf rise nicely.
- → Can I add seeds or extras to the mix?
Definitely! Add up to ½ cup of goodies like nuts, dried fruit, or herbs into the flour while mixing. If you want toppings, sprinkle seeds over the dough right before baking.
- → How do I store my loaf once it's baked?
Let it cool completely first. Store it at room temperature in a paper bag or bread box for up to three days. For extended storage, freeze sliced pieces in a sealed container for up to three months and toast as needed.
- → What if I don't have a Dutch oven?
Not a problem! A pot with a snug lid works fine. Or try using a hot baking sheet or stone with a separate container of water to make steam for the crust.