
 Save
Save
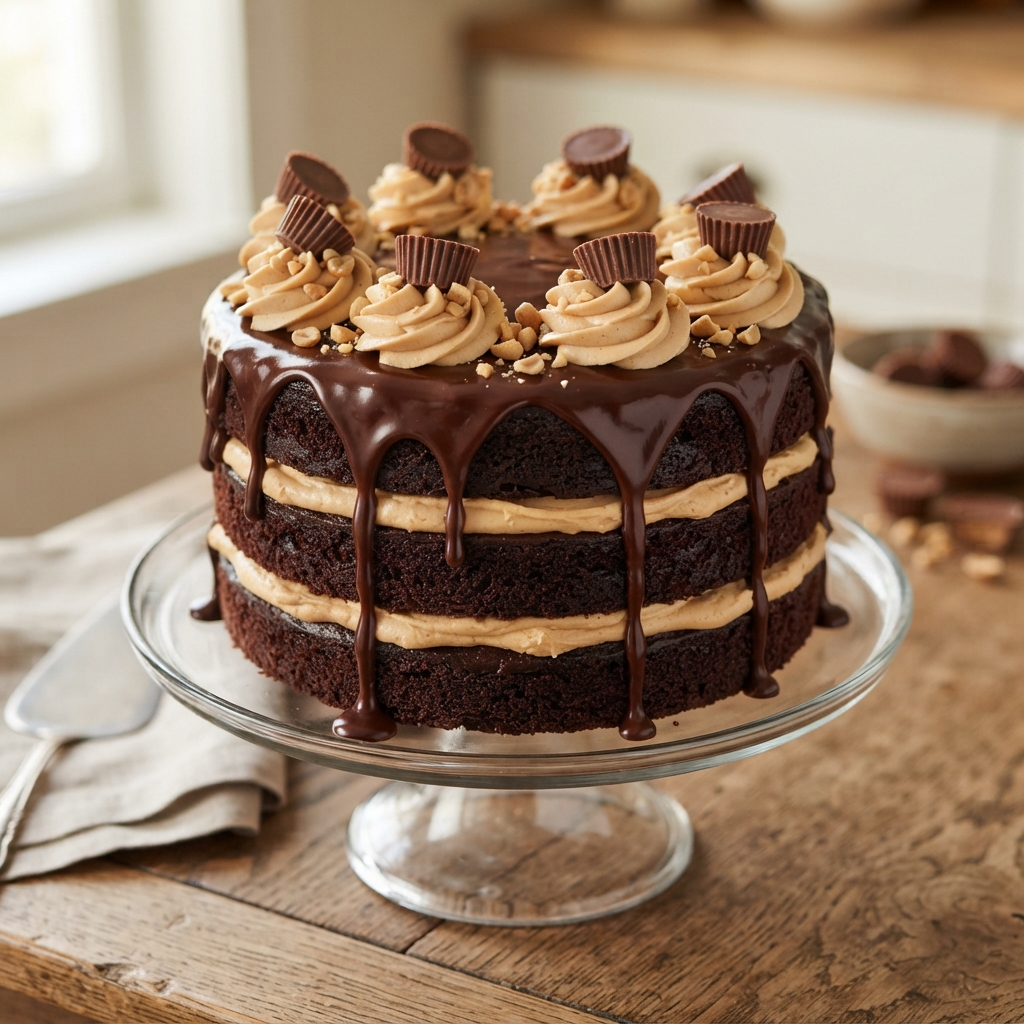
There is simply nothing like the combination of deep dark chocolate and velvety peanut butter, so I come back to this cake for birthdays, special gatherings, or whenever I want to impress. Each forkful is rich without being cloying, and the layers of chocolate with fluffy peanut butter frosting and glossy ganache make every bite irresistible. There is a feeling of celebration in every slice.
I first made this cake for my best friend’s birthday after she confessed her love for chocolate and peanut butter desserts. It has become our go to cake for movie nights and celebrations ever since and not a crumb is left behind.
Ingredients
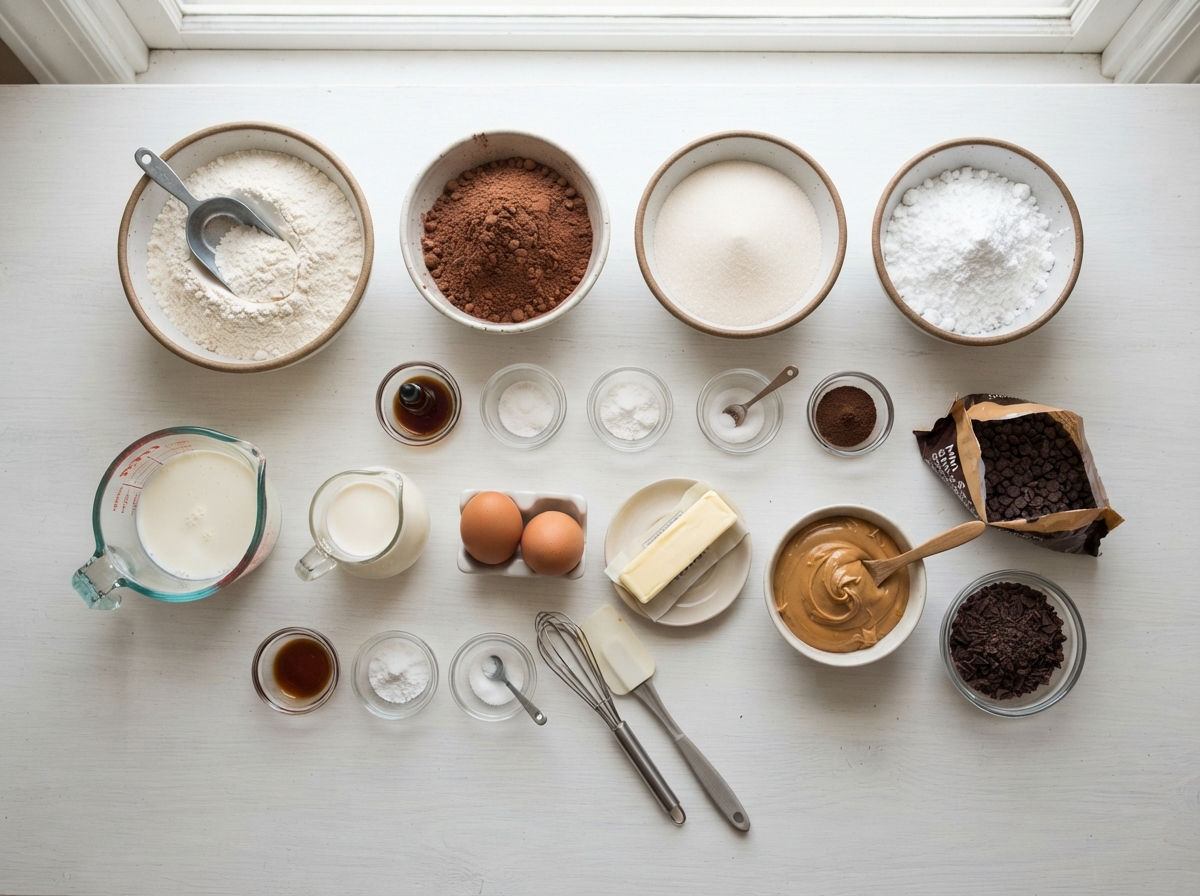
- All purpose flour: Gives structure and a tender crumb. Look for a high quality unbleached flour for the best result
- Unsweetened natural cocoa powder: Infuses intense chocolate flavor. Choose a deep colored cocoa with no added sugar
- Granulated sugar: Sweetens and balances the cocoa. Select fine granulated sugar so it dissolves well
- Baking soda and baking powder: Helps the cake rise and creates a light bite. Always check your baking powder date for freshness
- Salt: Deepens all flavors. Use fine sea salt for even distribution
- Instant espresso powder: Optional but heightens chocolate taste. Go for a good espresso powder but skip if not a fan
- Canola or vegetable oil: Keeps the crumb moist. Use a mild oil for no flavor interference
- Large eggs: Bind and help rise. Make sure they are at room temperature for full emulsification
- Full fat sour cream: Adds incredible moisture and a slight tang. Look for fresh with no filler ingredients
- Buttermilk: Brings tenderness and subtle acidity. Cultured buttermilk gives the best texture
- Pure vanilla extract: Rounds out and complements chocolate. Use real vanilla for richest flavor
- Hot water or black coffee: Intensifies the chocolate and helps dissolve cocoa. Choose freshly brewed coffee or boiling water
- Mini semi sweet chocolate chips: Provide little bursts of chocolate in every slice. Coat in flour for even distribution
- For the peanut butter frosting
- Unsalted butter: Acts as a creamy base. Make sure it is fully softened
- Creamy peanut butter: Core flavor so choose a good quality natural peanut butter
- Confectioners sugar: Brings structure and sweetness. Sift if lumpy
- Heavy cream: Softens the frosting for easier spreading. Use full fat only
- Pure vanilla extract and salt: Enhances complexity and depth. Use real vanilla and a light salt pinch
- For the ganache
- Quality semi sweet chocolate: This is the finish so pick good bars or discs
- Heavy cream: Smooths to a pourable shine. Fresh and cold works best
- Optional garnish: Small peanut butter cups. Add texture and a wow factor
Instructions
- Prepare the pans:
- Before you start preheat your oven to three hundred fifty degrees Fahrenheit then thoroughly grease three nine inch cake pans. Line each with parchment rounds and grease again so your cake lifts out easily.
- Make the dry mix:
- In a spacious bowl whisk together your flour, cocoa powder, granulated sugar, both leaveners, salt and the optional espresso powder. This combines all the rising agents and flavorings for perfect distribution.
- Combine the wet ingredients:
- In another large bowl or with a stand mixer, whisk your oil, eggs, and sour cream until silky smooth. This step is crucial for incorporating air into the mixture for a light crumb.
- Add buttermilk and vanilla:
- With the mixer running, pour in buttermilk and vanilla extract. Blend until everything is seamlessly combined. Scrape the bowl to reach any pockets of unmixed batter.
- Join wet and dry then hydrate:
- Pour your wet mixture into the dry ingredients. Add the hot water or coffee and gently whisk mostly by hand or at very low speed. The batter will be quite thin and some bubbles may show which helps create a tender cake.
- Add the chocolate chips:
- Toss your mini chips in a tablespoon of flour, then fold them gently into the finished batter. The flour prevents sinking.
- Divide and bake:
- Divide your batter evenly into three pans. Each will get about two cups of batter. Place in the oven and bake for about twenty five minutes. Test by inserting a toothpick in the center; if it comes out clean your layers are ready.
- Cool the cakes:
- Let your cakes rest in the pans on a wire rack for about one hour. Run a sharp knife along the edges and gently turn out each layer. Remove the parchment and let them finish cooling completely.
- Make the peanut butter frosting:
- Beat softened butter until creamy and light, about two minutes. Then add peanut butter and blend until smooth. Scrape the sides, add sifted confectioners sugar, vanilla, salt and the cream. Beat on low while adding cream, then on medium high until cloudlike and spreadable.
- Assemble the cake and crumb coat:
- Set one cake layer on a large plate or cake stand. Spread roughly one cup of frosting evenly. Repeat with the remaining layers and coat the whole cake in a thin layer of frosting. Use a bench scraper to smooth sides. Chill for at least thirty minutes to set.
- Make the ganache:
- Place finely chopped chocolate in a heat proof bowl and gently heat heavy cream until it begins to simmer. Pour over the chocolate and let it rest for three minutes then slowly whisk until glossy. Let chill until the ganache is thick enough to spread but not stiff.
- Finish with ganache and decorate:
- Spread or pour thickened ganache on top and let it drip slightly over the edges. Decorate with remaining frosting piped in swirls and add peanut butter cups if you wish.
- Serve and store:
- Slice and serve right away or chill for up to six hours for neatest pieces. Wrap and refrigerate leftovers for maximum freshness up to five days.
My favorite part is swirling the ganache over the peanut butter frosting and watching it set into a glossy finish. I have the best memories making this cake with my niece, letting her decorate with mini peanut butter cups. Her laughter and the chocolatey mess remind me every time why homemade cake is so special.
Storage Tips
Store the cake tightly wrapped in the fridge. It keeps moist and fresh for several days but for best texture let slices come to room temperature before serving. If you want to make in advance, freeze individual cake layers wrapped in plastic wrap and foil. Pull from the freezer to assemble the day you serve.
Ingredient Substitutions
If you are out of buttermilk, add a squeeze of lemon juice or a spoonful of vinegar to regular milk and let it sit for five minutes. For dairy free try a good plant based sour cream and milk. Make sure to choose allergy friendly peanut butter if needed.
Serving Suggestions
This cake is incredibly rich so serve thin slices with a dollop of lightly whipped cream or a scoop of vanilla ice cream. For celebrations scatter salted peanuts or drizzle a swirl of extra melted chocolate across the top.
Cultural Note
The pairing of chocolate and peanut butter has American roots becoming a comfort food classic in the twentieth century. Today it is beloved worldwide, often sparking nostalgia and joy at any occasion.
Seasonal Adaptations
For spring accent the cake with edible flowers or strawberries. In winter, add a hint of cinnamon to the batter for warmth. For autumn a sprinkle of candied pecans makes a lovely finish.
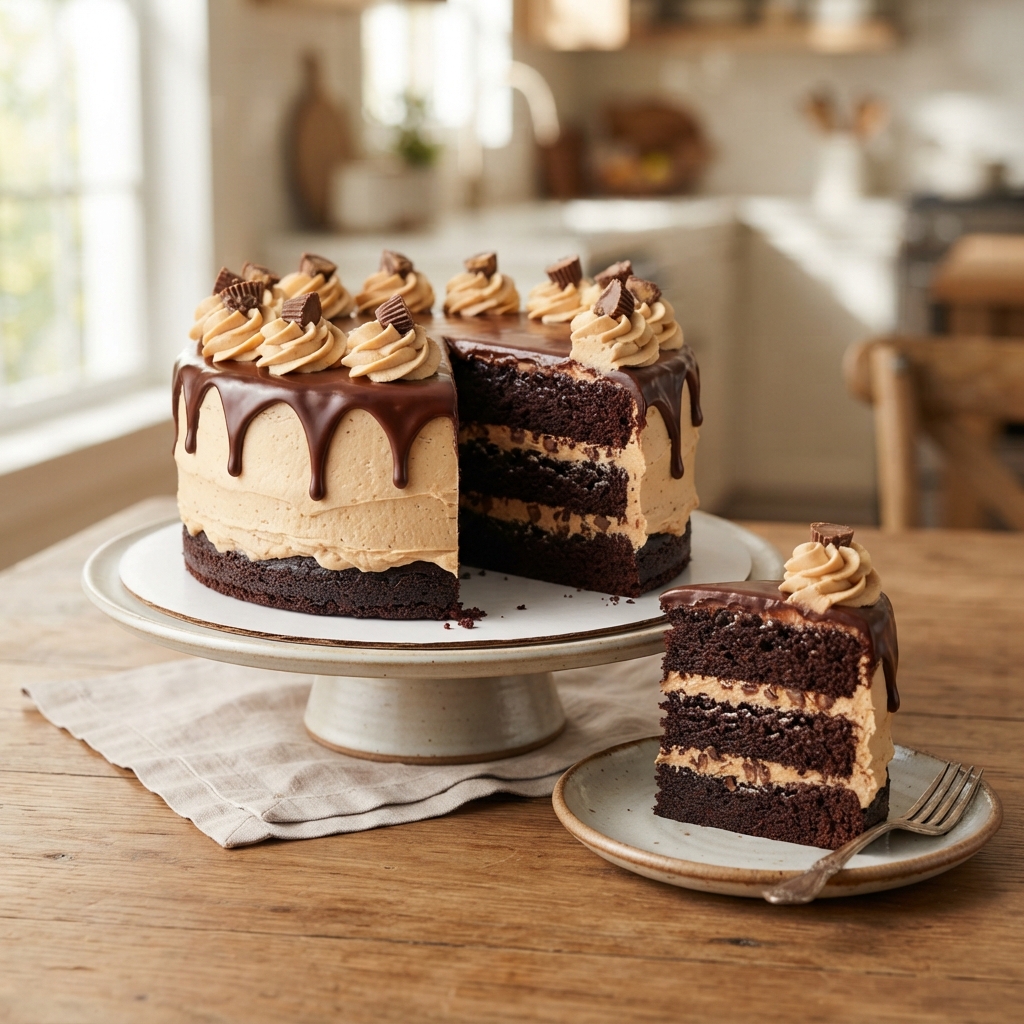
This is a cake that is both reliable and celebratory. Every time I make it the process reminds me how a few good steps and a little patience can bring the most joyful desserts to life.
Common Recipe Questions
- → How do I achieve moist chocolate layers?
Using sour cream and buttermilk in the batter helps create a tender, moist crumb. Don't overbake—check with a toothpick for doneness.
- → Can I substitute natural cocoa powder with Dutch-process?
Natural cocoa powder reacts best with baking soda for proper rise. Substituting with Dutch-process may alter the texture and flavor balance.
- → What's the secret to creamy peanut butter frosting?
Beat softened butter and peanut butter thoroughly before adding confectioners’ sugar and cream. Scrape the bowl often for smoothness.
- → Why toss chocolate chips in flour before adding to batter?
This helps the chips stay suspended and evenly distributed, preventing them from sinking to the bottom during baking.
- → How do I know when ganache is the right consistency for spreading?
After chilling, ganache should be thick yet spreadable—not runny. Stir slowly until smooth before applying to the cake.
- → How can I store leftovers?
Keep the cake covered in the refrigerator for up to 5 days to maintain freshness and texture.