
 Save
Save
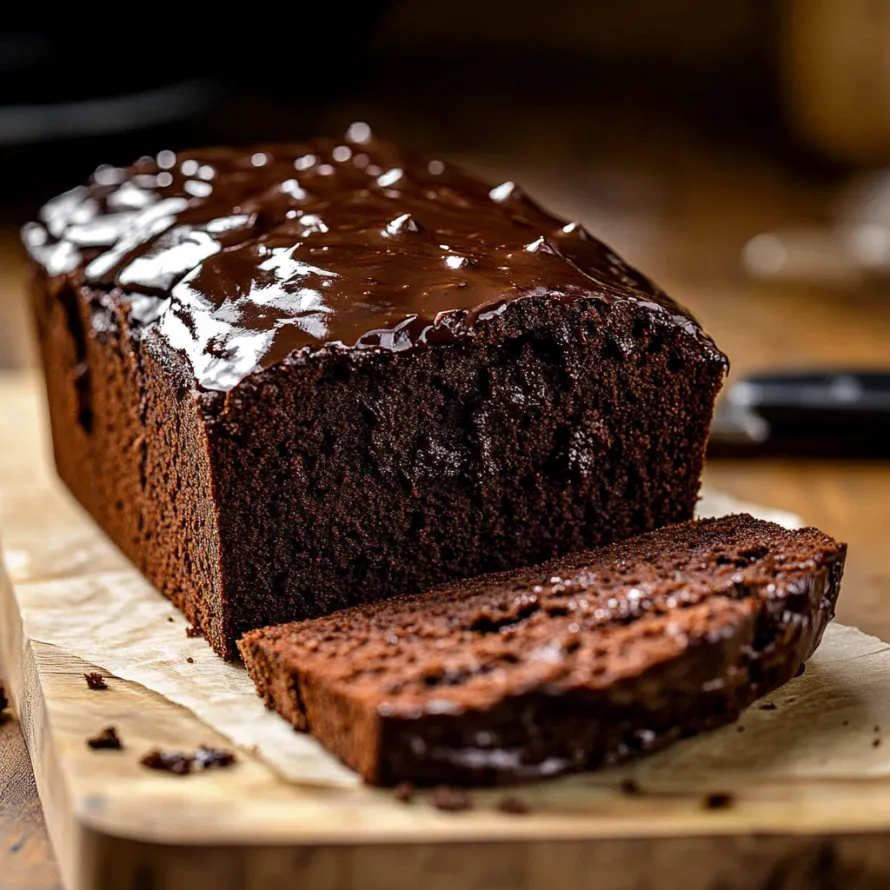
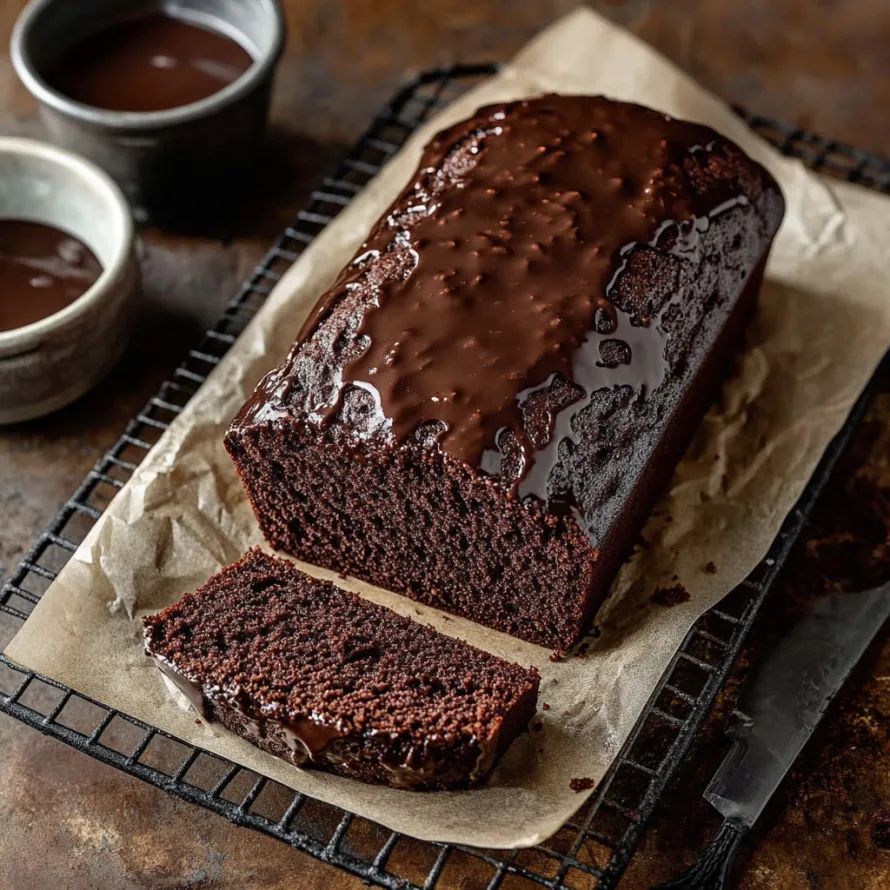
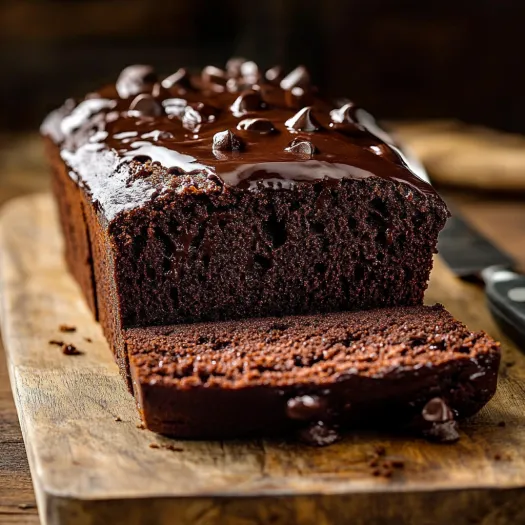
This ultra-rich brownie bread combines the gooey texture of brownies with the easy format of a quick bread. Chocolate fans will go crazy for this treat that packs double chocolate flavor from both cocoa and melted chunks, staying perfectly moist for several days.
I came up with this treat during a cold-weather baking session when my folks wanted something "not just ordinary brownies." Whenever this bread bakes, it takes me back to that snug weekend, and we now turn to it whenever we need a serious chocolate fix.
What You'll Need
- 1 cup milk chocolate chips: Mixed into the batter they create yummy melted spots throughout
- 1 ¼ cups all purpose flour: Gives the bread structure but keeps it from getting too cake-like
- ½ cup Dutch processed cocoa powder: Makes a richer chocolate taste than regular cocoa
- ¼ teaspoon baking soda: Creates just enough lift while keeping that dense texture
- 1 teaspoon kosher salt: Brings out every bit of chocolate goodness
- 3 large eggs: Should be room temp for the best texture
- 1 ¼ cups granulated sugar: Cuts the intensity of the dark chocolate flavors
- ½ cup vegetable oil: Keeps everything moist long after baking
- ¾ cup water: Gets the batter to just the right consistency
- ½ cup milk chocolate chips: For topping grab good quality ones for the best melt
- ¼ cup heavy cream: Don't swap this for lighter options if you want the right texture
How To Make It
- Get Ready:
- Set your oven to 325°F. This lower temp lets the bread cook through without getting dry. Coat a 9x5 inch metal loaf pan really well with cooking spray, getting into every corner.
- Deal With The Chocolate:
- Put chocolate chips in a bowl you can microwave. Heat them 30 seconds at a time, giving a good stir between rounds until smooth. Let it cool a bit so it won't scramble your eggs.
- Mix Dry Stuff:
- In another bowl, stir together flour, cocoa powder, baking soda, and salt until well mixed. This gets rid of lumps and spreads the baking soda evenly through the bread.
- Start The Mix:
- Using your stand mixer with the paddle, beat eggs and sugar for a full 5 minutes until it looks pale and gets fluffy. This long mixing puts air in the batter for the right texture.
- Make The Batter:
- With the mixer running slow, pour in melted chocolate, oil, and water. Mix until it looks glossy. Keep it slow so you don't lose all the air you just mixed in.
- Put It All Together:
- Slowly add your dry mix to the wet stuff, mixing just enough to get rid of lumps. Don't go overboard or your bread will turn tough.
- Bake It Right:
- Pour everything into your pan and bake for 85 to 90 minutes. It takes a while to make sure the middle sets properly while giving a slightly crisp outside. Stick a toothpick in to check for a few moist crumbs but no wet batter.
- Cool It Down:
- Let the bread sit in the pan at least 2 hours before taking it out or adding toppings. This cooling time helps it set up and lets the flavors blend.
- Make The Topping:
- Put chocolate chips in a bowl. Heat cream in a pot until tiny bubbles form at the edges. Pour hot cream over chocolate and don't touch it for 2 minutes, then gently stir until smooth.
- Top It Off:
- Let the chocolate mix cool until it thickens a bit before pouring over your bread. It should pour easily but not be so hot it soaks into the bread. Wait 10 to 15 minutes before cutting.
This brownie bread takes me back to my grandma's chocolate cake but with extra oomph. The Dutch cocoa really matters here because it gives that deep chocolate kick you just can't get from the regular stuff. The first time I brought this to a family get-together, my chocolate-crazy uncle asked for my recipe before he'd even finished his first piece.
Keeping It Fresh
Keep your brownie bread in a sealed container at room temp for up to 4 days. Thanks to the oil, it won't dry out quickly. Need to save it longer? Wrap single slices in plastic then foil and pop them in the freezer for up to 3 months. Let frozen slices thaw in your fridge overnight for the best results.
What To Serve With It
This brownie bread gets even better with the right sides. Try warming a slice for 15 seconds and adding a scoop of vanilla ice cream for an amazing hot-cold combo. Some whipped cream and fresh raspberries cut through the richness perfectly. If you're a coffee fan, eating a slice with your morning espresso feels like a fancy café treat at home.
Fixing Common Issues
Don't worry if your bread dips a little in the middle after baking. That's normal for such a fudgy loaf. If it sinks a lot, your oven might be running too hot. Grab an oven thermometer to check. Want neat slices? Use a sharp knife dipped in hot water and wiped clean between cuts. Is your topping too thick? Add warm cream, just a teaspoon at a time, until it flows right.
Your family will ask for this treat again and again—it's a chocolate lover's dream that works for any occasion!
Common Recipe Questions
- → Can I switch milk chocolate for dark chocolate?
Absolutely, you can use dark chocolate instead for a bolder and less sweet taste. Semi-sweet chocolate is also a great middle option.
- → What's the best way to store it?
Keep it in a sealed container at room temp for up to 3 days. For longer storage, refrigerate up to a week. To freeze, wrap slices in plastic and foil—they’ll keep for 3 months.
- → Why did my loaf sink in the middle?
This might happen if the loaf wasn’t baked long enough, the oven ran too hot, or you opened the oven while it baked. Check doneness with a toothpick and leave in the pan to cool completely.
- → Can I skip the stand mixer?
Yes, a hand mixer works just fine. Whipping the eggs and sugar may take a bit longer, or you can whisk it all by hand if you're up for it.
- → What extras can I add?
Try tossing in walnuts or pecans, chocolate chunks, a bit of vanilla extract, a hint of espresso powder, or even a little peppermint extract for a festive twist.
- → When’s it done baking?
Insert a toothpick in the center. If it comes out with some crumbs but no wet batter, it’s ready. The top should look set with slight cracks, and the edges will pull away from the pan.