
 Save
Save
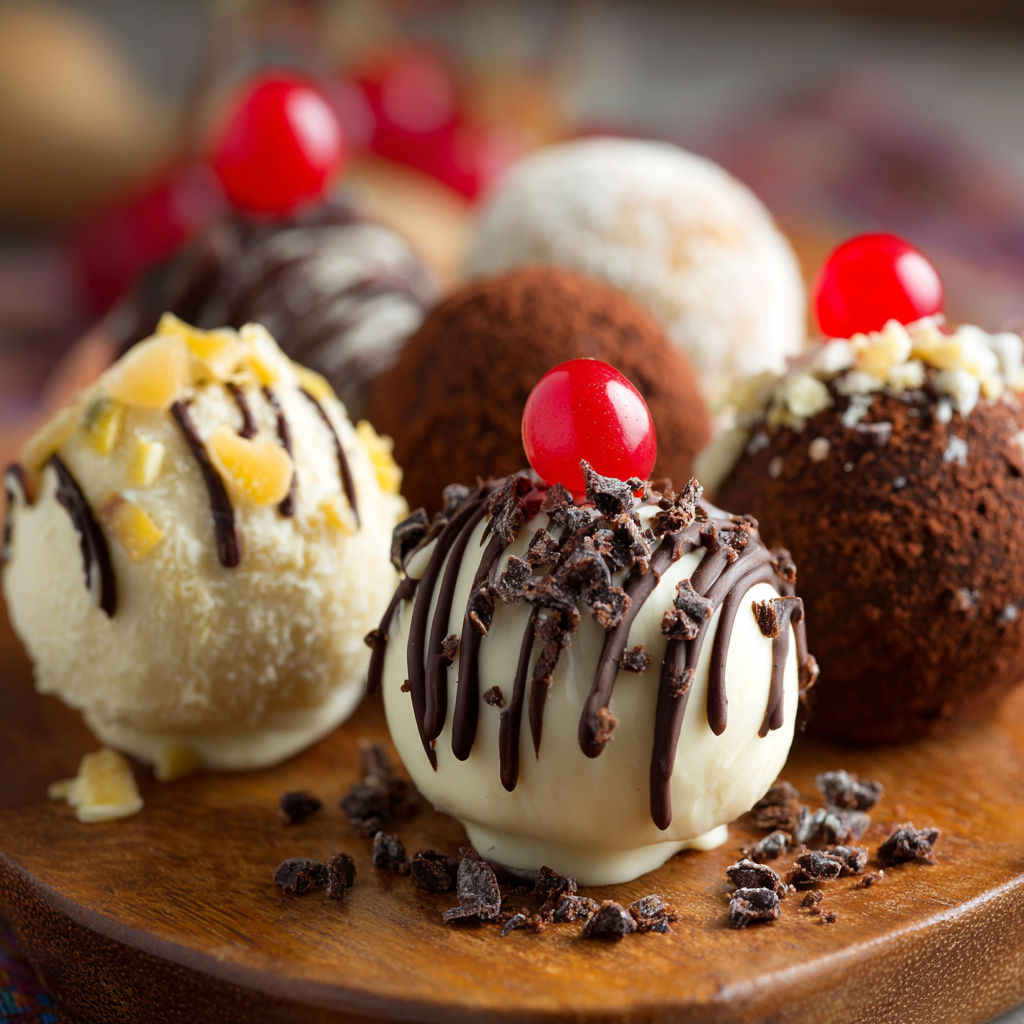
Banana Split Truffles are pure playful nostalgia in a bite. When I want to channel those classic ice cream sundae flavors with the convenience of a hand-held treat these little gems always come through. Each truffle brings a creamy burst of banana the tang of pineapple a hint of vanilla and all that chocolate shell and cherry magic right to your dessert platter. They are always a talking point at parties and last winter my nieces took over the kitchen for a day testing out sprinkle placement strategies—absolute family chaos and so much laughter.
I first made these for a backyard barbecue and ever since my friends request them whenever summer rolls around. They never last long in my house so I always double the batch.
Ingredients
- White cake mix: choose a fresh box and ensure it is heat treated for safety. The cake mix forms the truffle base and provides that soft cakey texture.
- Cream cheese: should be full-fat and at room temperature for smooth blending. It gives the creamy mouthfeel and holds the truffles together
- Vanilla extract: real vanilla gives the truffles warmth and depth
- Crushed pineapple: look for pineapple packed in juice and make sure it is well drained to avoid excess moisture
- Chopped walnuts: choose fresh untoasted nuts for crunch and flavor
- Banana: use a firm but ripe banana to avoid mushiness and browning
- White candy coating: melts smoothly for a perfectly glossy shell
- Chocolate melting wafers: opt for a high-quality brand for the rich chocolate drizzle effect
- Rainbow sprinkles: they add crunch and that joyful color
- Stemmed maraschino cherries: look for ones with bright color and unbroken stems for the finishing touch
Instructions
- Prepare the Tray:
- Line a large baking sheet with parchment paper and set it aside. This ensures the truffles do not stick when chilling later.
- Blend the Base:
- In a medium bowl use a hand mixer or sturdy spatula to beat together the heat-treated cake mix cream cheese and vanilla until the mixture turns dense and doughy. Scrape down the sides of your bowl frequently so everything mixes evenly.
- Add the Fruit and Nuts:
- Add in the very well-drained crushed pineapple chopped walnuts and banana slices. Fold the mixture gently to distribute the fruit and nuts evenly but work swiftly so the banana holds its shape.
- Form the Truffles:
- Using a cookie scoop portion out the dough into uniform pieces and roll with your hands into smooth balls about one inch across. Avoid compressing them too tightly for the lightest texture. Place each ball on your prepared parchment sheet.
- Chill:
- Slide the baking sheet into your refrigerator for at least one hour to firm up the dough. This step makes them sturdy enough for dipping.
- Melt the White Candy Coating:
- Near the end of the chilling time melt the white candy coating in a microwave safe bowl using 50 percent power in one minute bursts stirring between rounds. Continue in 30 second intervals until completely smooth but take care not to overheat or the chocolate will seize.
- Dip the Truffles:
- Use forks or dipping tools to roll each chilled ball through the melted candy coating. Ensure every side is coated generously then return to the parchment for setting.
- Repeat the Chill:
- Once dipped return the truffles to the fridge for another half hour so the shell hardens before decorating.
- Prepare Chocolate Drizzle:
- Melt the chocolate wafers with the same low and slow technique. Let the chocolate become glossy and fluid before using.
- Decorate:
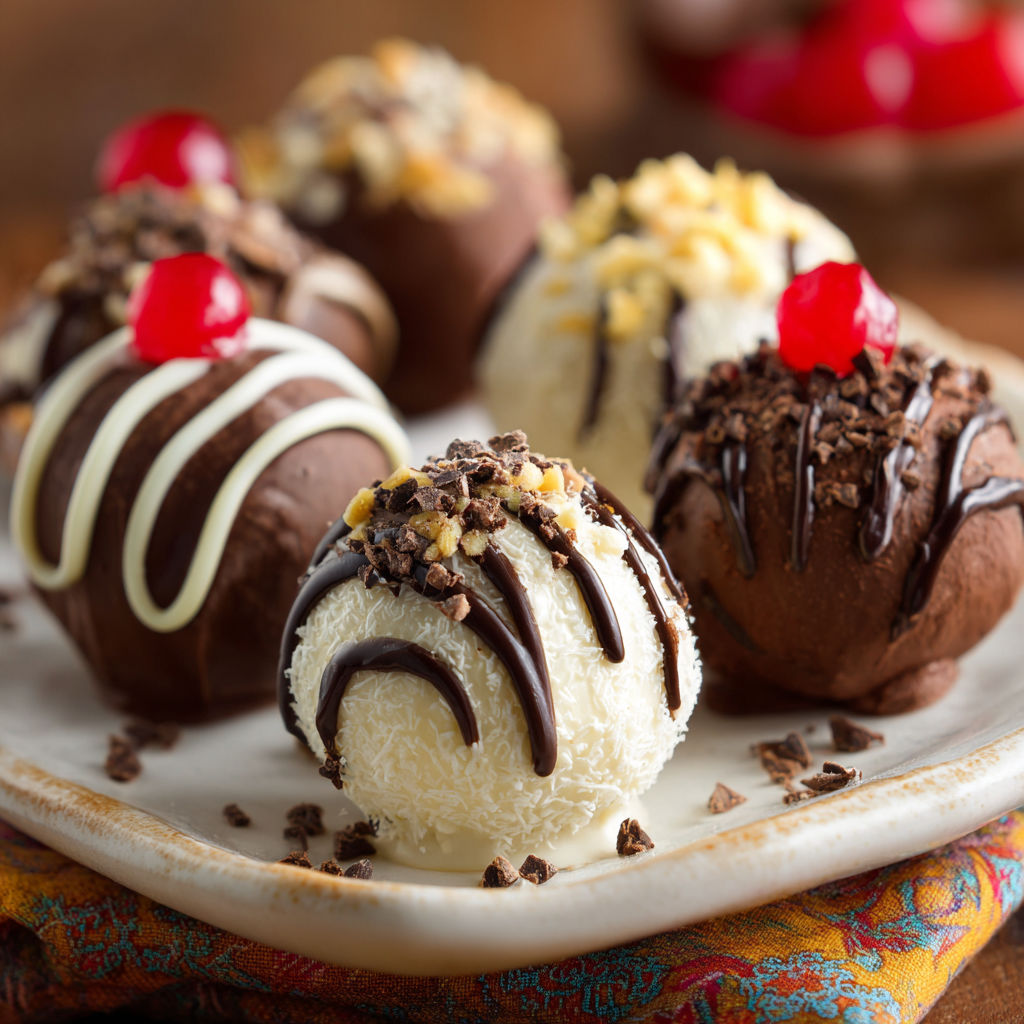
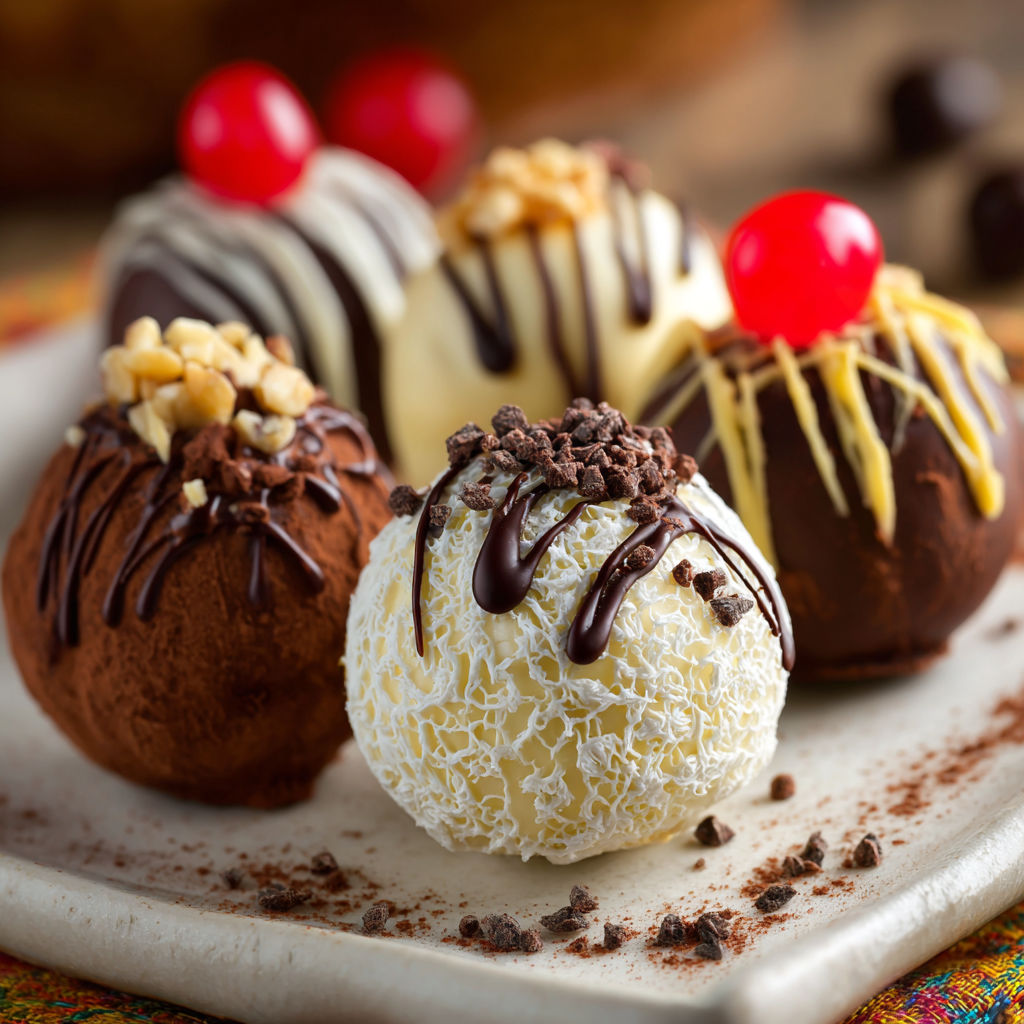
- Drizzle a small spoonful of the melted chocolate over each truffle to mimic chocolate sauce then quickly top each with a maraschino cherry and a shower of rainbow sprinkles. Work fast so the chocolate does not harden before you get the cherry and sprinkles in place.
- Final Chill:
- Give the decorated truffles a final half hour in the fridge. This ensures all the layers set perfectly and the flavors meld.
The banana is my secret joy here. My grandmother used to slice them right at the table while she described her first banana split experience from the fifties. Every time I add those coins of banana into the dough I get a happy flashback to those family stories swirling around our kitchen.
Storage Tips
Banana Split Truffles should be stored in a covered container in the refrigerator. They keep best for up to four days especially when you gently press plastic wrap over the tops to help prevent the bananas and pineapple from weeping moisture. If you need to stack them separate layers with more parchment.
Ingredient Substitutions
No walnuts on hand Use pecans or skip the nuts entirely for a smoother bite. Dairy free folks can substitute vegan cream cheese and use plant based melting chips. If pineapple is not your thing try finely chopped strawberries but make sure to pat them dry very well.
Serving Suggestions
Serve these truffles on mini cupcake liners and nestle them on a platter surrounded by extra cherries and bowls of whipped cream. They are showstoppers for summer birthdays picnics or as an alternative to a big cake at brunch.
Cultural and Historical Context
Banana splits date back to the early twentieth century when soda fountains and sundaes captured America’s sweet tooth. These truffles are my wink to that tradition but sized for bite sized indulgence. I love how the festive elements harken back to soda shop nostalgia.
Seasonal Adaptations
Use chopped fresh strawberries instead of bananas in spring Try toasted almonds or macadamias for a holiday flavor twist Swap white chocolate chocolate coating for a dark or colored one at Halloween or Valentine season
Success Stories
These truffles rarely make it to the end of a party. I once packed up a tin for my daughter to take for a teacher appreciation event and got two recipe requests by noon. Kids love rolling and decorating so it is the perfect treat for getting little hands into the kitchen.
Freezer Meal Conversion
If you want to plan ahead finished Banana Split Truffles freeze beautifully. Layer them in an airtight container between sheets of wax paper. Thaw just a few at a time in the refrigerator before serving.
There is always a little thrill seeing these truffles lined up and decorated. My family knows it is going to be a sweet day when this recipe comes out and every sprinkle makes it even more special.
Common Recipe Questions
- → Can I use a different cake mix flavor?
Yes, vanilla or yellow cake mixes work well and add a subtle flavor variation to the truffles.
- → How do I keep the truffle mixture from being too wet?
Be sure to drain the crushed pineapple thoroughly and use room temperature cream cheese for best consistency.
- → Can these truffles be made ahead of time?
Absolutely. Prepare and store them in the refrigerator for up to 3 days to maintain freshness.
- → What can I use if I don’t have melting wafers?
Use regular white chocolate chips with a touch of coconut oil to help with melting and coating.
- → How do I prevent the chocolate coating from cracking?
Let the truffles warm slightly at room temperature before dipping to reduce chocolate cracking.